
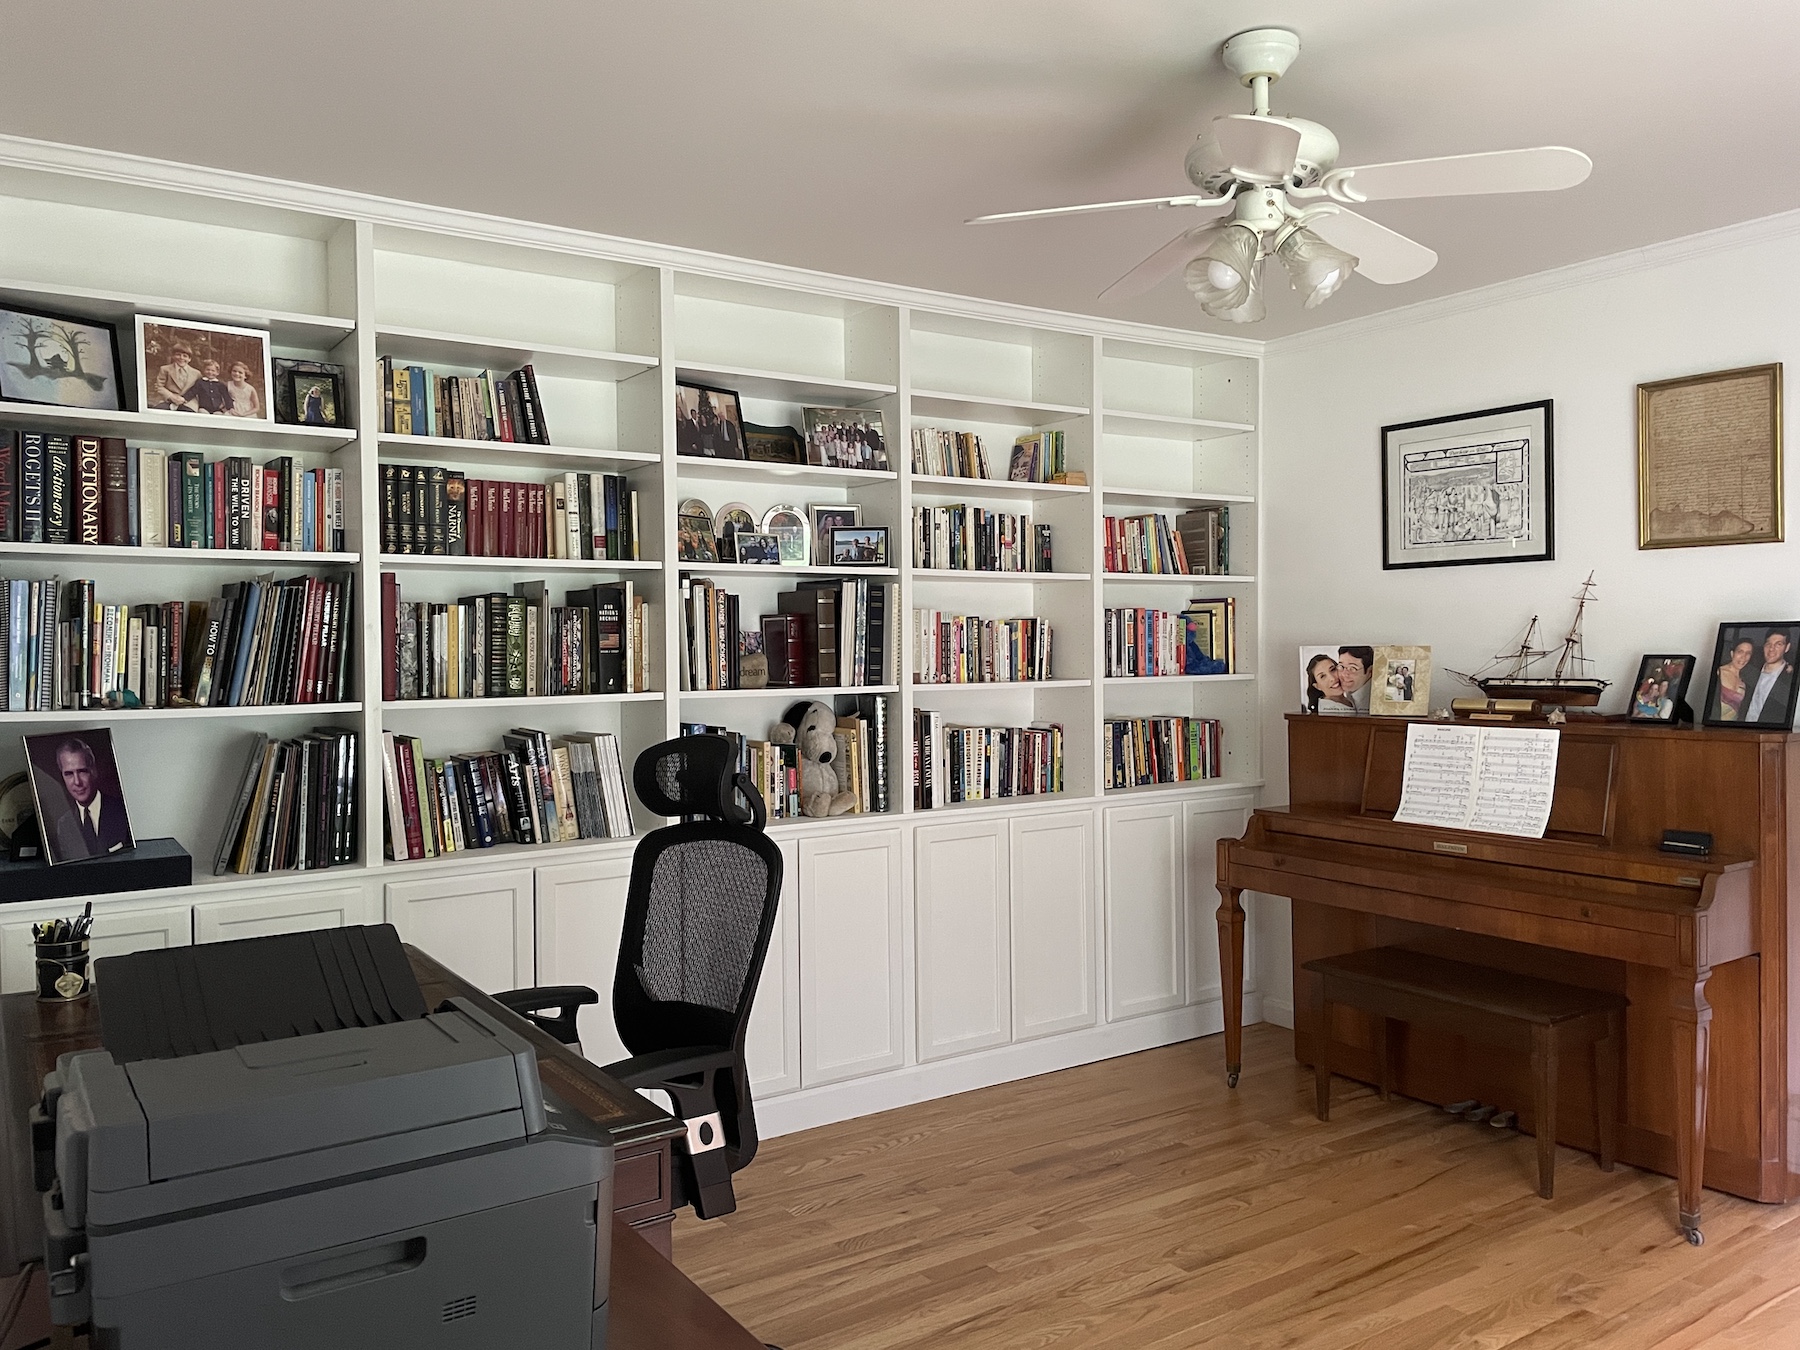
I first started our home office makeover in April and it’s time for the reveal! Similar to our experience with our new walk-in closet, the new bookcase and filing system are total game changers for us.
Starting out
When we first moved into our house, we knew we needed a home office. When you enter our house, the first room you see was the perfect size for our needs. The room is spacious enough for both of us to work comfortably inside it, but it’s also a completely blank canvas, with no storage space and walls that would require a fresh coat of paint.
The first thing we did was repaint all of the first floor walls, which really helped brighten everything up.
My work space was limited to a drawer-less Ikea table and we sourced a used metal and glass table-top desk someone had left on a NYC street for Joanna. I eventually upgraded to a more spacious desk my father used as a lawyer. Both of us had all our files in plastic tubs and all of our books and office materials were boxed up. We functioned this way for 3+ years, prioritizing other remodeling projects.
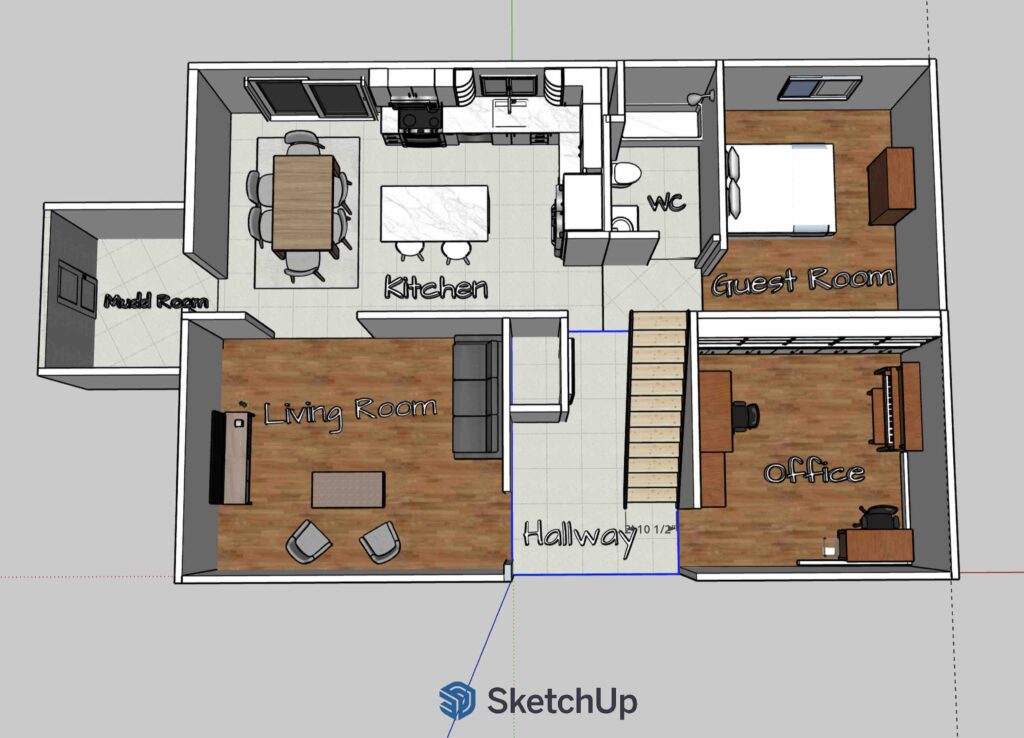
Using Sketchup, I worked on a new layout that was more functional and attractive, a space we actually wanted to spend time in.

The Custom Bookcase
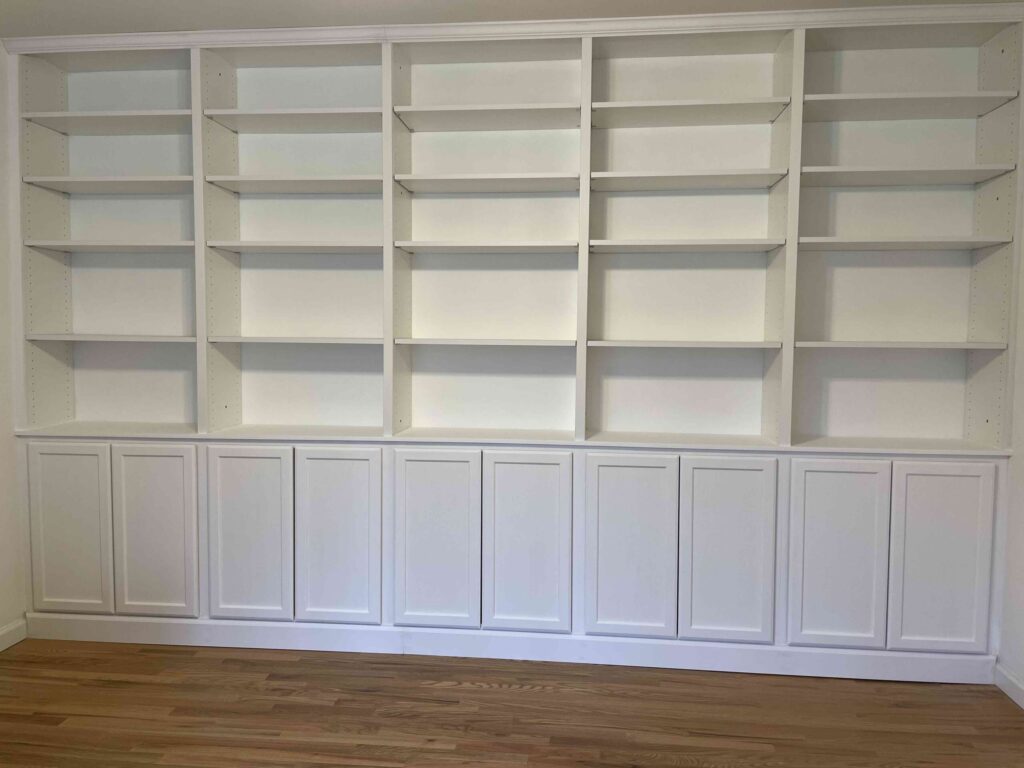
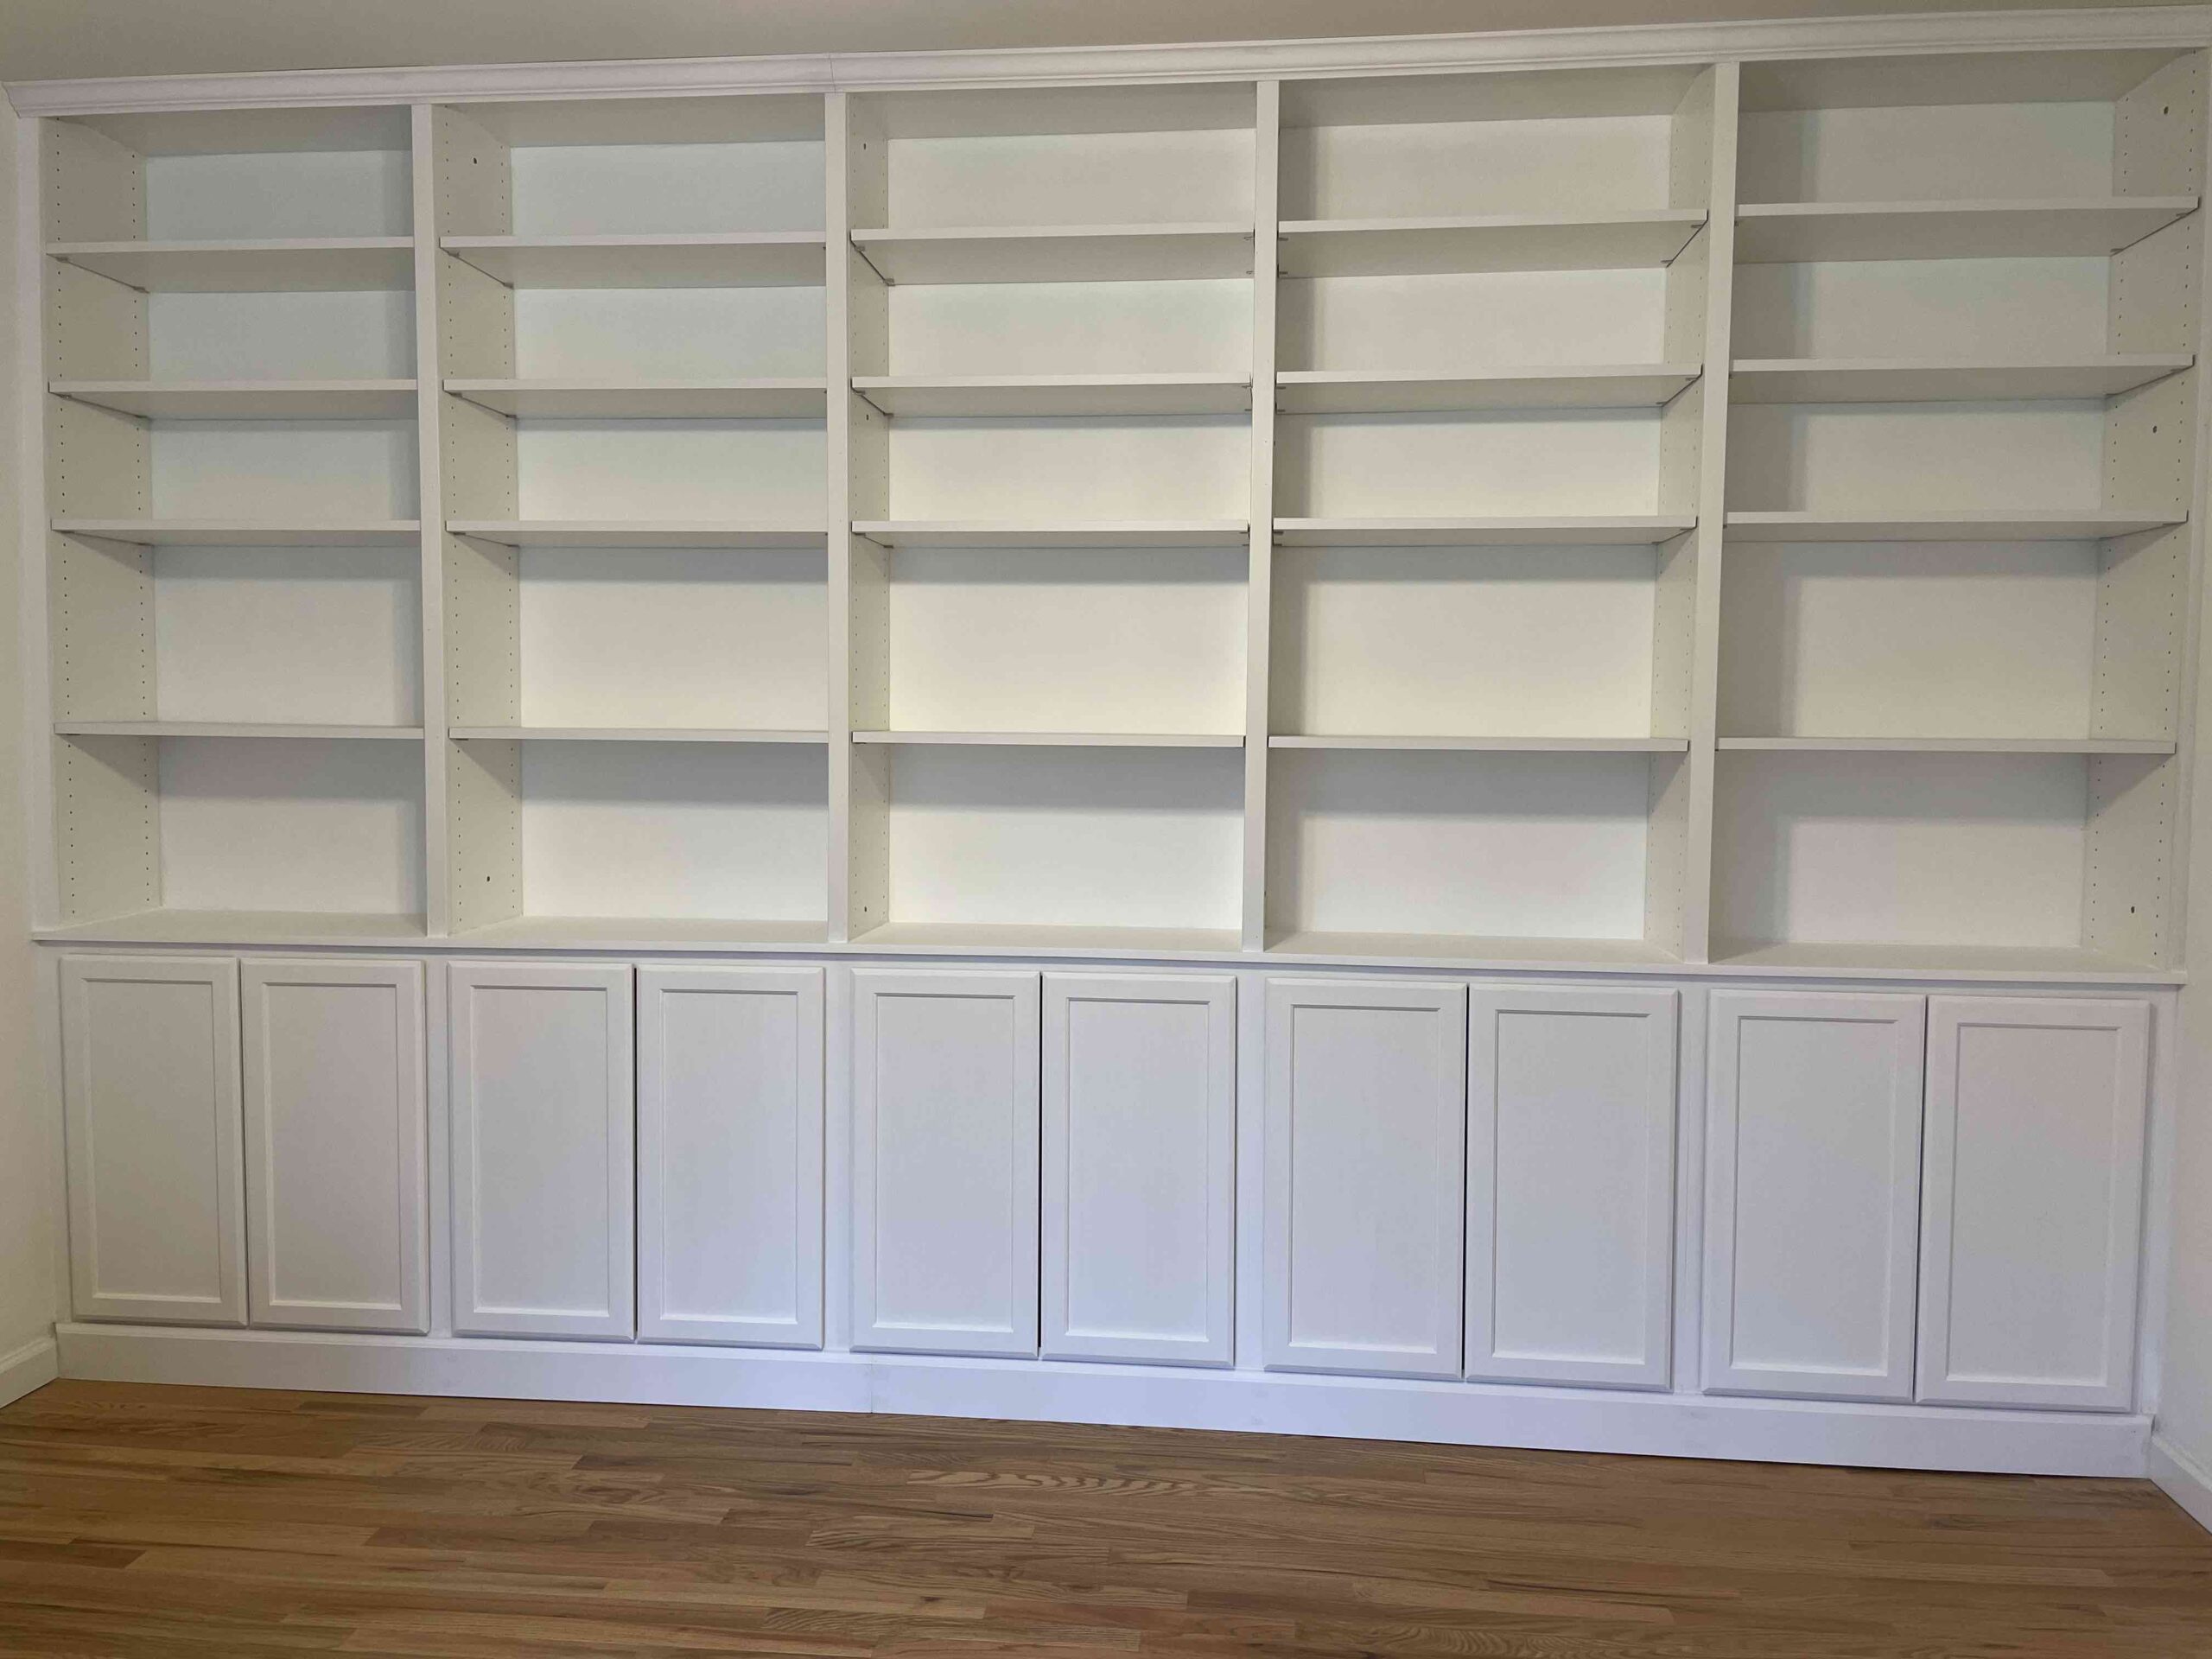
The most important thing the office needed was more storage space. I scrounged the internet, reviewing interior design blogs for bookcase inspiration. I determined there wasn’t anything pre-fabricated that would fit along our 152″ long wall. Plus pre-designed filing cabinets are expensive. It was apparent I was going to have to build something custom and ultimately found a series of posts at The DIY Playbook that served as the inspiration for our new bookcase. Some key differences were that we couldn’t fit 24″ base cabinets in our office due to how the radiator in the room impacted furniture placement. I wound up using pre-drilled melamine side panels and shelving for our bookcase.
Regardless, the bookcase now looks like it was always intended to be there and we have gleefully spent time transferring our book collection onto the shelves, even finding some duplicates of film related books we separately collected. There is some space to spare for now, but we know that will change later this year as we further consolidate our collections.
Refinishing the family heirloom desks
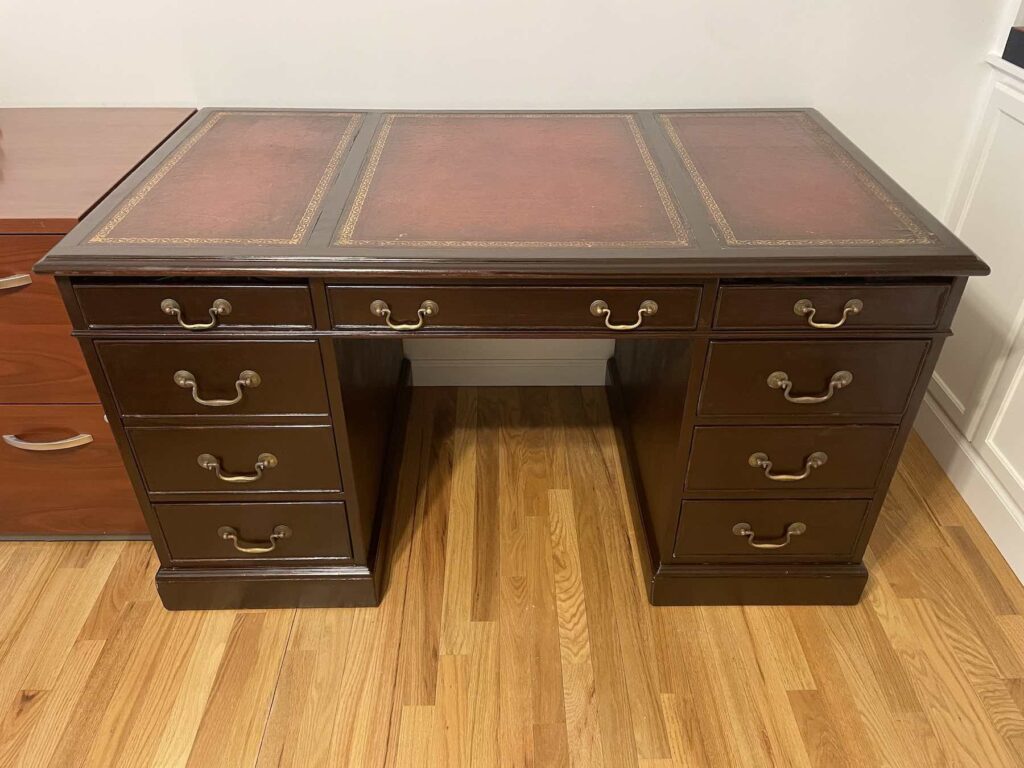
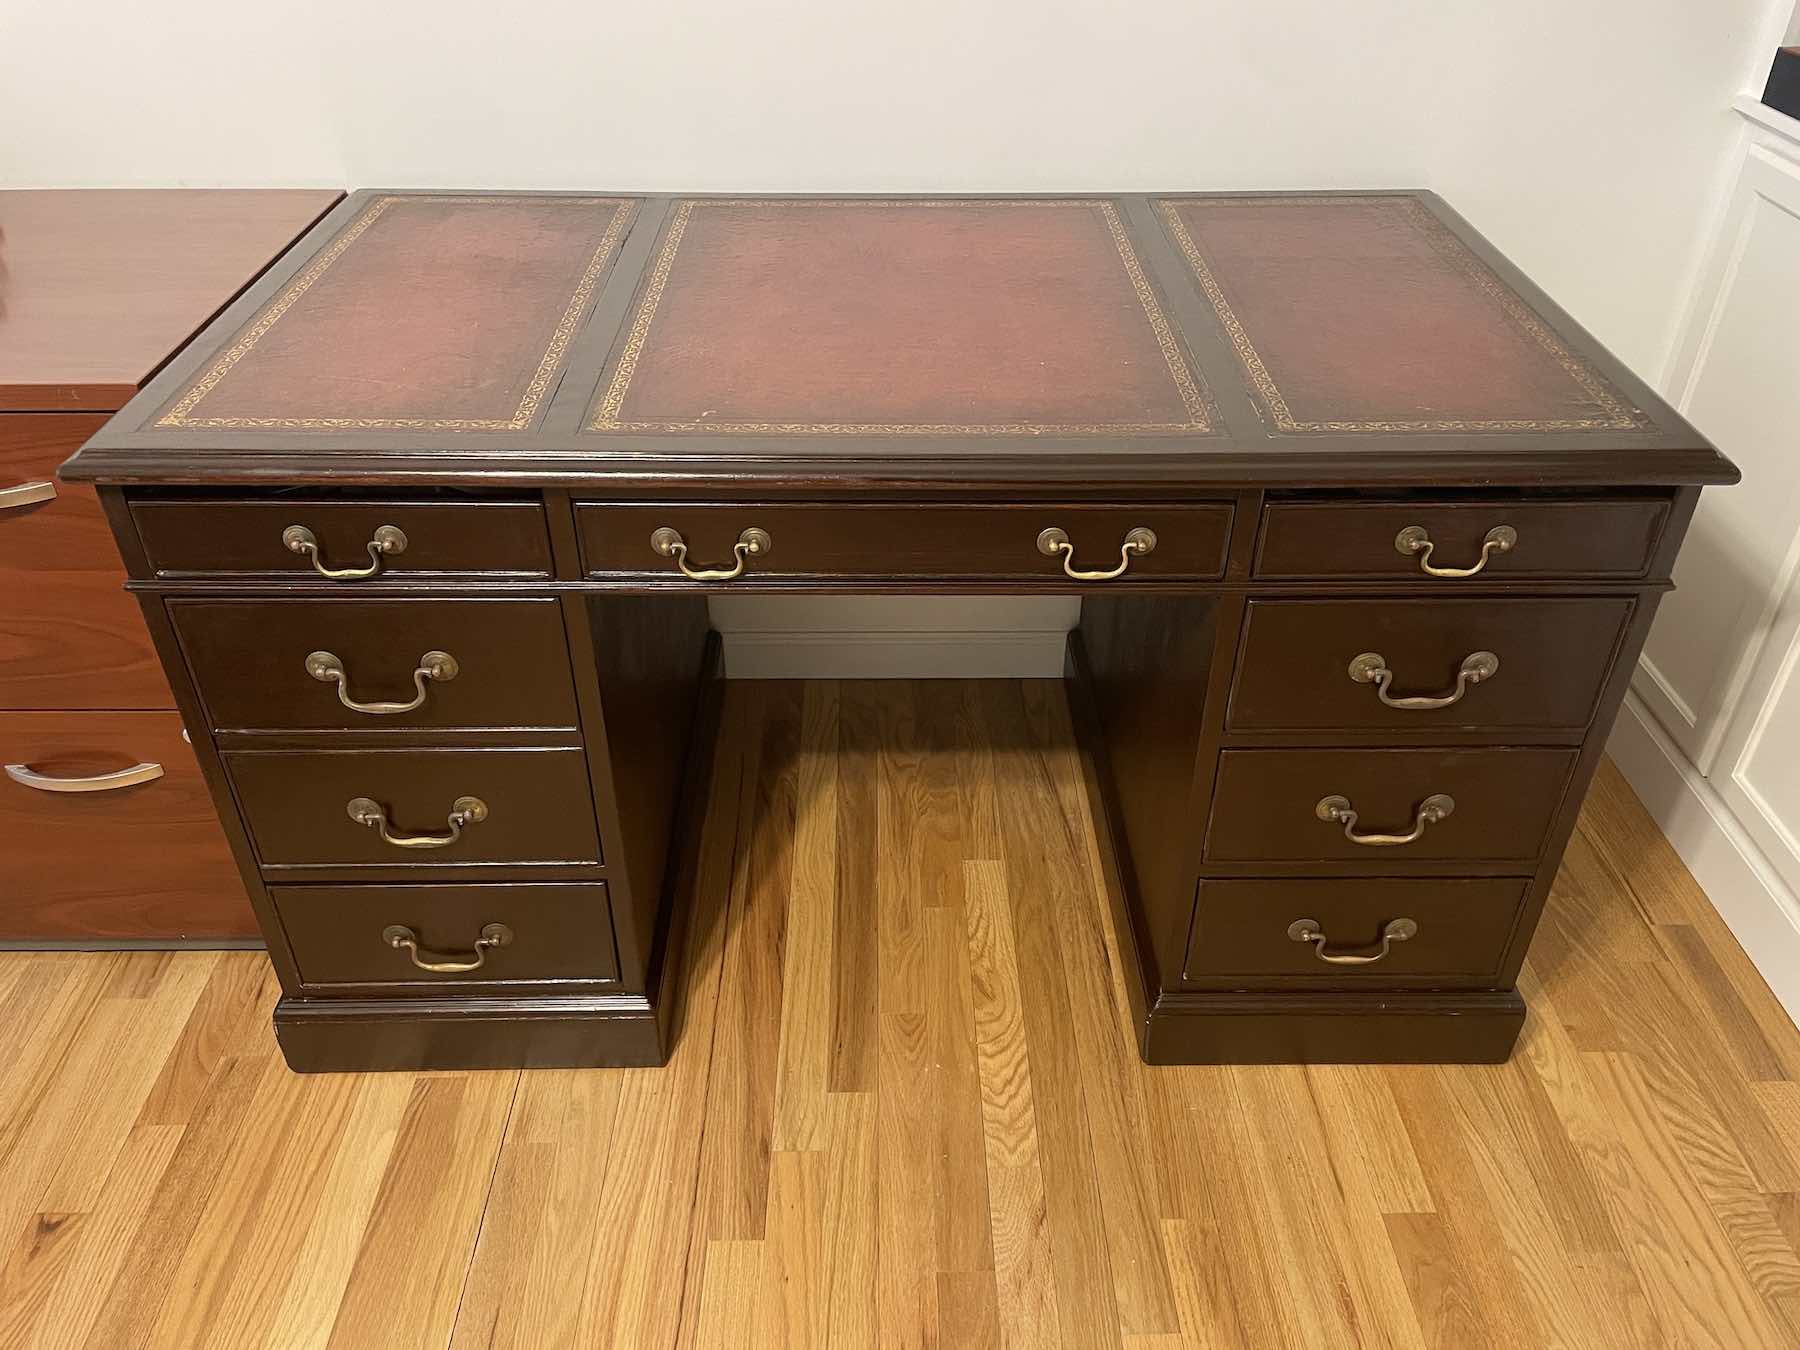
The next priority was refinishing my father’s childhood desk, which Joanna now uses, and the desk he used later as a lawyer. Both were beaten up from years of use and being moved around over the years. I used both a stripping gel as well as heavy, followed by fine grit sandpaper to remove the old stain from the desk, finding the sanding to be more effective for that project. The desks now have matching mahogany stain on them.

Office Filing
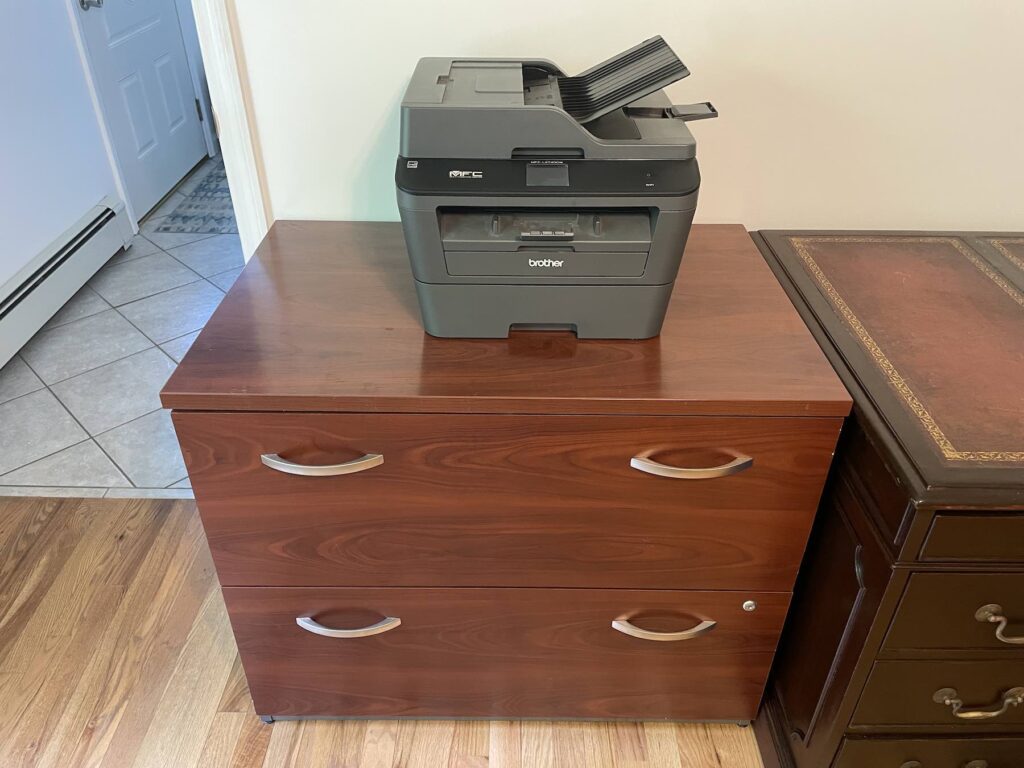
While I had been using a vertical gray filing cabinet , Joanna was not a fan of it, and it really didn’t work next to the new bookcase. We actually had a second horizontal filing cabinet that was parked in her parent’s basement. We had spent several years trying to figure out a way to get rid of it, until I realized it might be perfect for our new layout.
Adding Crown Molding
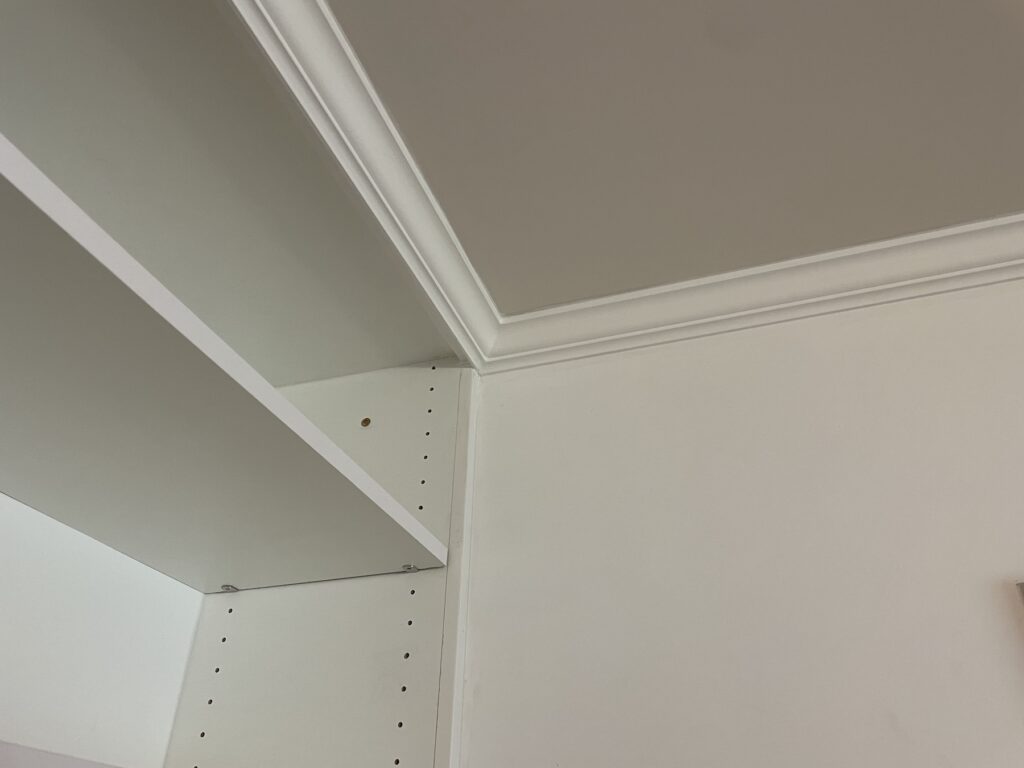
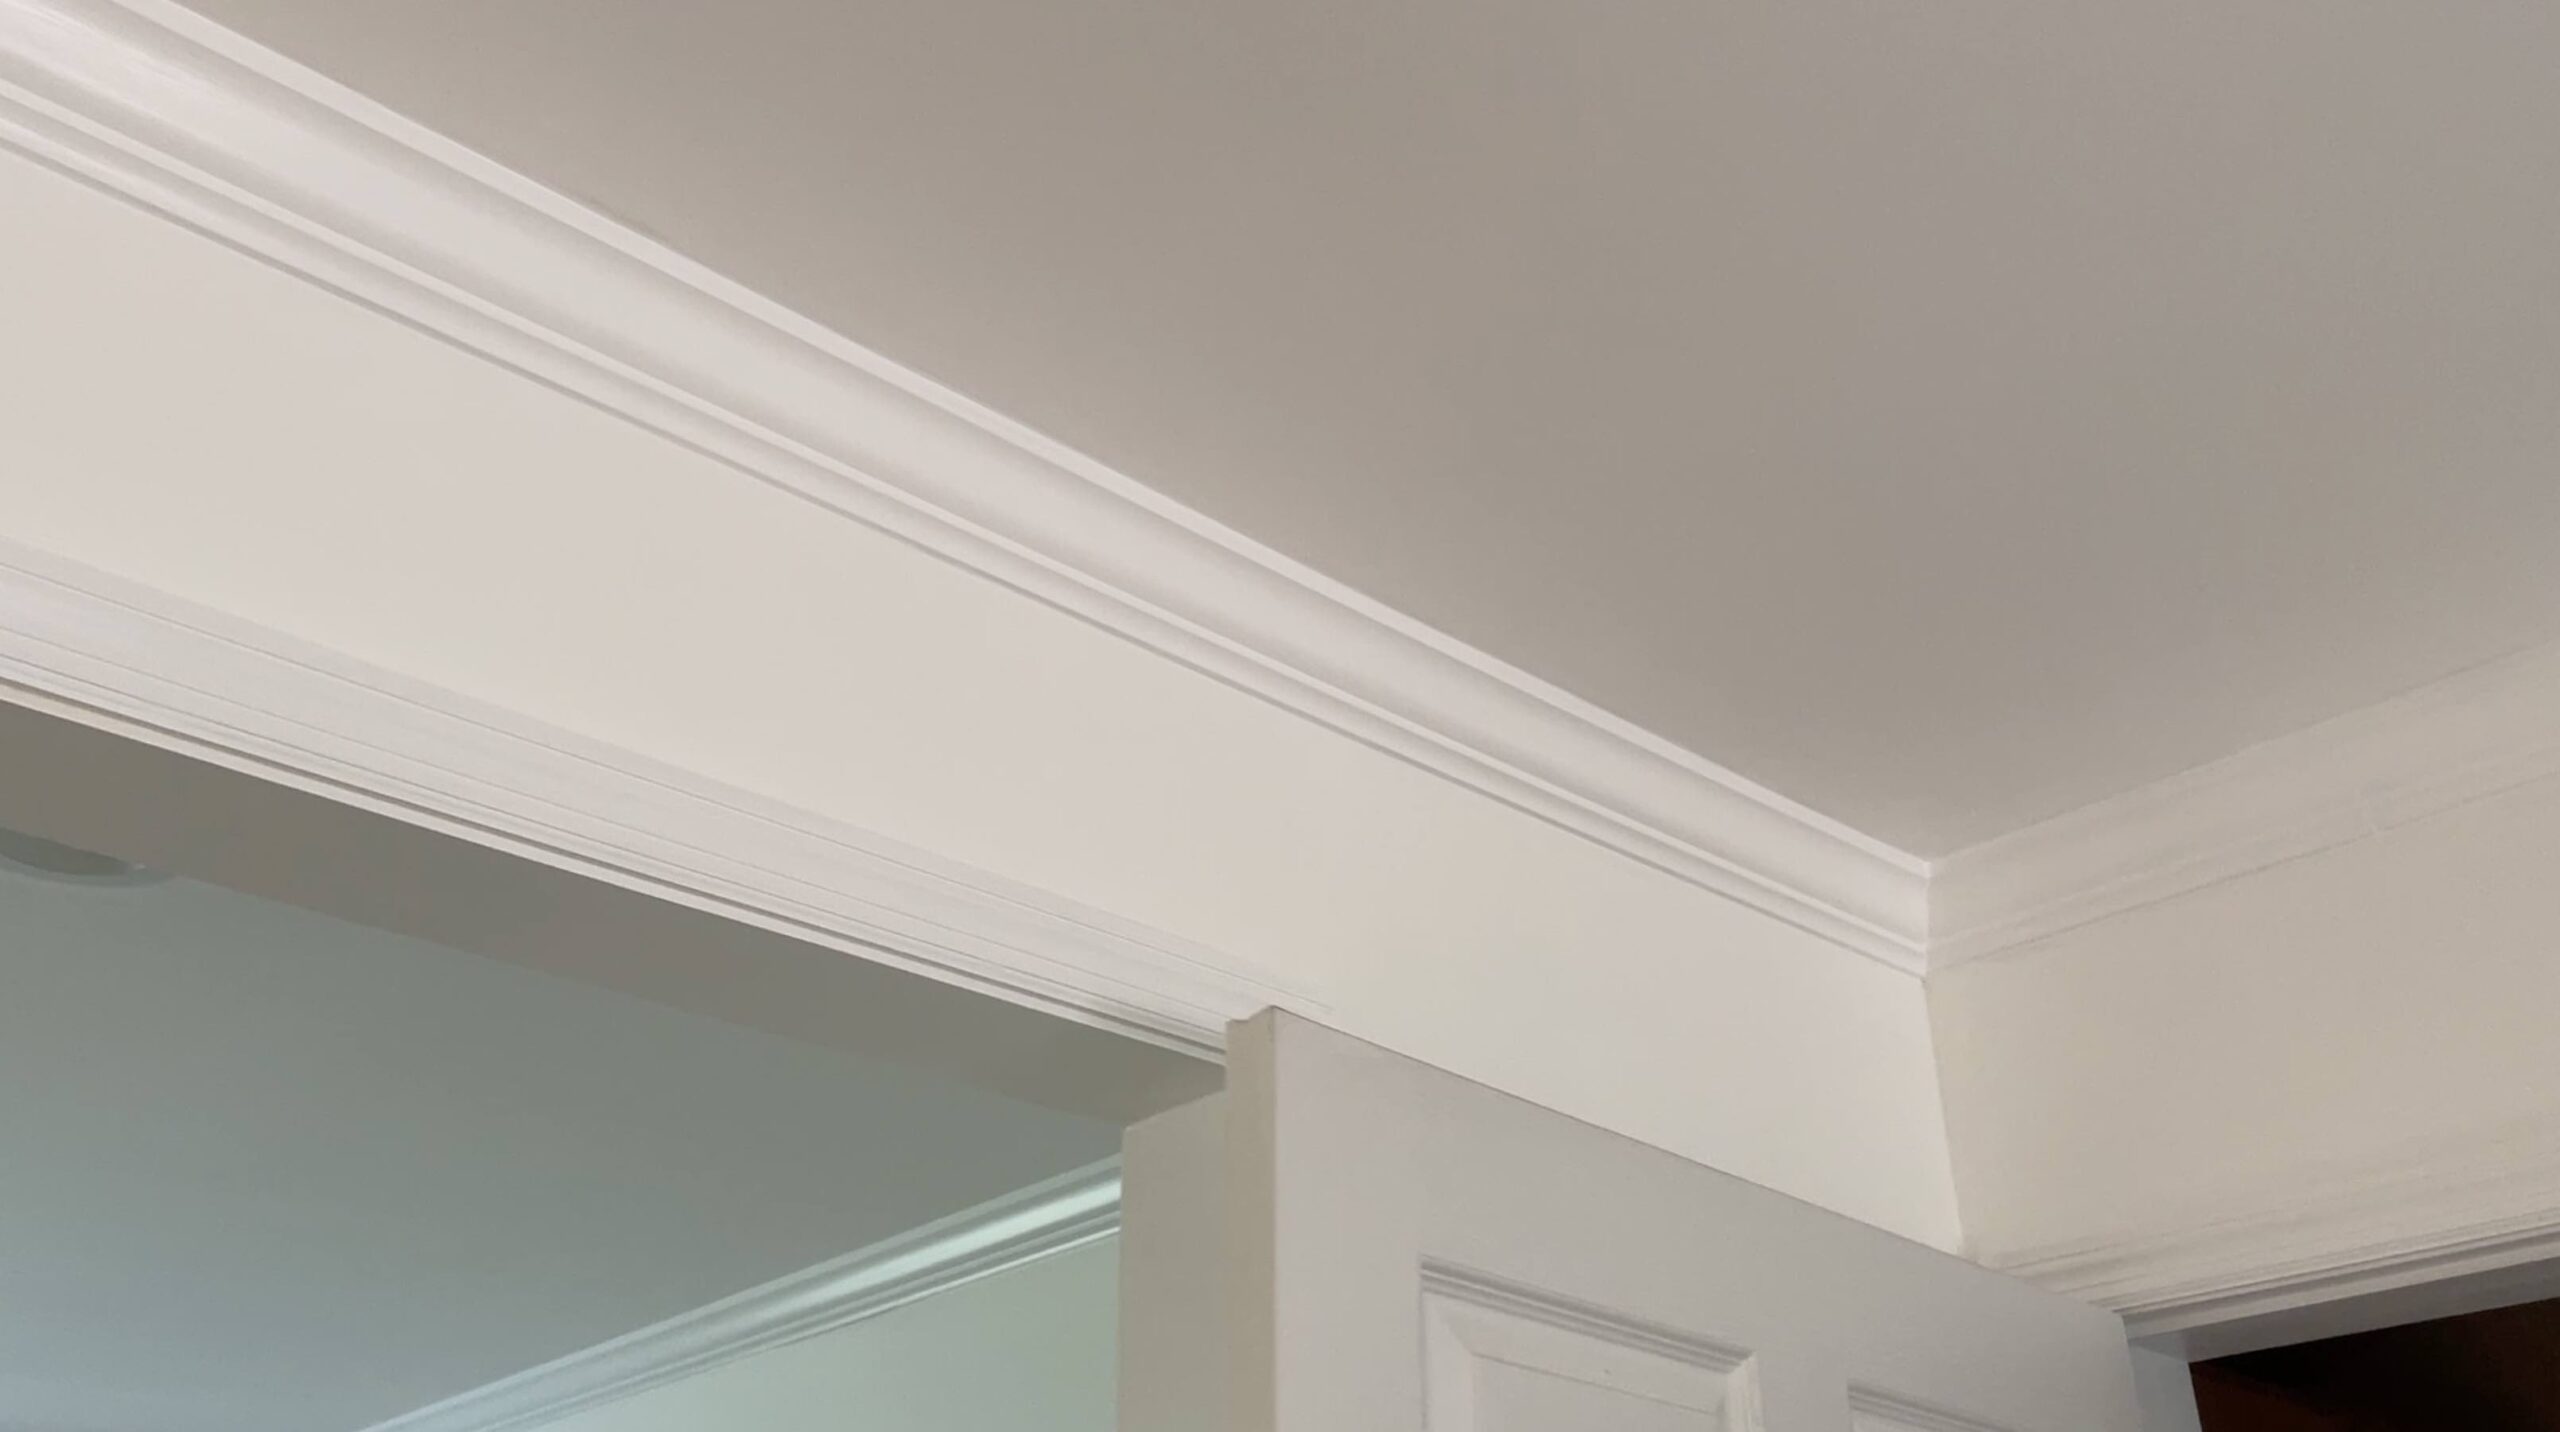
While I had install crown molding during the bookcase build, I realized I really needed to add it to the entire room. I watched a couple of YouTube videos before I started this process. Crown molding is tricky to install both because of the angle you install it as well as the angle you need to cut it. It’s literally an upside down process!
After a couple of mis-cuts, I eventually got my angles cut correctly and ‘rolled’ them into place properly, applying caulk during and after the installation, followed by two coats of paint. I think they came out pretty well.
Final Thoughts
The office furniture and wall hangings are now in place and we are so much happier with how the room looks. We ultimately decided to forego the floating shelves we’d initially planned for, both for functionality and because we have a lot of art and posters we need space to hang. We’ll ultimately replace the ceiling fan, but that is a project for another day.
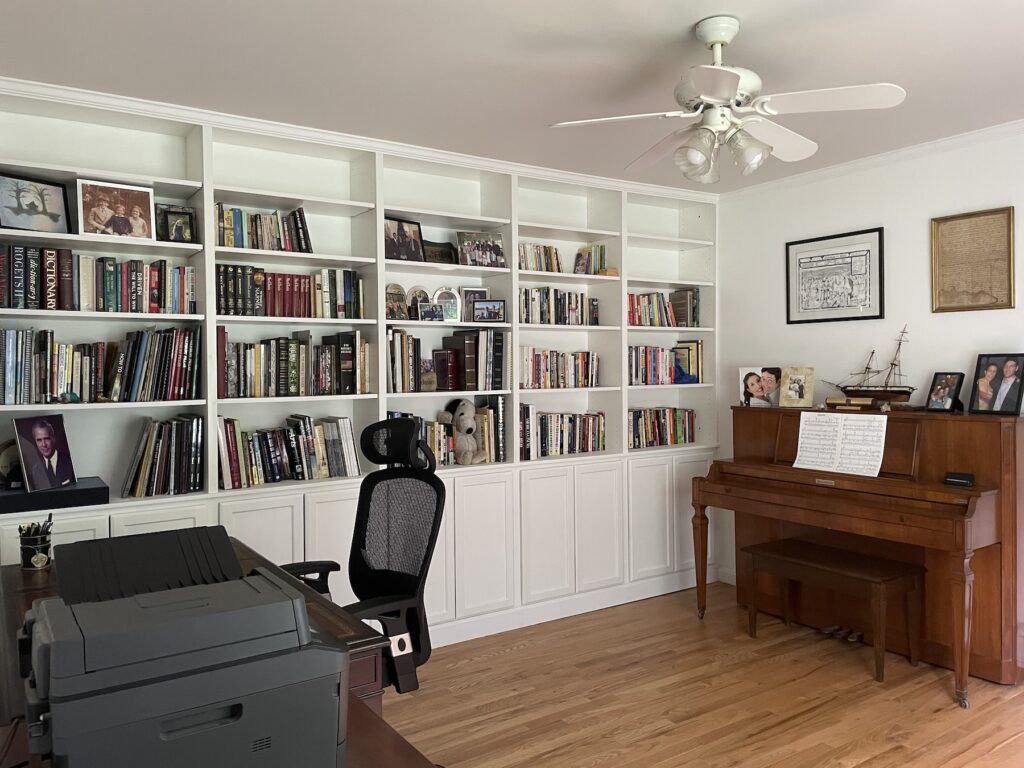
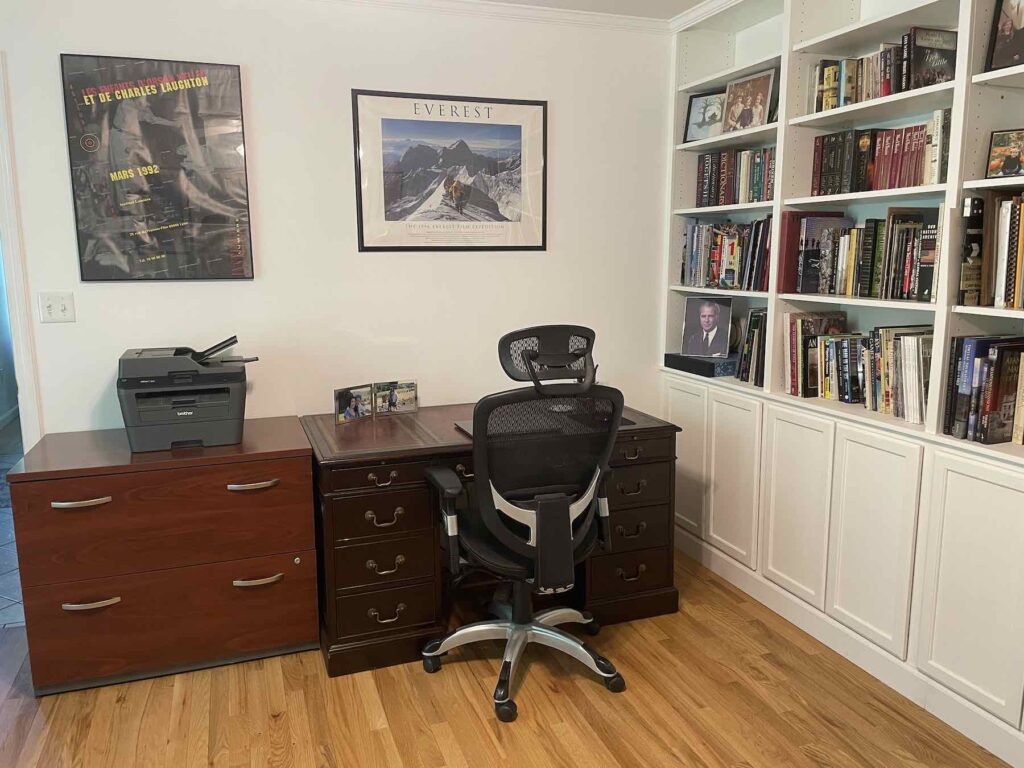
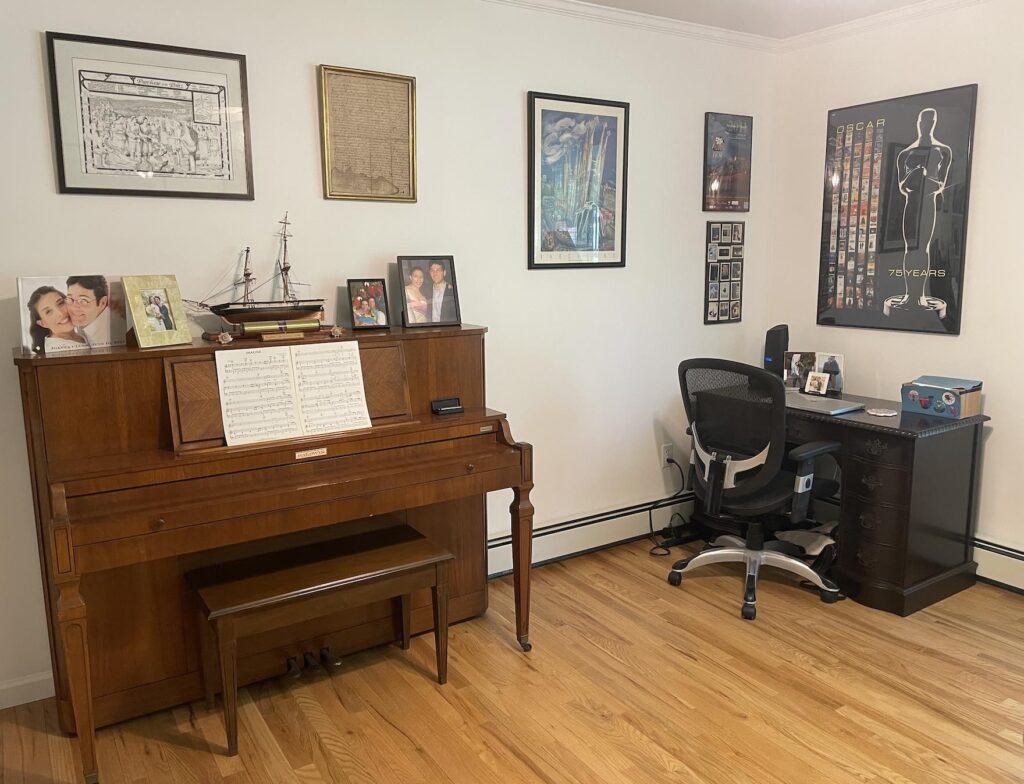
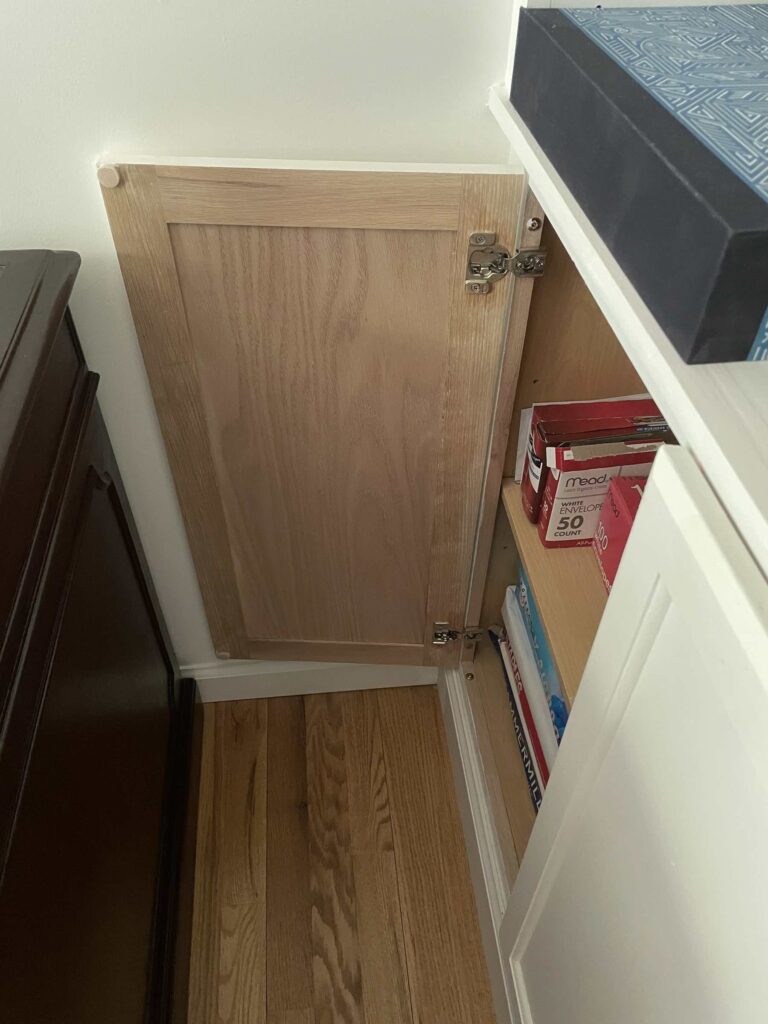
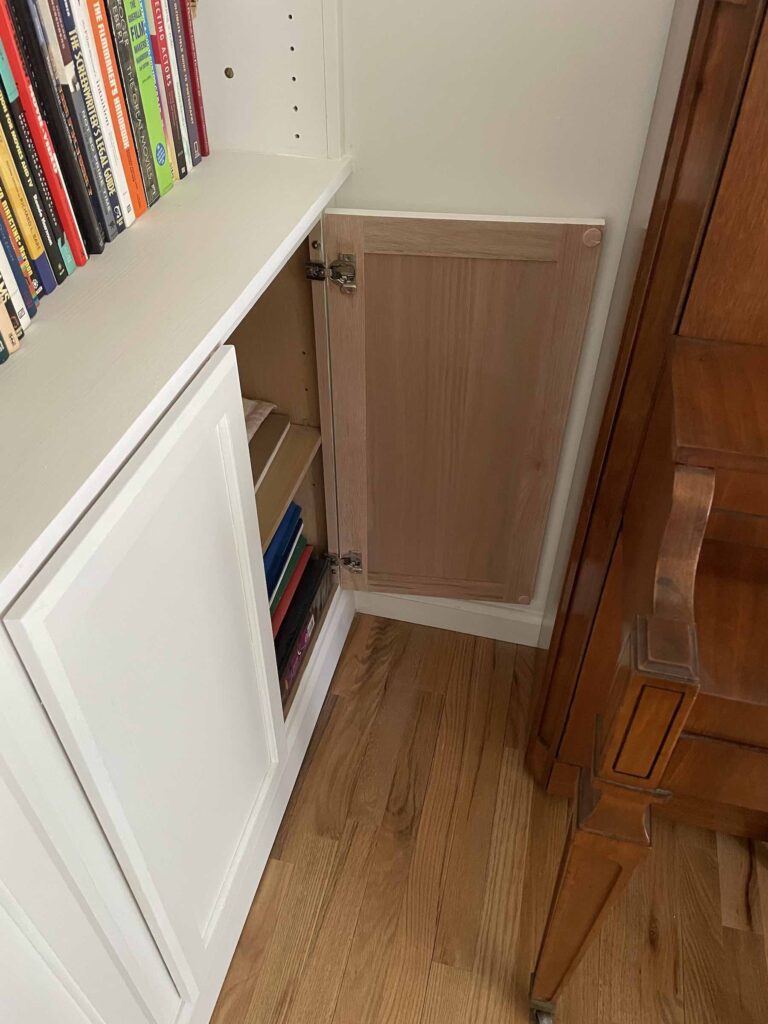
More importantly, the cabinet doors have just enough space to swing fully open at the ends, just as my Sketchup layout indicated they would.
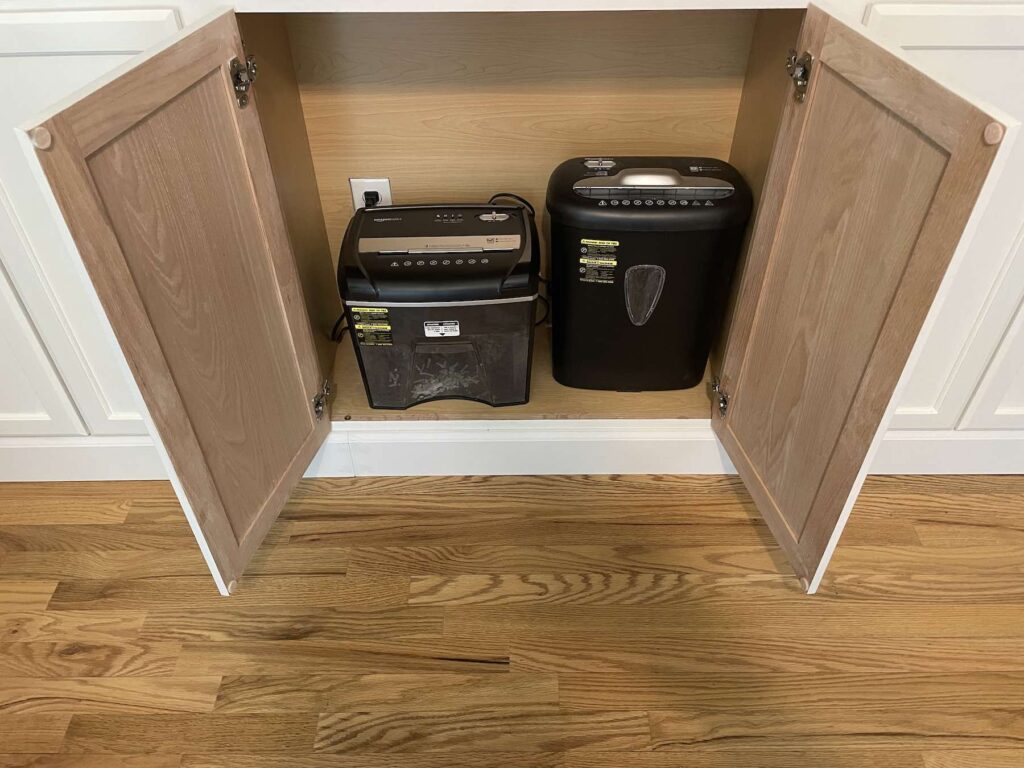
Plus, we have the perfect place to store and use our shredders (yes, we collected two over the years) using the plug I cut out space for.
Below is a breakdown of materials and costs if you are envisioning your own home office remodel. If you liked this post, you may also be interested in reading about our primary bathroom and kitchen remodels.
Materials and Cost$
Custom Bookcase Project Total: $1,691.66
Desk Refinishing Project Total: $121.98
Crown Moulding + Caulking: $76.60
Project Total: $1,890.24
Recent Posts

Must Have DIY Landscaping Tools
Do you need to replace any of your landscaping tools? Fall is fast approaching and it marks the second time of…
How To Add Texture And Depth With Wainscoting
Wainscoting is a great way to add texture, depth and character to any room. It also protects your drywall from…
How To Add New Crown Molding For An Elevated Finish
When we first walked through our new home, the only room that had crown molding installed was the living room….
New DIY Home Office Makeover: The Reveal (Pt.4)
I first started our home office makeover in April and it’s time for the reveal! Similar to our experience with our new walk-in…
New DIY Home Office Make Over: Refinishing Heirloom Desks (Pt.3)
As part of our home office remodel, we have two mid-century desks that need refinishing. Both are family heirlooms from my father. Refinishing:…
New DIY Home Office Makeover: Custom Bookcase Build (Pt.2)
I’m in the process of remodeling our home office and the first stage of the makeover is installing new custom…
Leave a Reply