
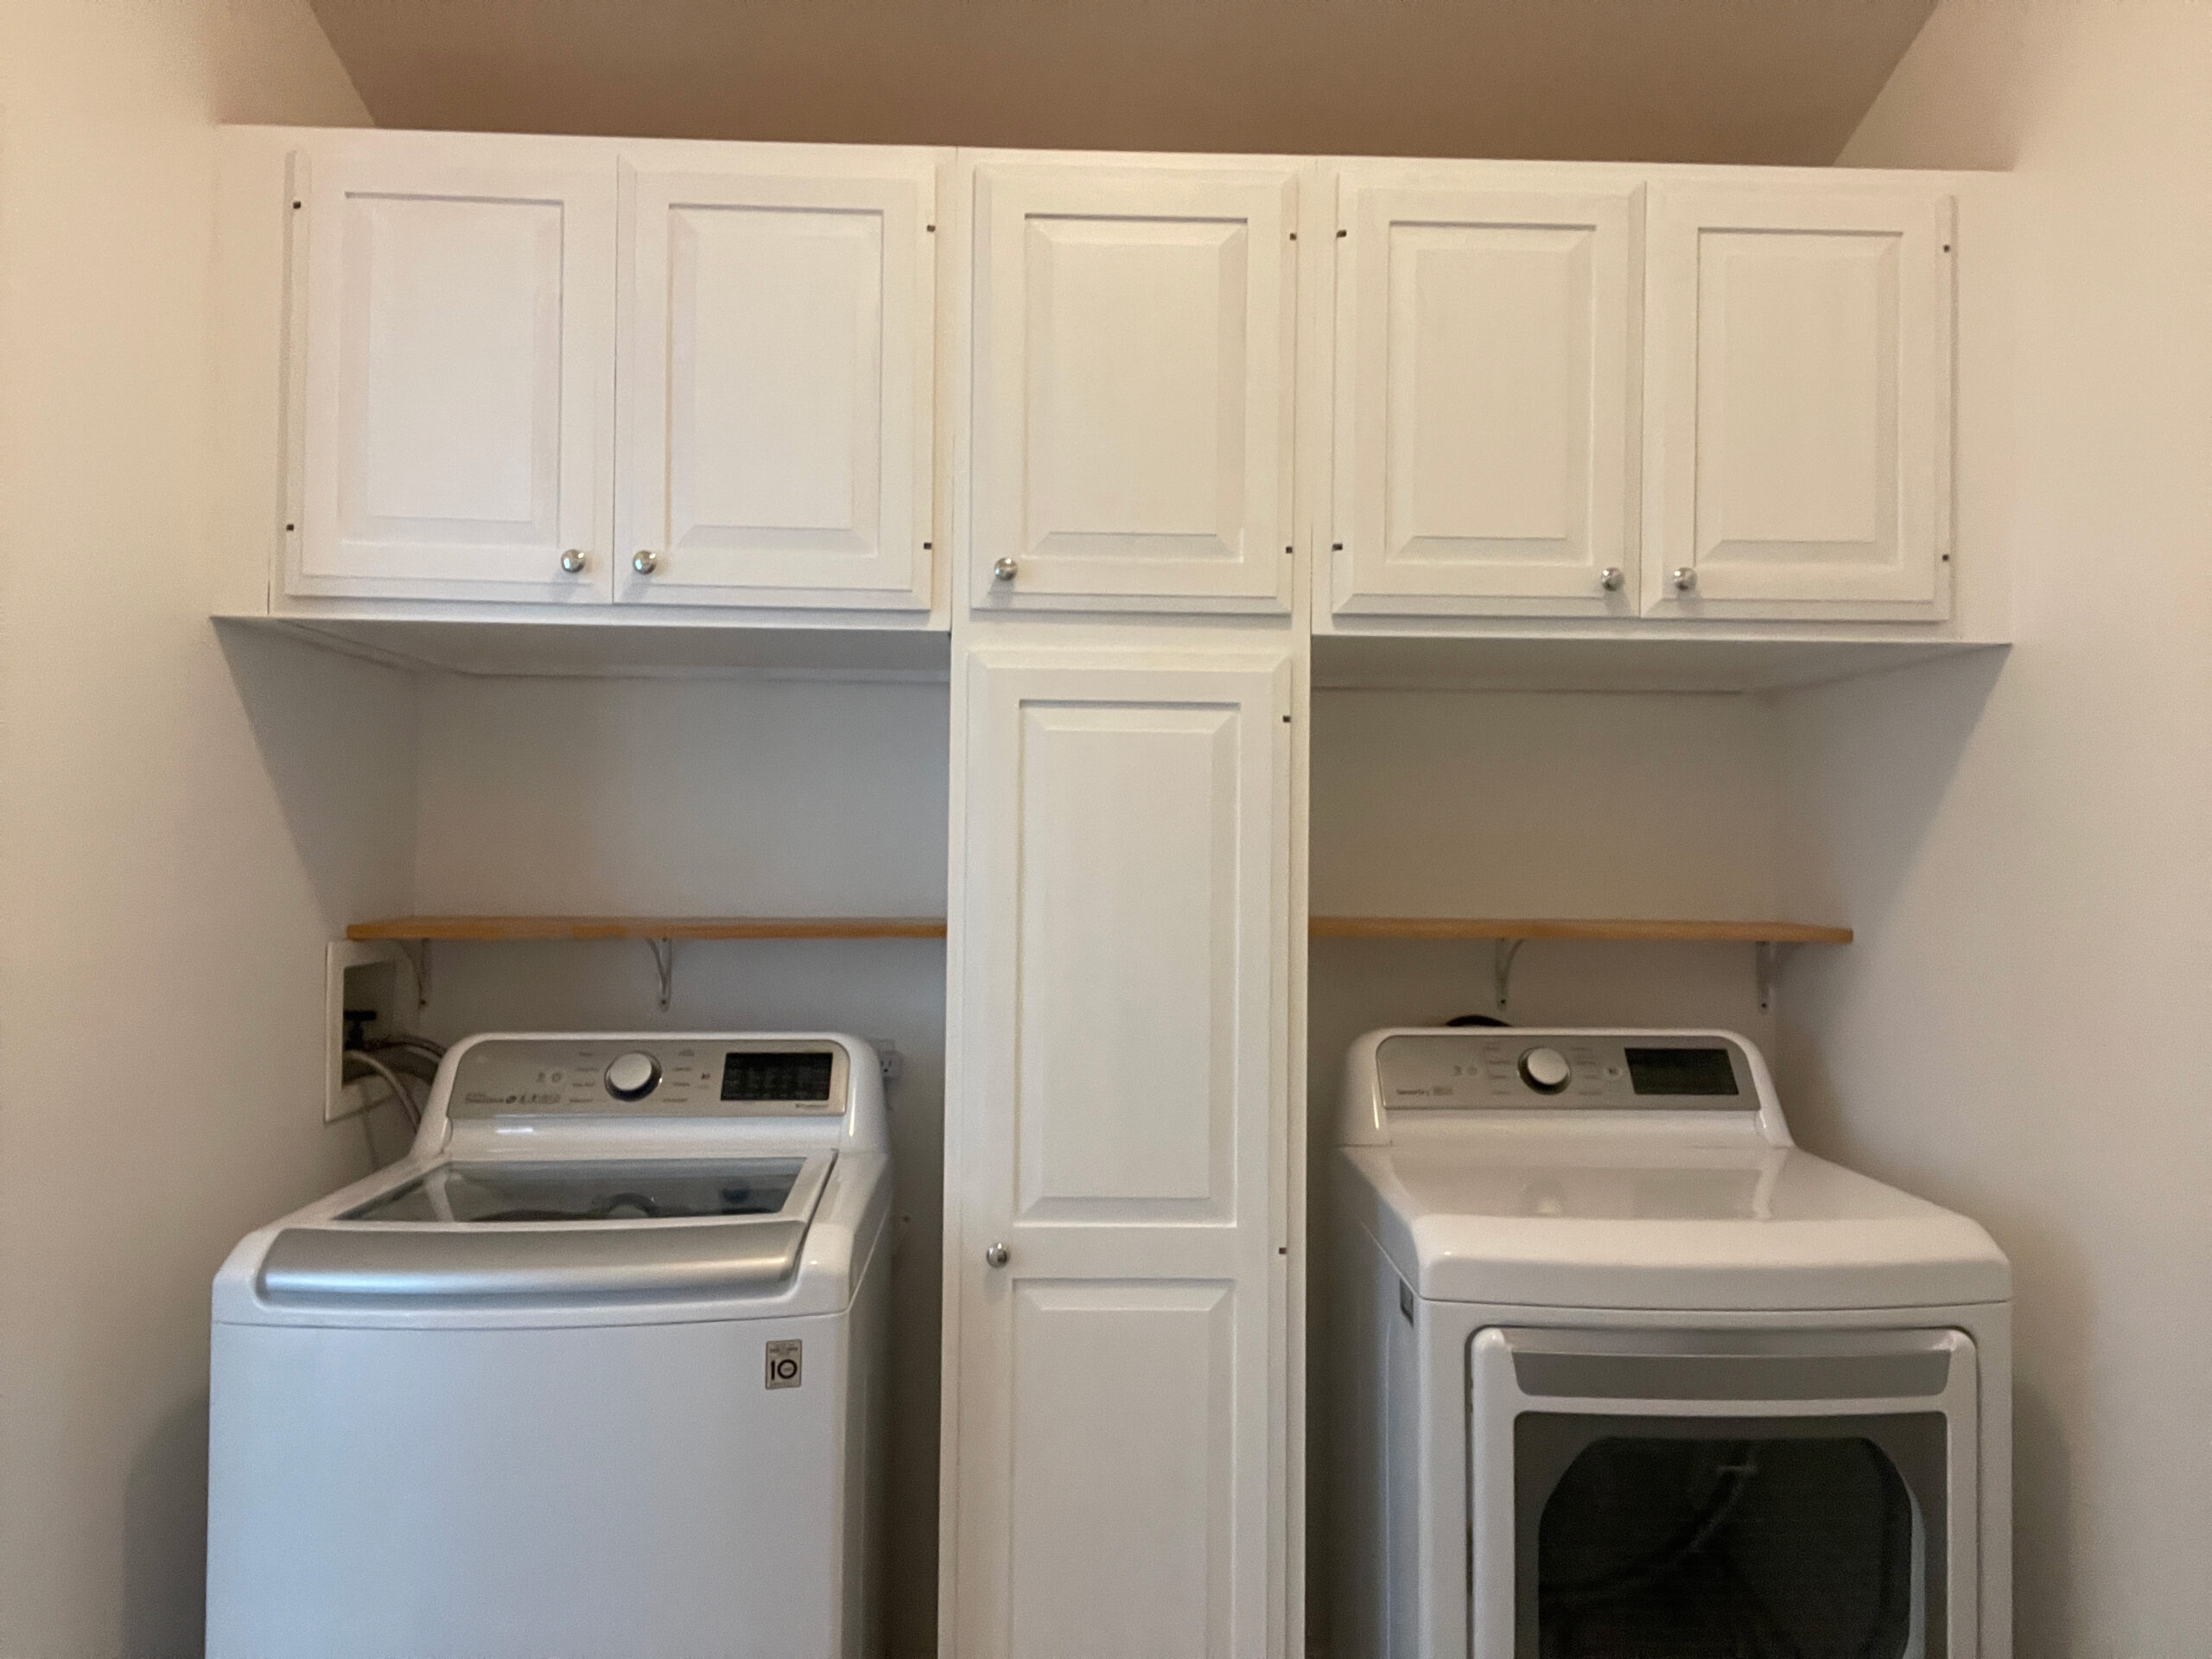
For many homes the mud room is the initial entry point from the garage. Our house is no different. It’s the first room you walk into and it’s multi-purposed, serving as a laundry / mud / pantry room. It was an eyesore for us and desperately needed a refresh! Compared to our kitchen, walk-in closet and home office remodels, this was one of our easier home improvement projects, and we did it for less than $140!
Starting out
It’s a versatile room, with basic cabinetry that was never painted or stained.
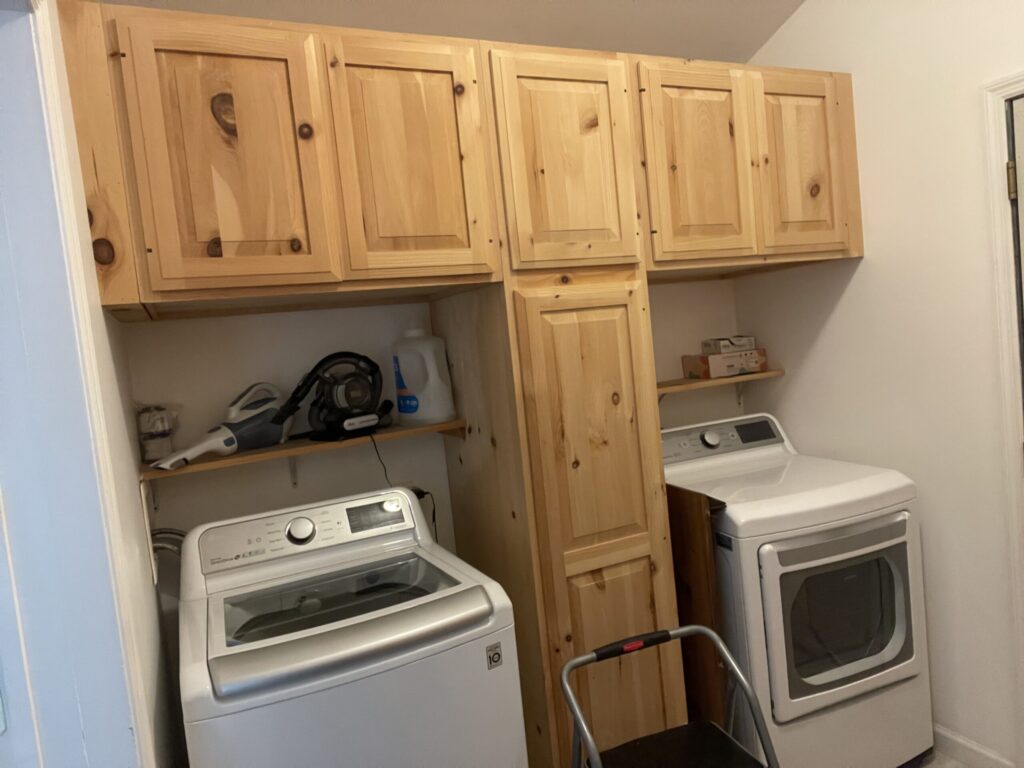
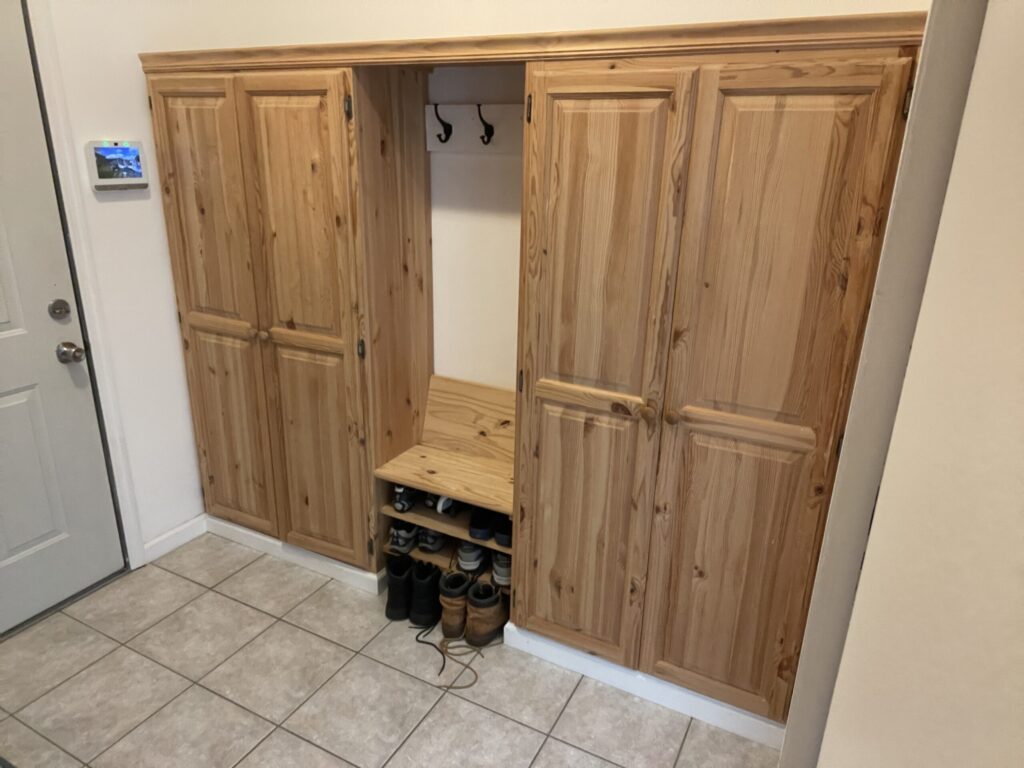
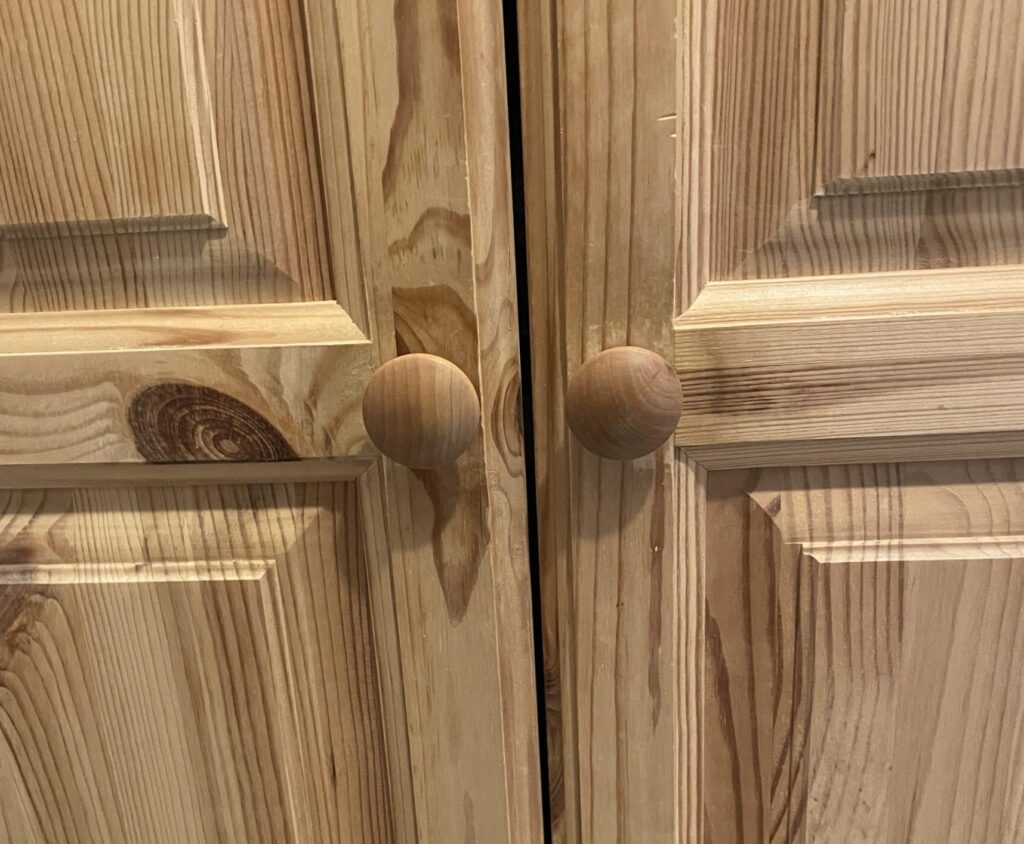
On the pantry side of the room the cabinets had Ikea-like wood knobs. The cabinetry on the opposite side of the room had no knobs at all.
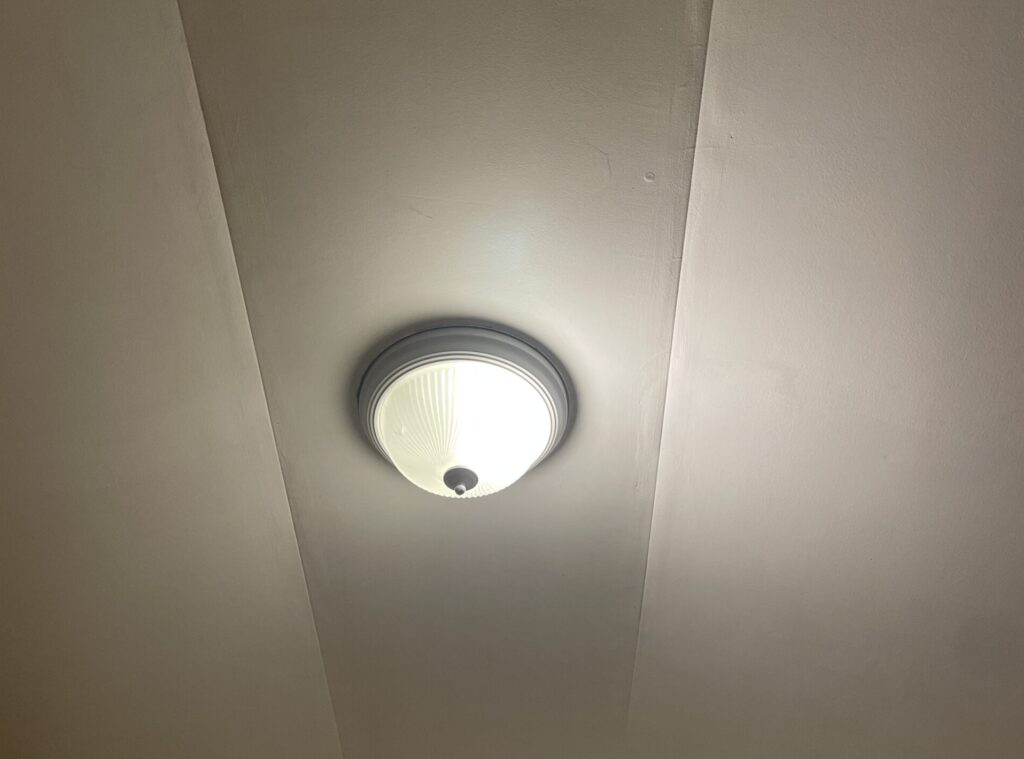
Most egregiously, the room had the last remaining boob ceiling light in our house.
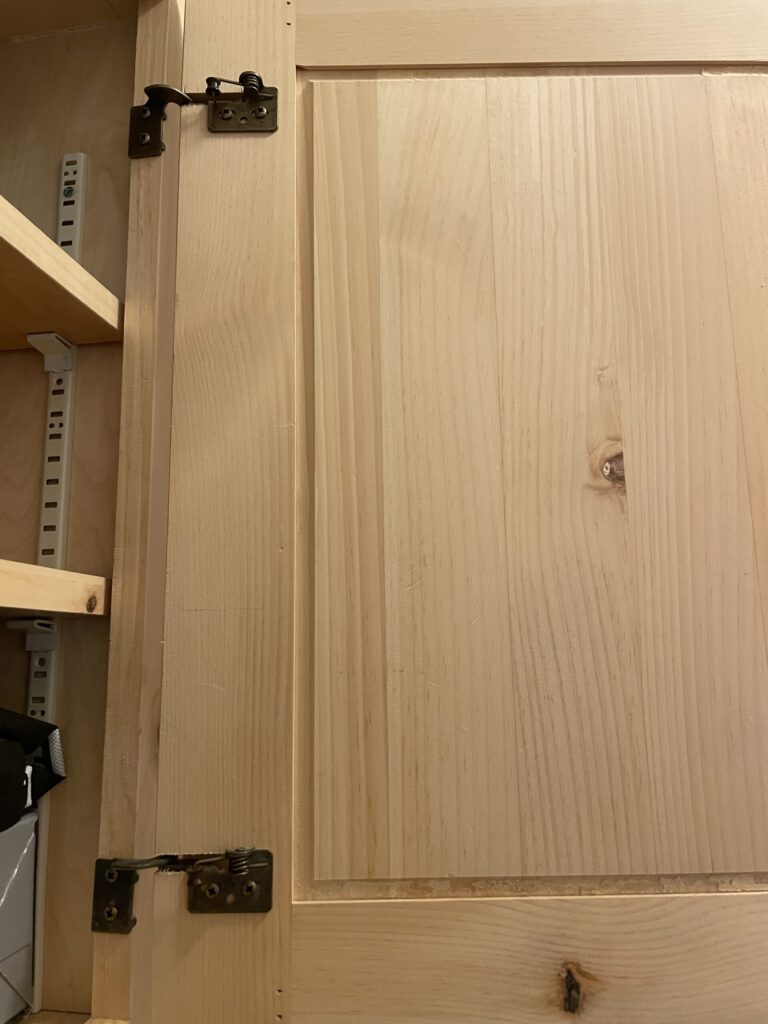
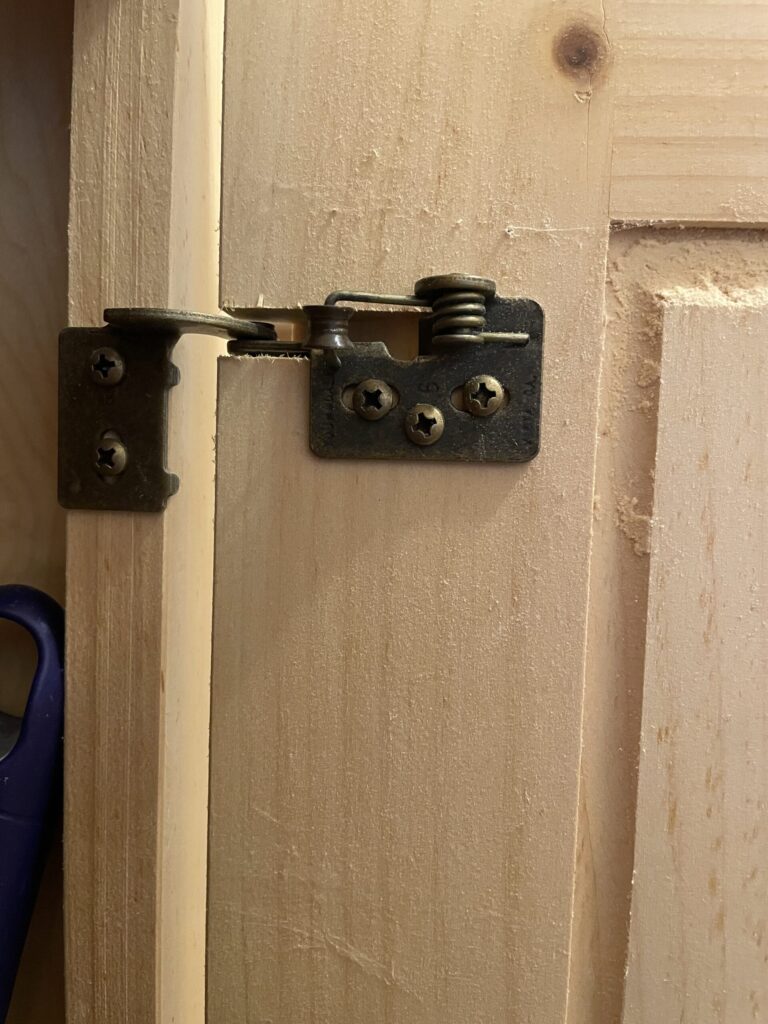
While we really wanted to replace the door hinges with soft closing hinges, the current hinges are cut into the door frames. There is no easy way to cover up the gaps and new hinges wouldn’t attach to the cabinets properly. So, we stuck with the original hinges and that helped reduce the project budget.
Choosing A Color
There was a lot of thought that went into the color palette of the room. The wood cabinets provided us with a blank canvass.
This didn’t make it any easier for us to make decisions. The reason: there are no windows in the pantry and the floor tile, which we decided to keep due to budget constraints, is predominately white and gray.
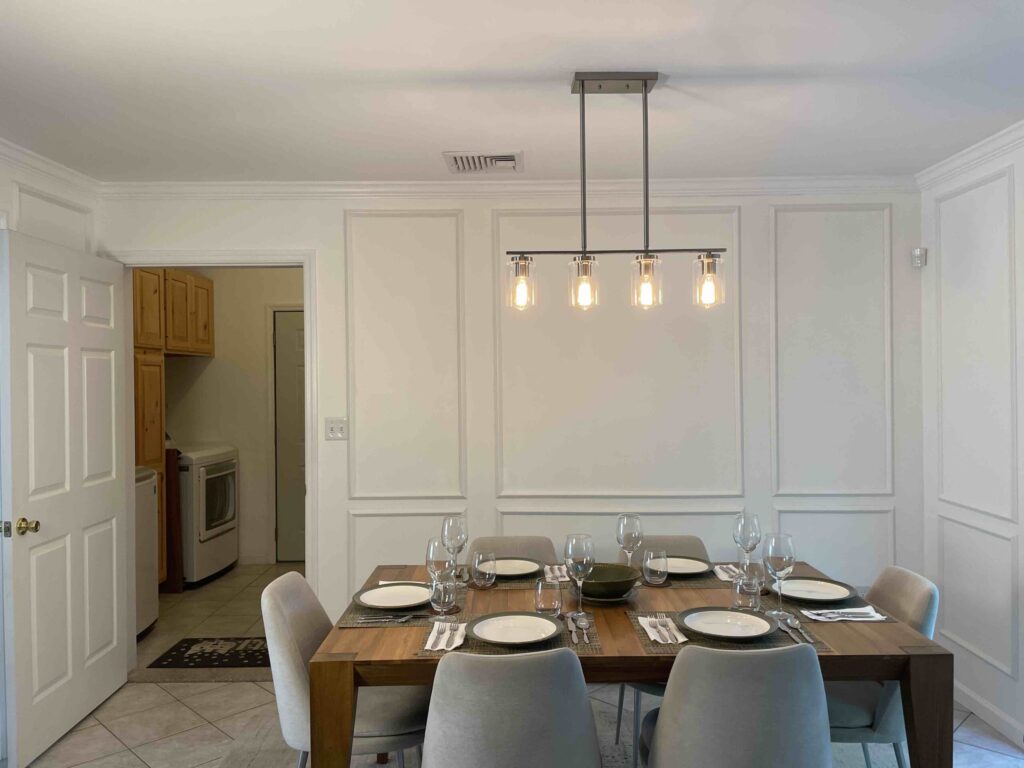
We considered earthy colors such as brown and green. Brown really appealed to us because it matched the dining table and would have channeled the ‘mud’ part of the space. Ultimately we passed on both colors; they were too dark for the room. We also considered blue, which is our favorite color, and multiple shades of gray.
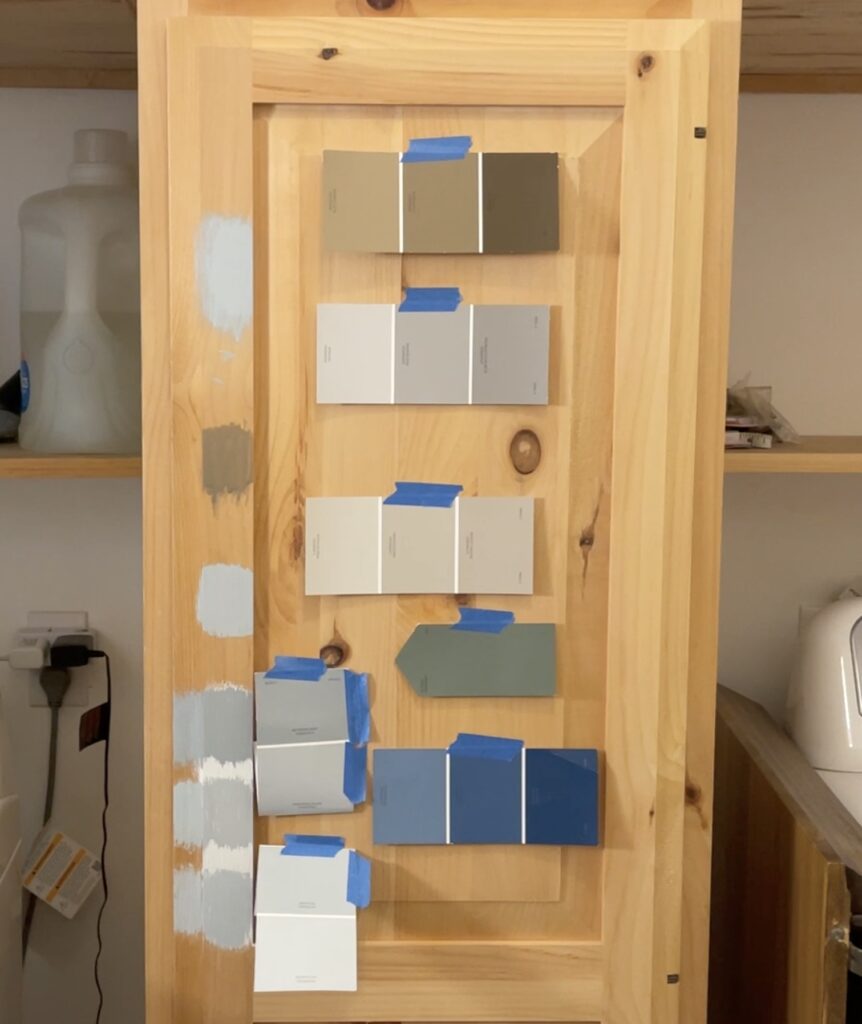
Initially we leaned into painting the cabinets a light gray since there are a lot of gray tones in our kitchen – from the rug and chairs in the dining space to the cushions on the kitchen island stools. Even the stainless-steel appliances and drawer handles are gray-like.
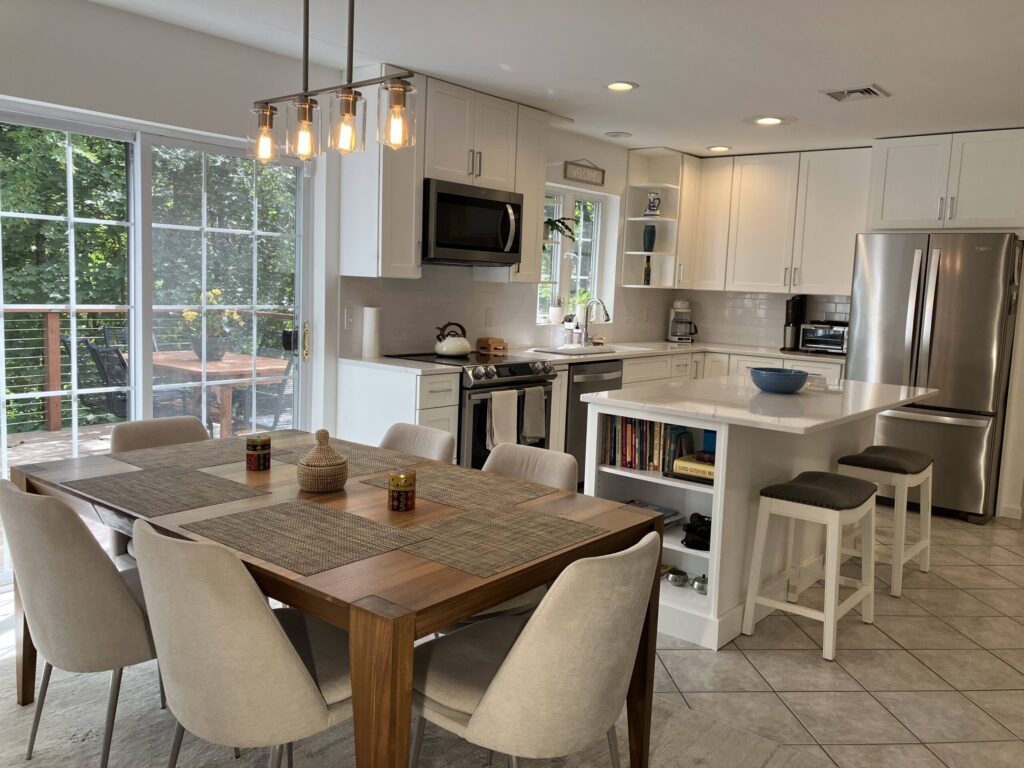
We also thought of using a natural wood stain, but that didn’t feel right in the space given we wanted to leave the shelves and bench area unpainted.
Ultimately, we landed on white paint. In addition to brightening up the room, it gives the space a cohesive look.
Priming and Painting
The first step for the refresh was applying 2” wide painter’s tape to the bench and shelves. My plan was to polyurethane them once I finished painting the cabinets. After applying the painter’s tape, I removed the cabinet doors so that I could prime and paint the doors and cabinets separately.
There were a lot of knots in the raw wood, so I applied multiple coats of primer to seal them up.
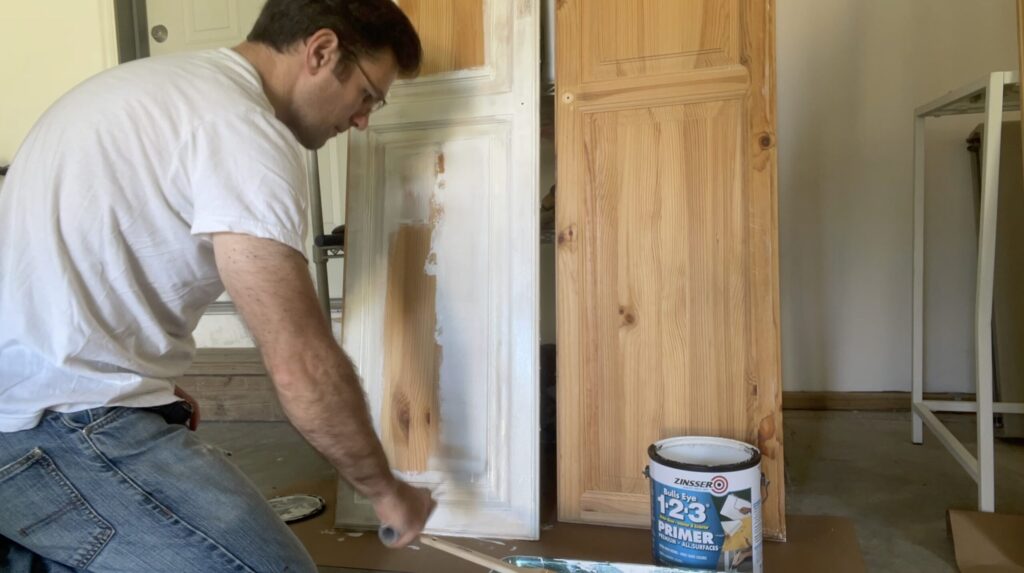
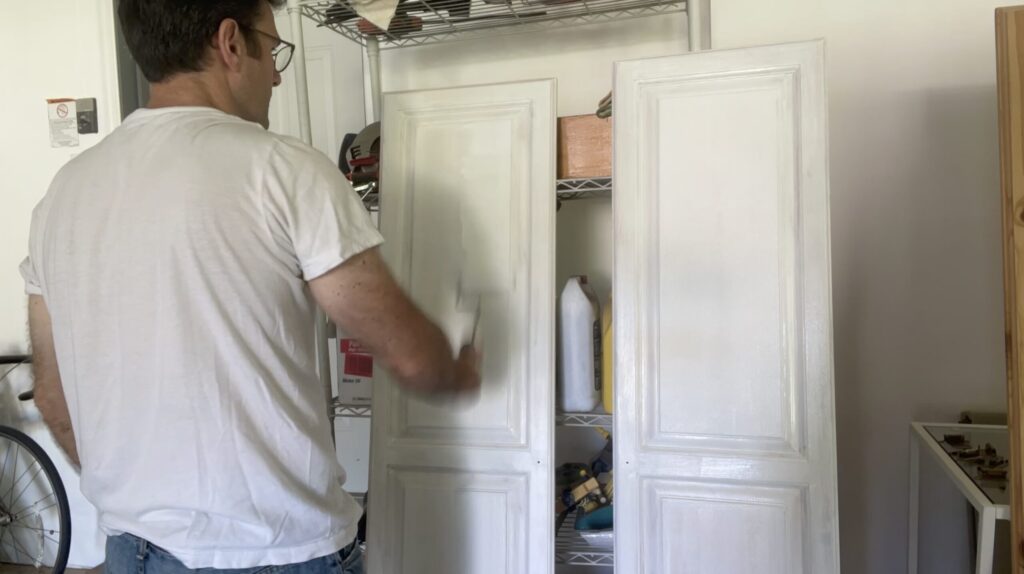
From there, I gave every surface a light sanding with 150 grit sand paper, followed by a top coat of the Valspar Ultra-White Paint paint.
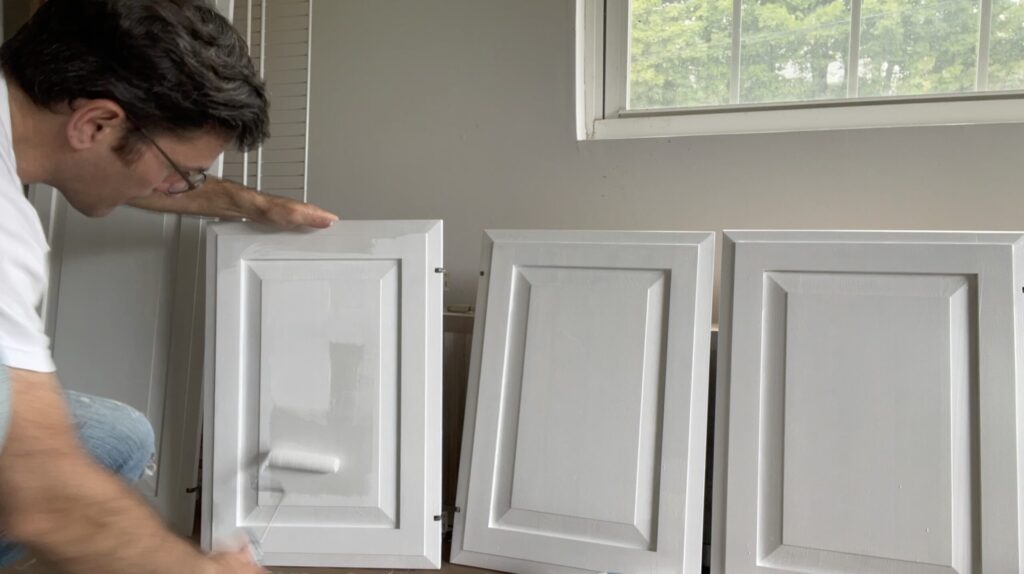
Once the paint was dry, it was time to re-attach the doors.
Adding New Door Handles
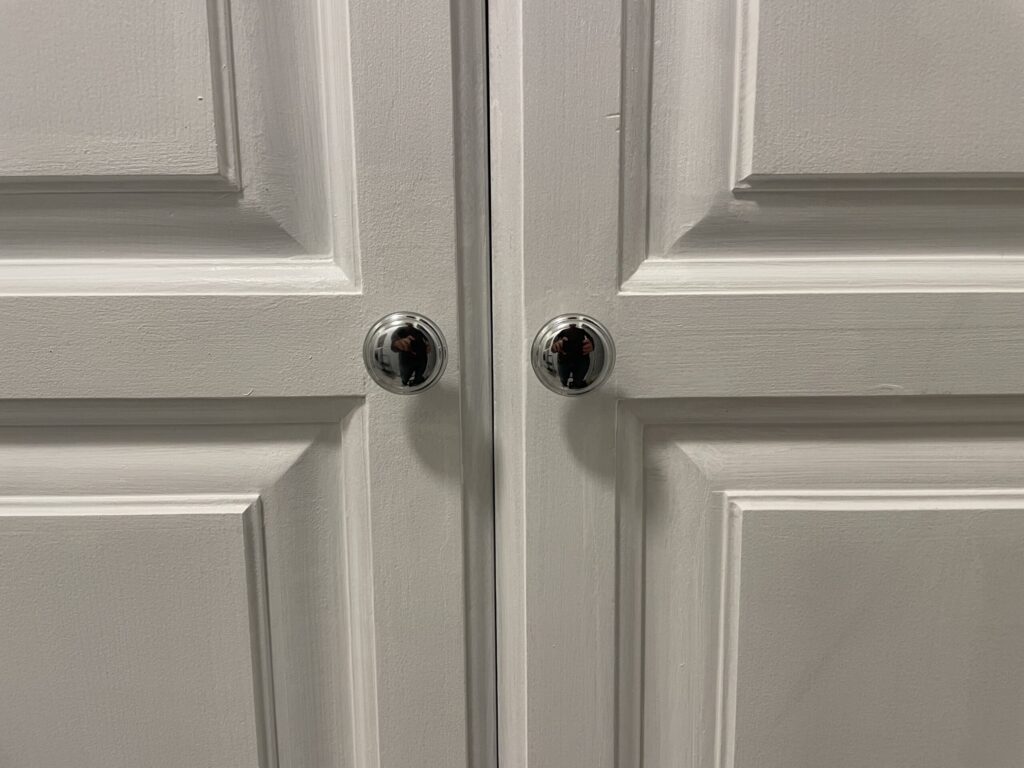
Once the doors were in place, I swapped out the wooden door handles with the same stainless-steel knobs I used for our primary walk-in closet dressers. I drilled new holes for the doors above and between the washer and dryer.
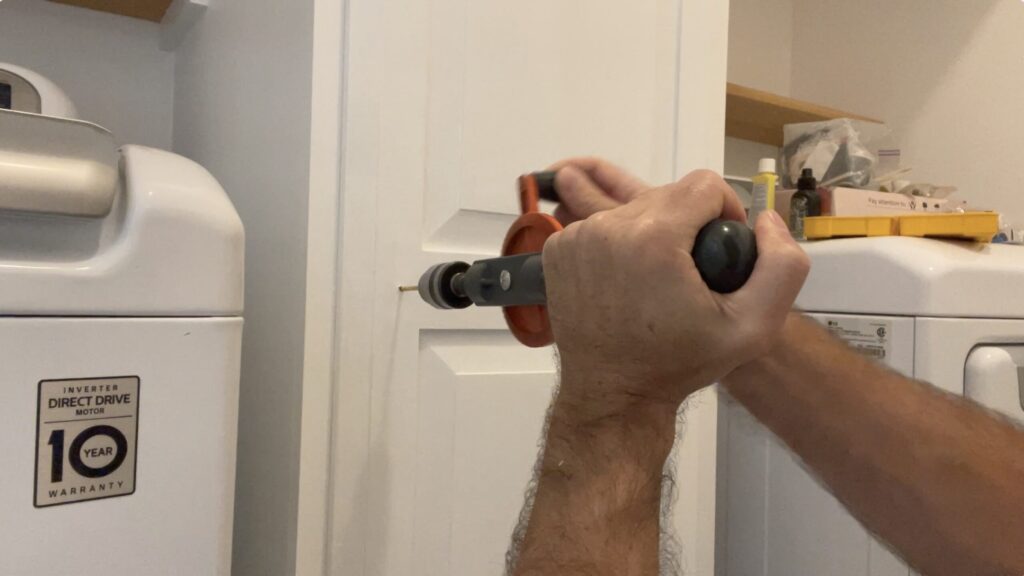
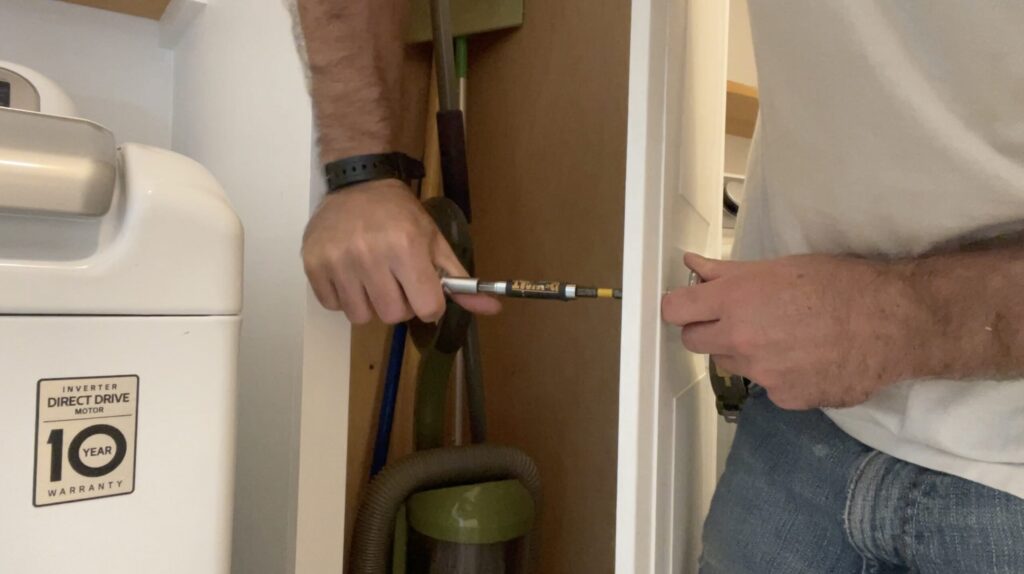
The handles were actually on clearance. I was able to purchase them at just 1 dollar a piece! I ended up grabbing enough of them for the mud room and for our new living room TV console.
They really POP against the white paint and perfectly match the stainless steal appliances and cabinet handles in the kitchen.
Adding Polycrylic
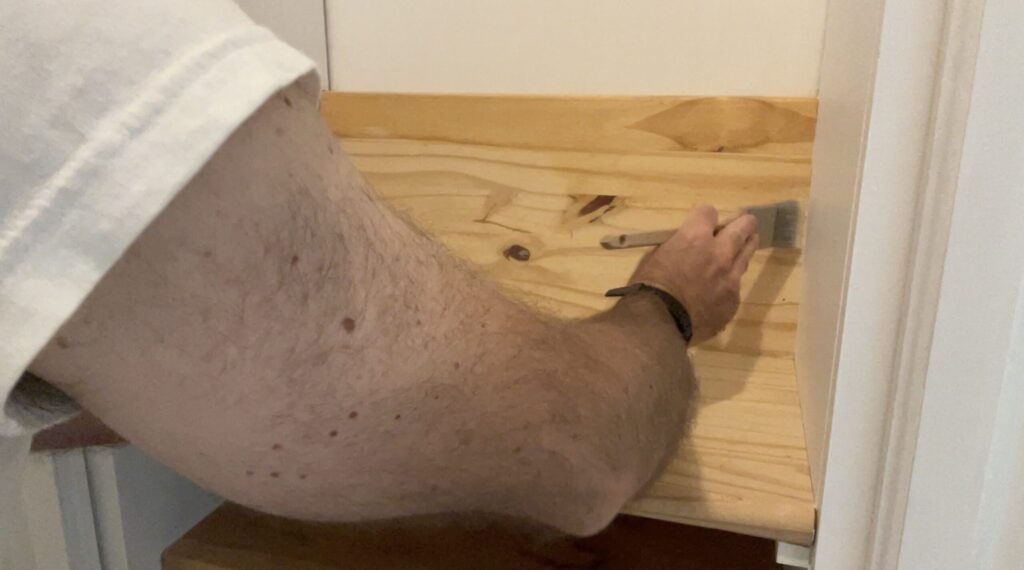
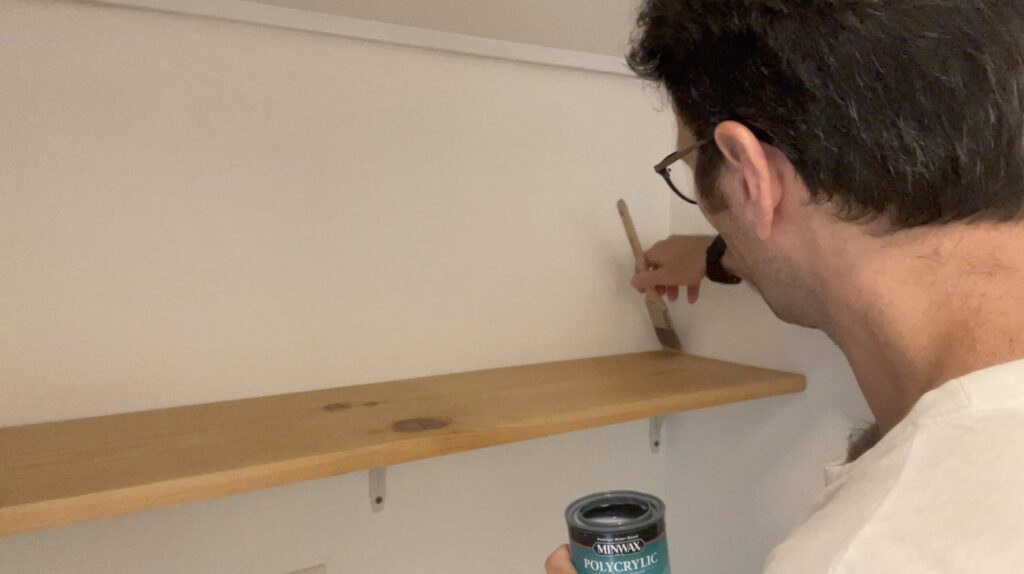
Then I removed the painter’s tape and switched to a water-based Polycrylic Clear Gloss top coat for the bench and shelves. Polycrylic is an acrylic-dominant blend with added urethane.
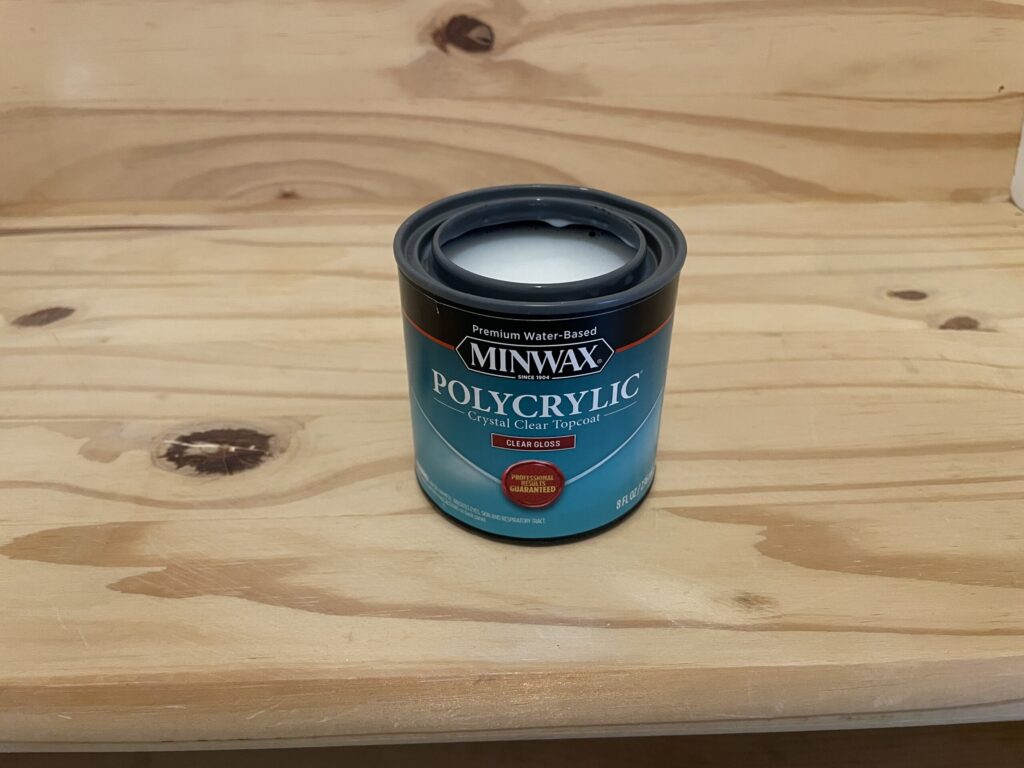
It’s more for protecting the natural wood than to add any coloring to it and contrasts nicely with the white cabinets.
Adding A Cleaning Tool Rack
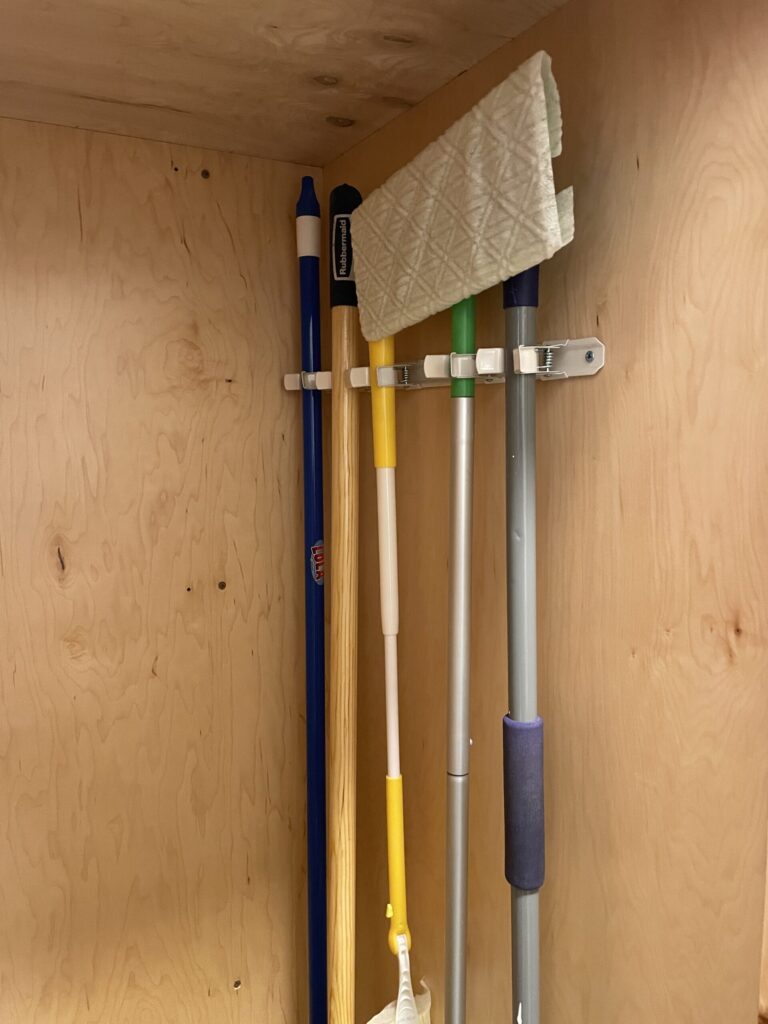
An additional detail I added to our broom closet is a 5 clip rack. Previously, each of our cleaning tools was tossed into the cabinet. This simple rack now keeps all of the handles organized and in place.
Swapping the ceiling light
The last step was swapping out the boob light for a new stainless-steel LED light. I made sure to line up the black, white and ground wires properly.
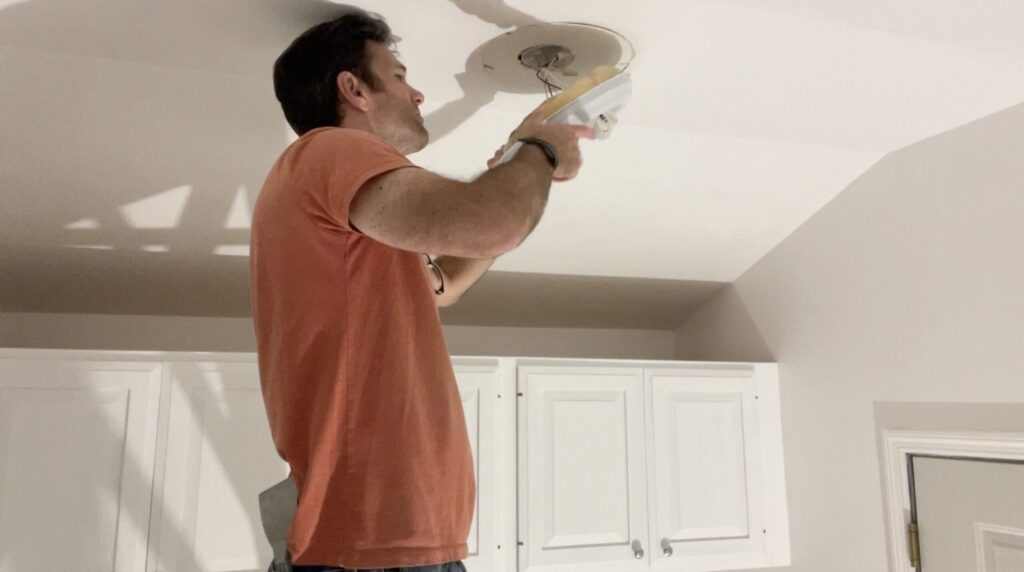
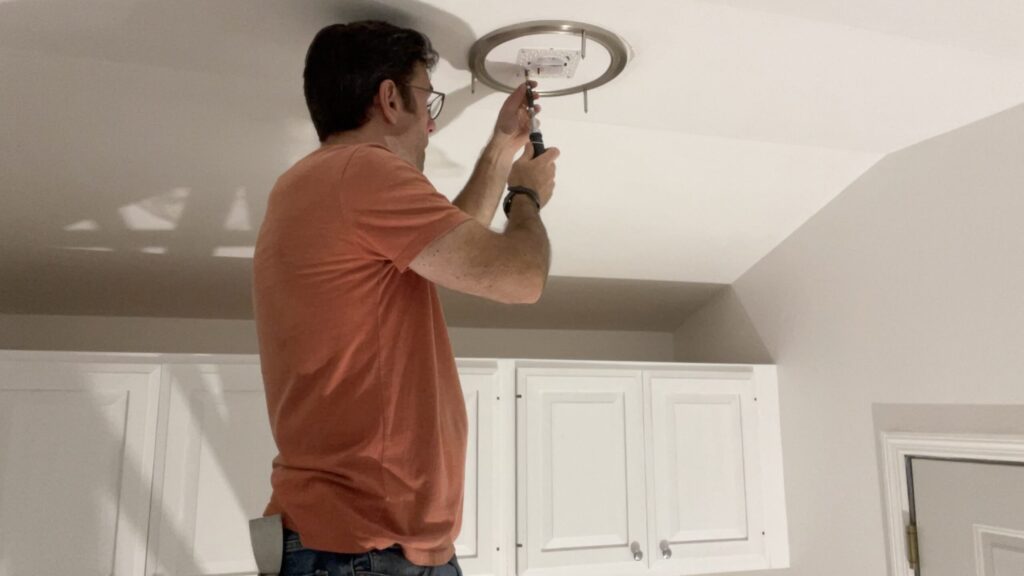
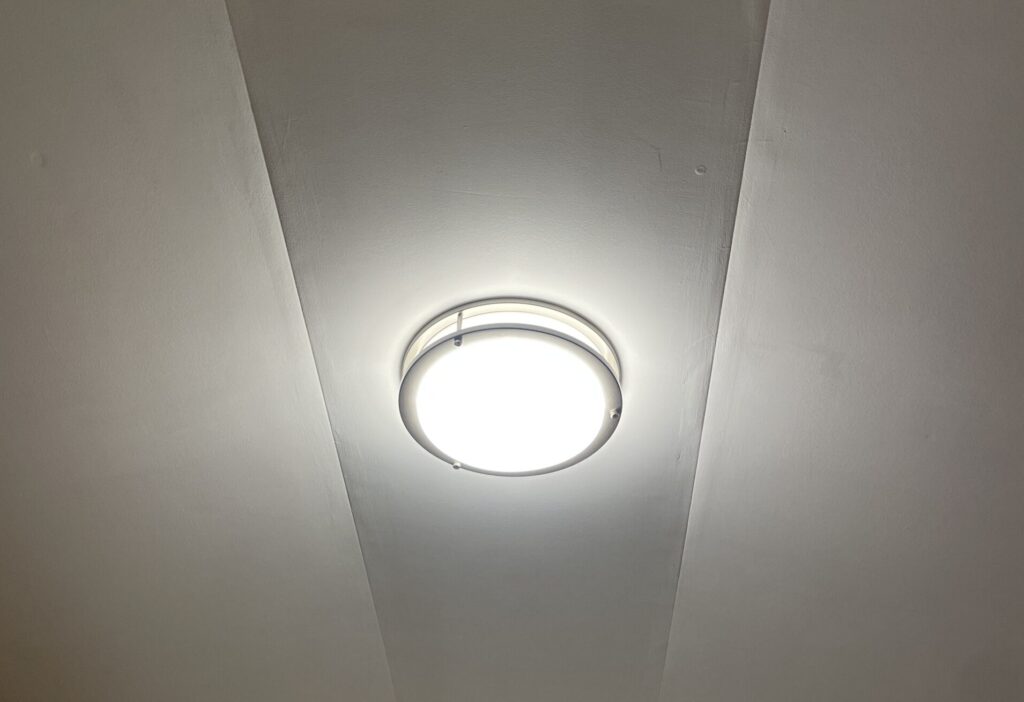
We are very happy with the new lighting fixture. It’s inexpensive and elegant all at the same time.
Final thoughts
The refresh has made the laundry / mud / pantry room feel larger and more welcoming. It now looks more like an intentional extension of our kitchen. Now we just need to add a dimmer switch so the LED light, which I set to a warm yellow (2500), isn’t quite so bright!
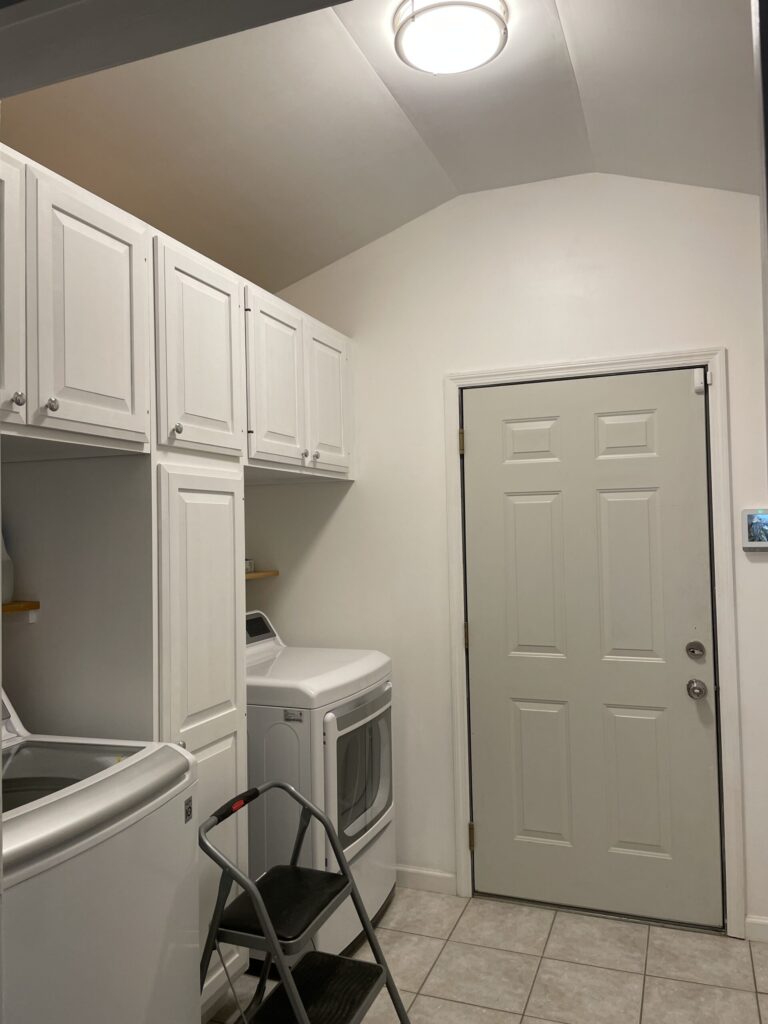
Below is a breakdown of materials and costs if you are planning a similar refresh.
Materials and Cost$
Lowe’s:
Cleaning Tool Rack-$15.98
Door Knobs– 16x at $1 each-$16.00
Minwax Polycrylic Clear Gloss-$14.98
Valspar Ultra-White Paint-$46.98
Paint Brush: 2x @10.98 -$21.90
Painter’s Tape-$7.58
Home Depot:
Ceiling Light-$21.99
Project Total: $137.80
Recent Posts
The Laundry / Mud / Pantry Room Refresh
For many homes the mud room is the initial entry point from the garage. Our house is no different….

Must Have DIY Landscaping Tools
Do you need to replace any of your landscaping tools? Fall is fast approaching and it marks the second time of…
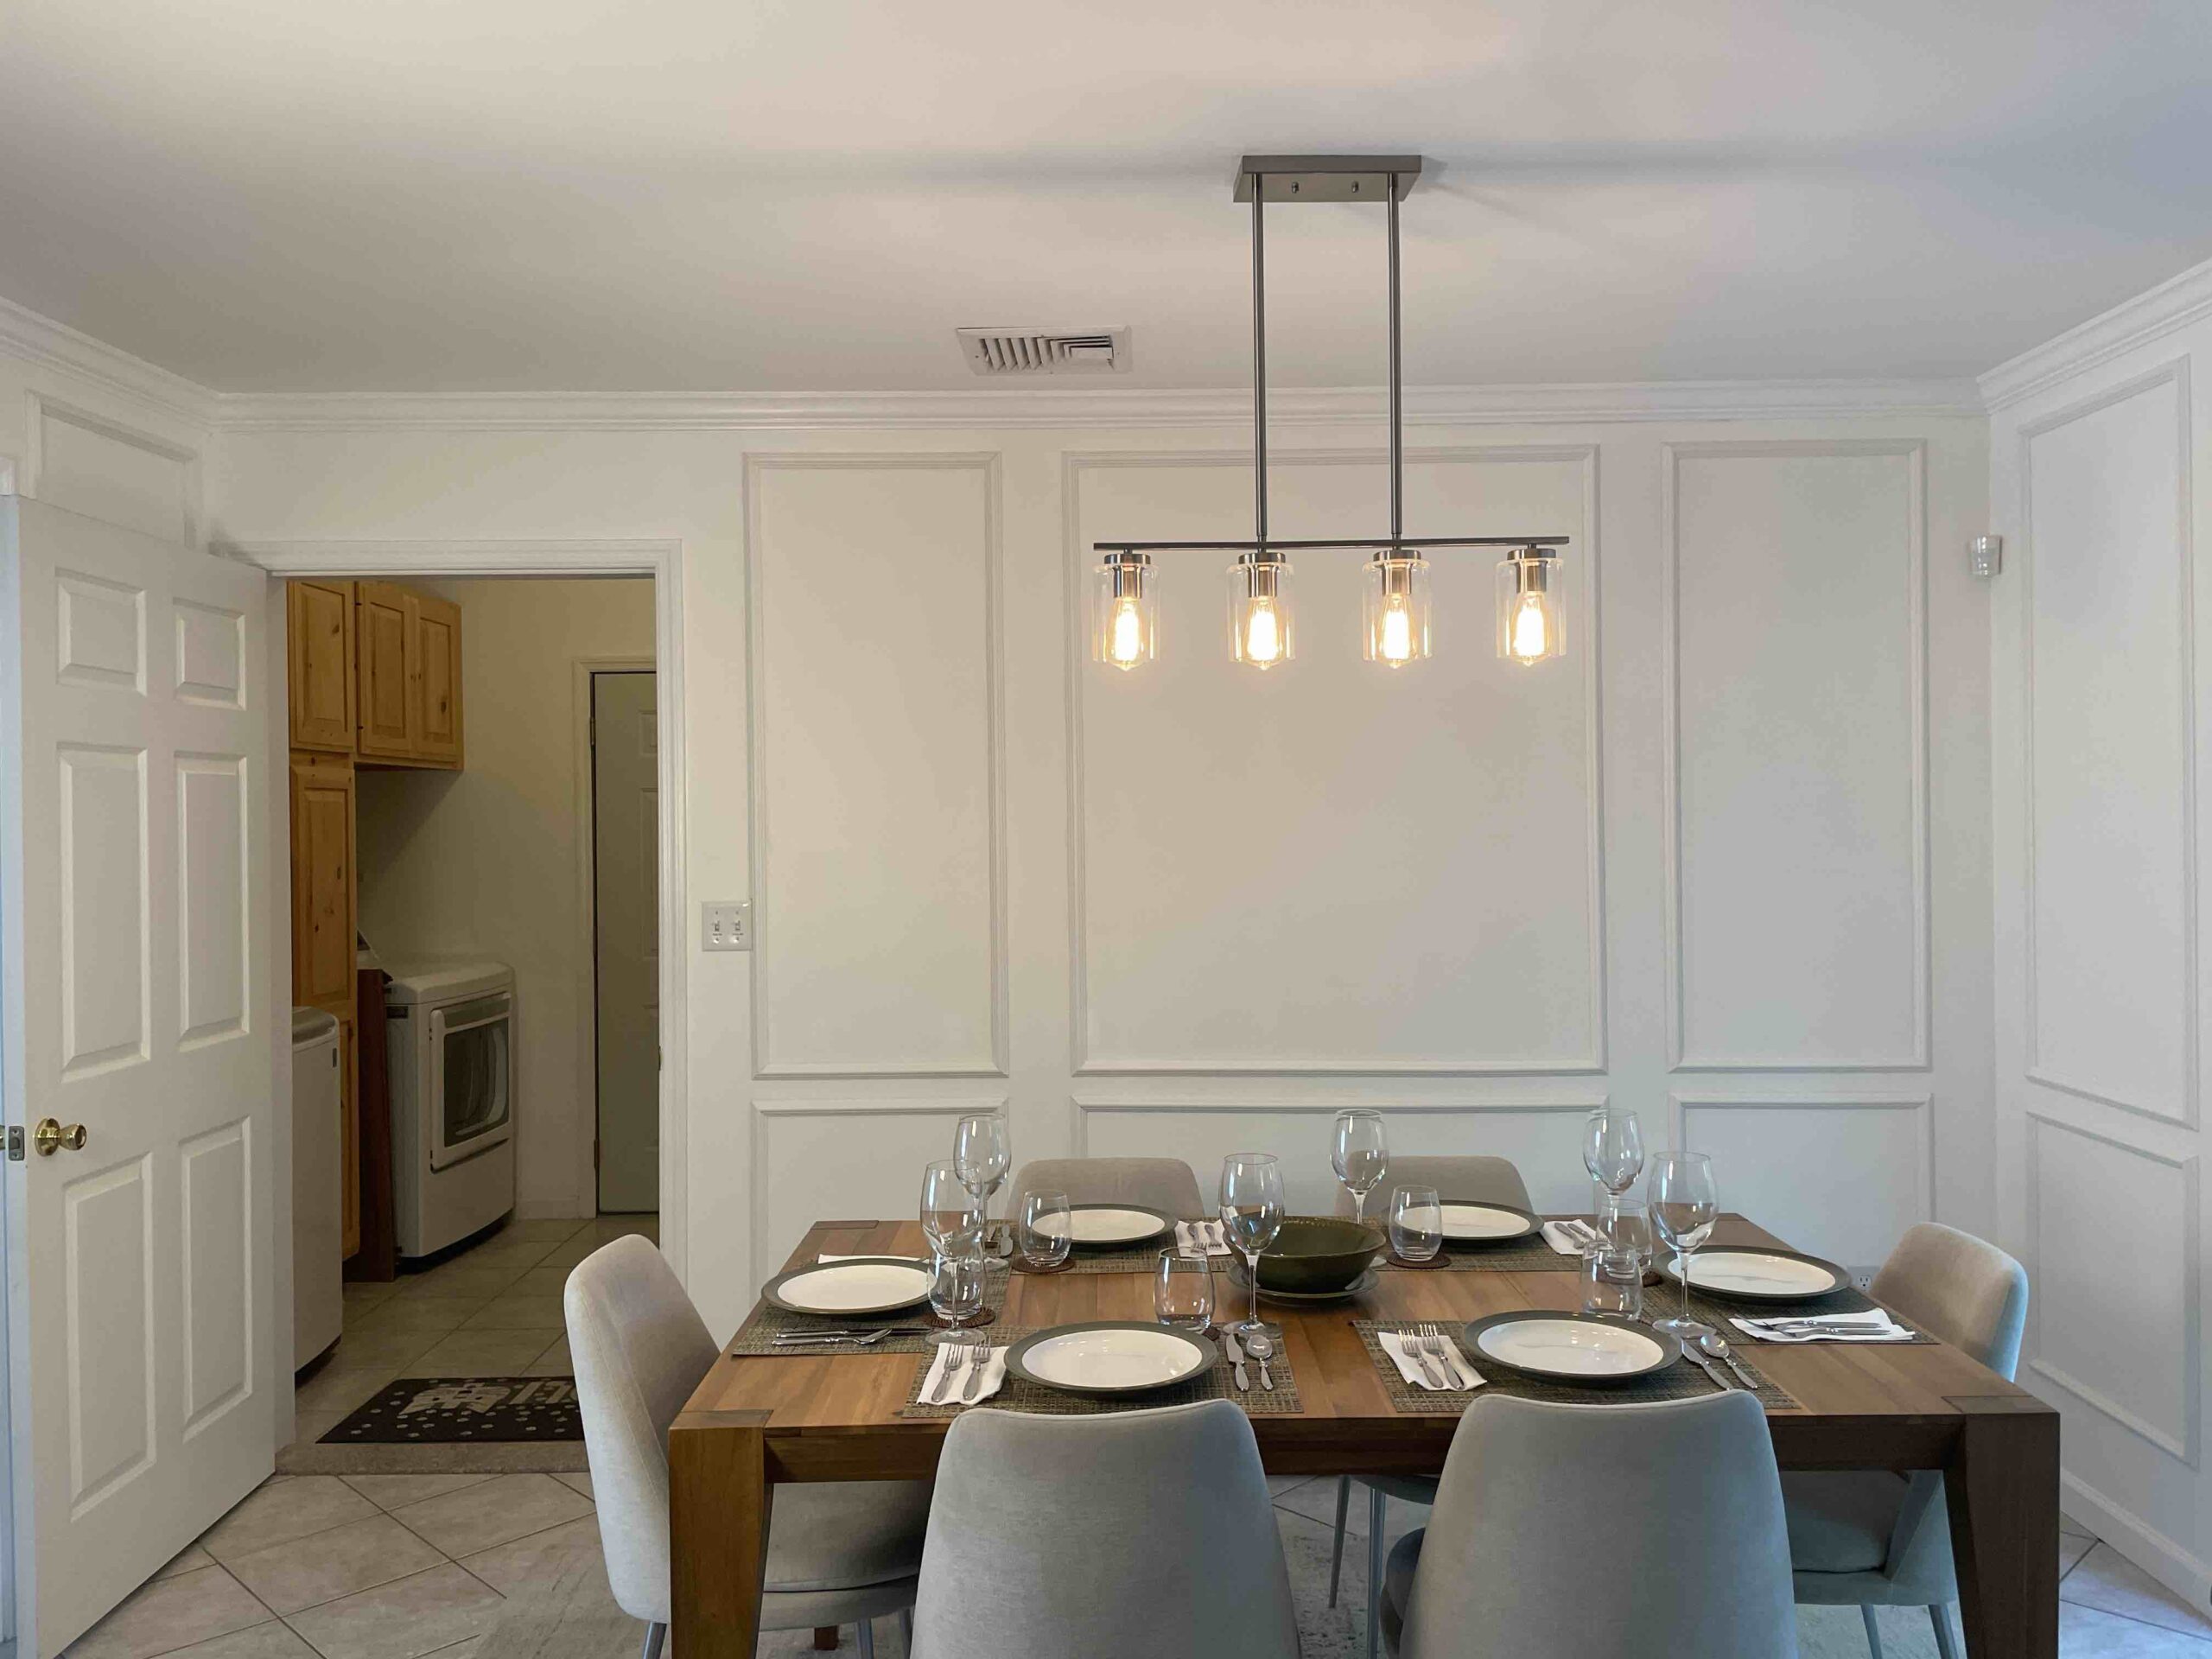
How To Add Texture And Depth With Wainscoting
Wainscoting is a great way to add texture, depth and character to any room. It also protects your drywall from…
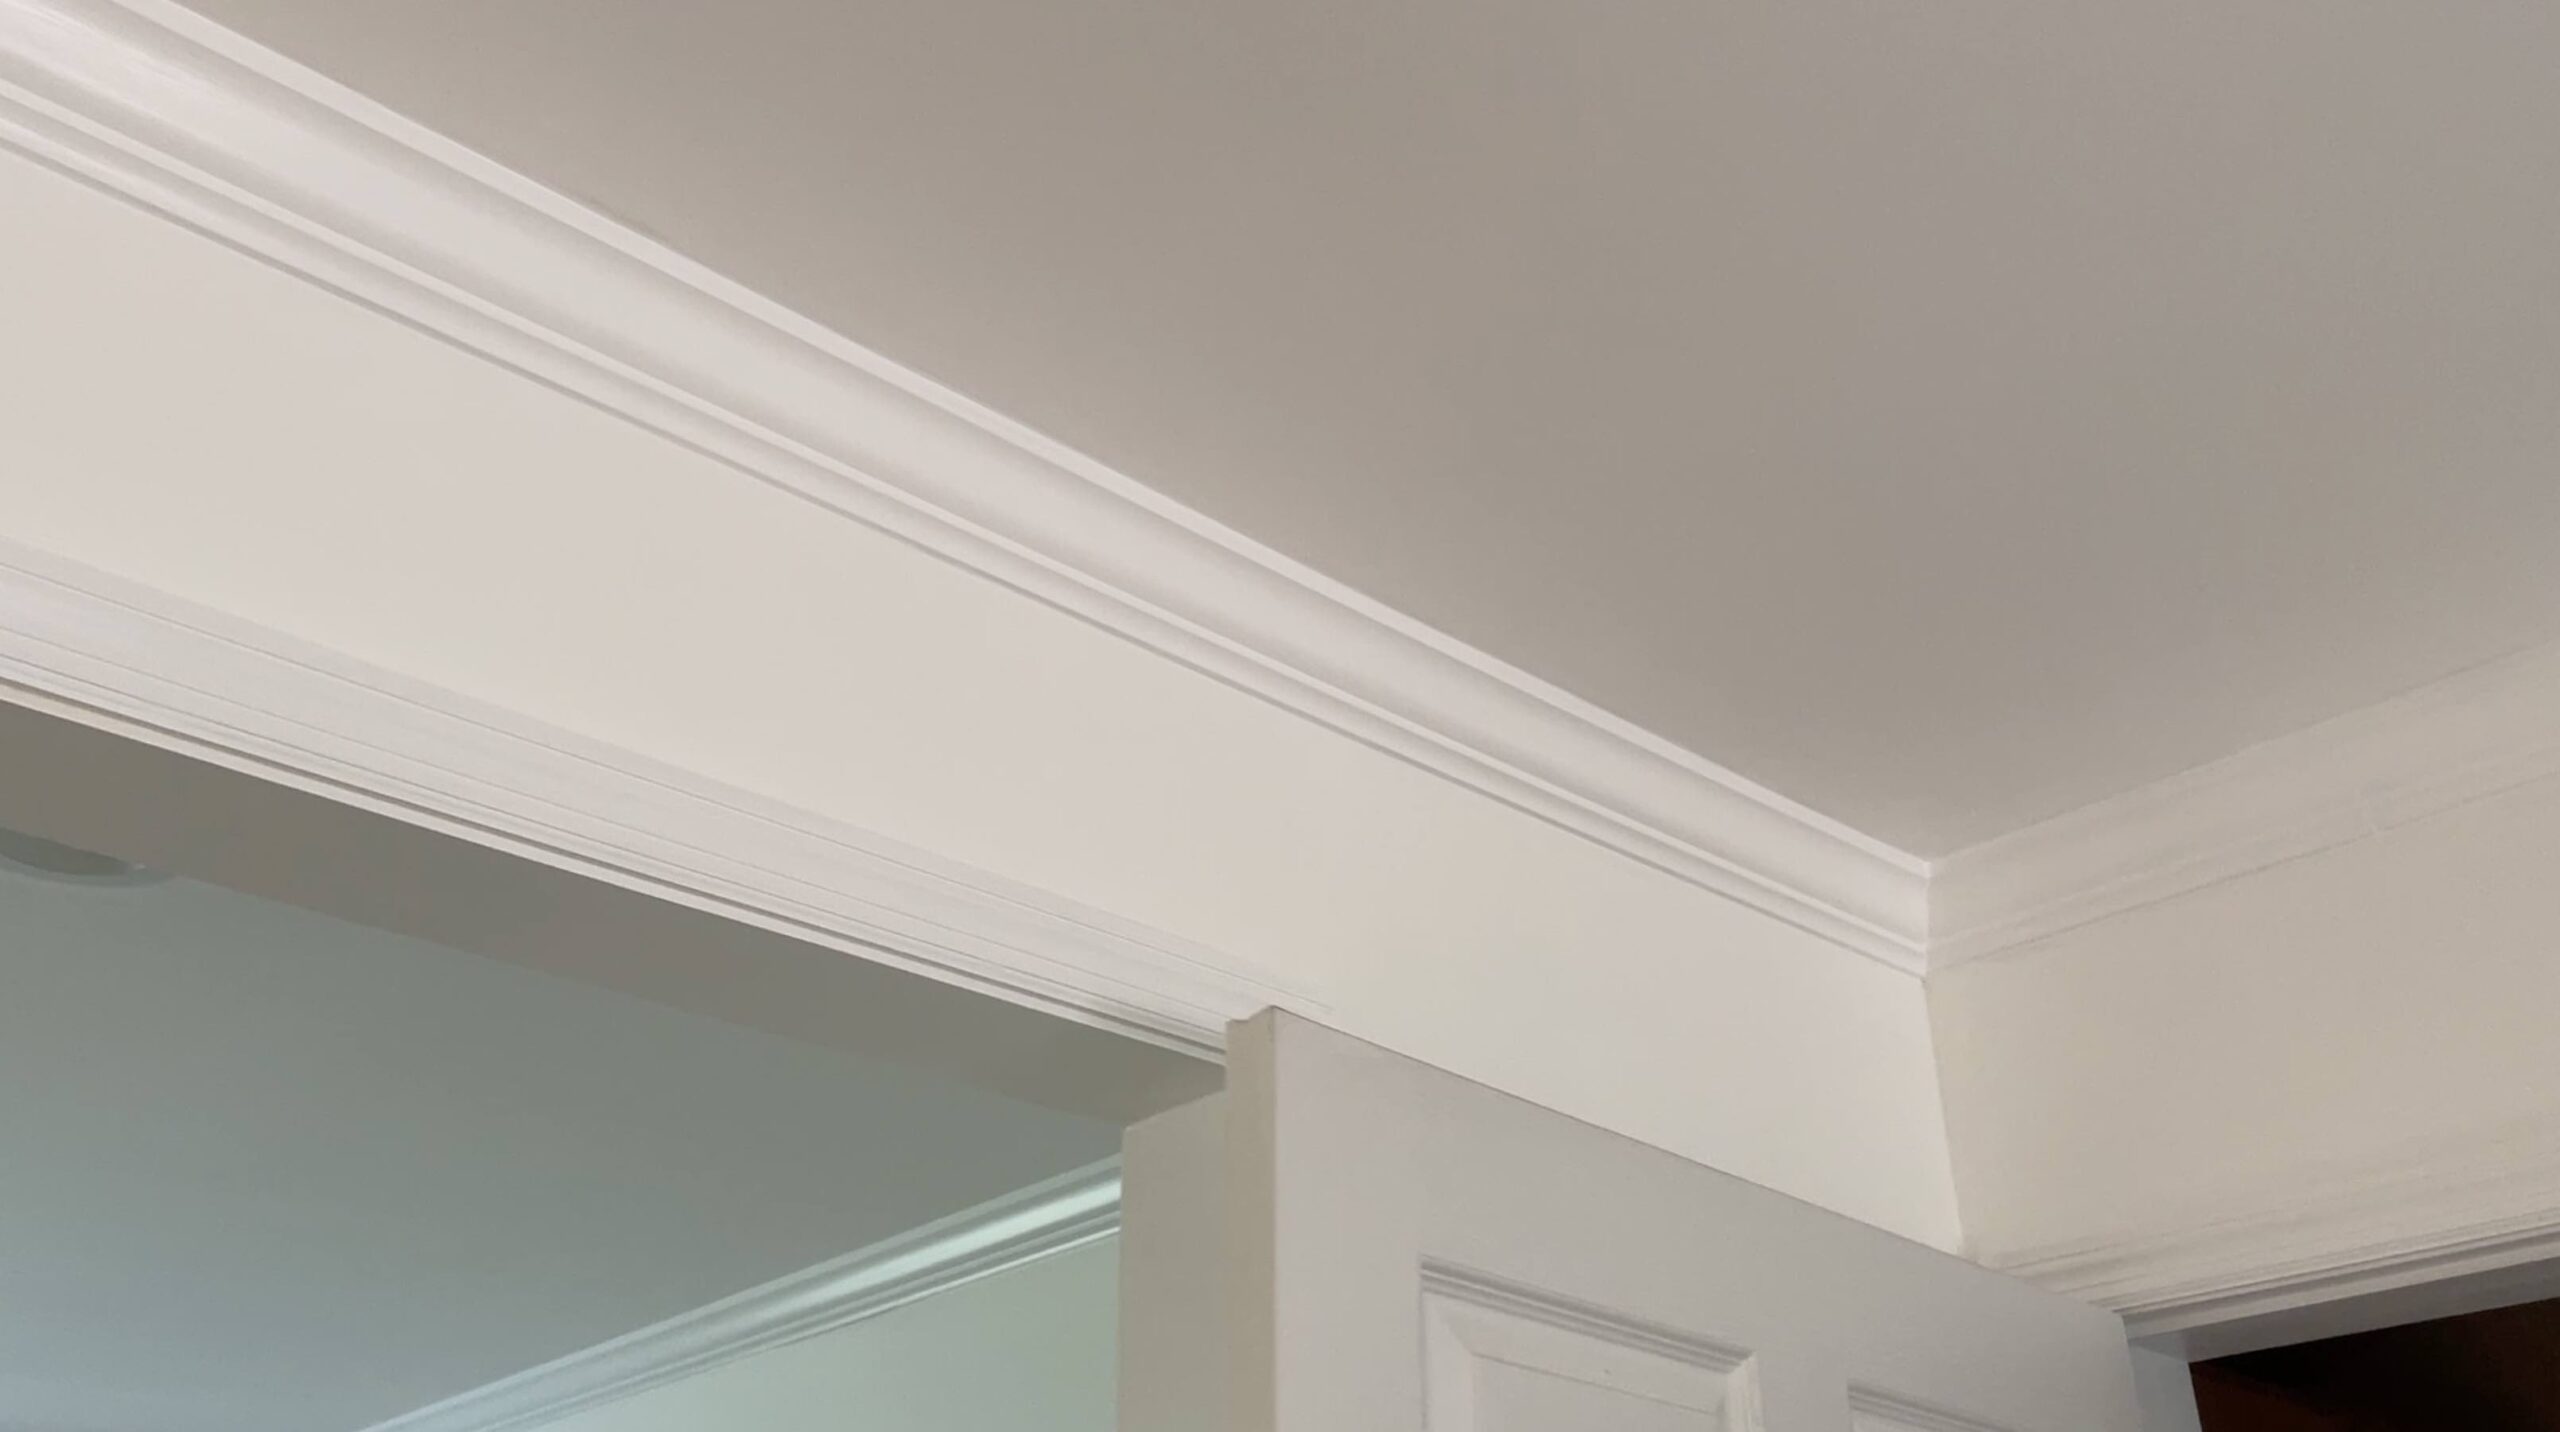
How To Add New Crown Molding For An Elevated Finish
When we first walked through our new home, the only room that had crown molding installed was the living room….
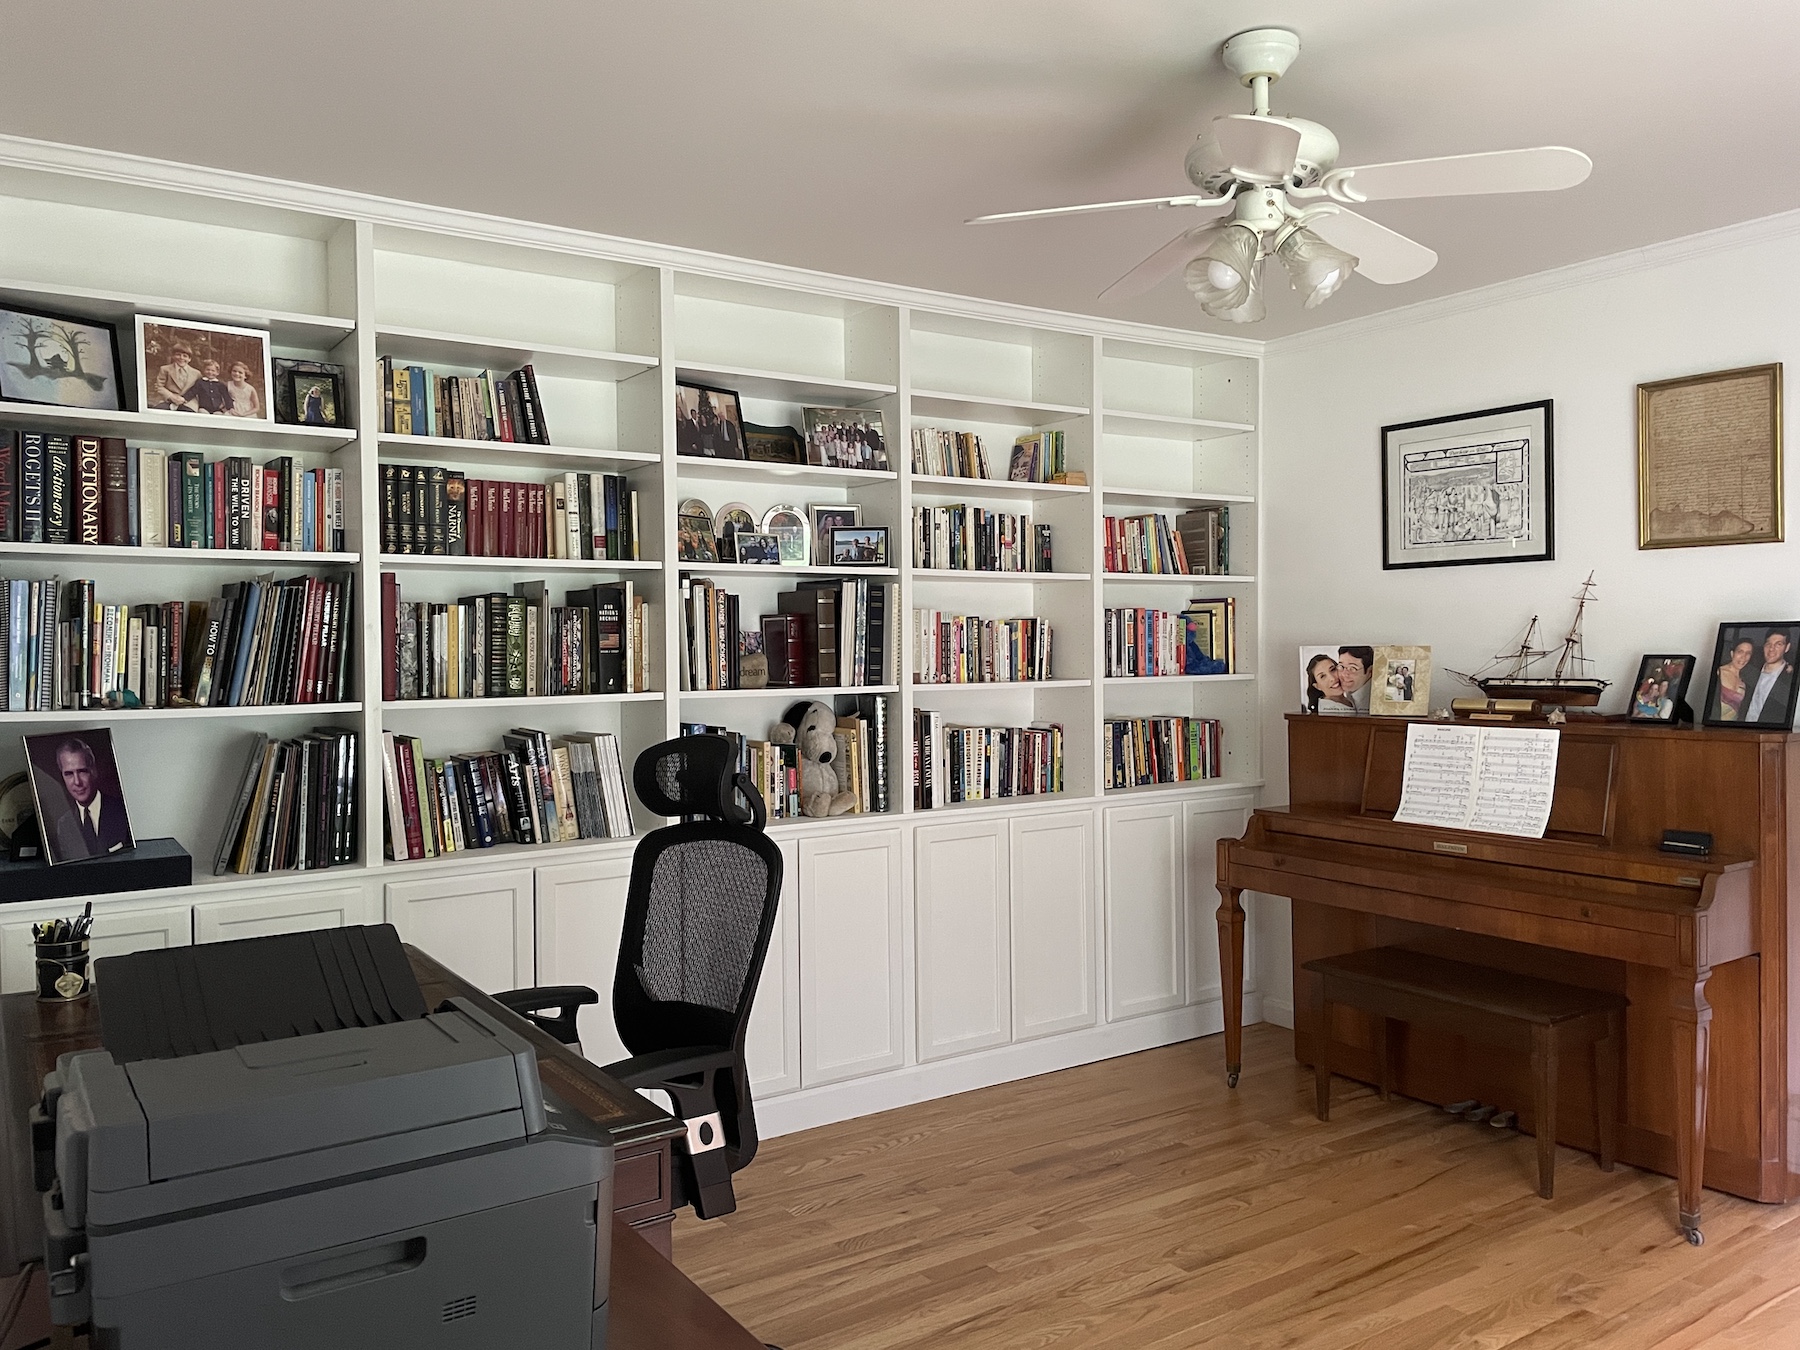
New DIY Home Office Makeover: The Reveal (Pt.4)
I first started our home office makeover in April and it’s time for the reveal! Similar to our experience with our new walk-in…
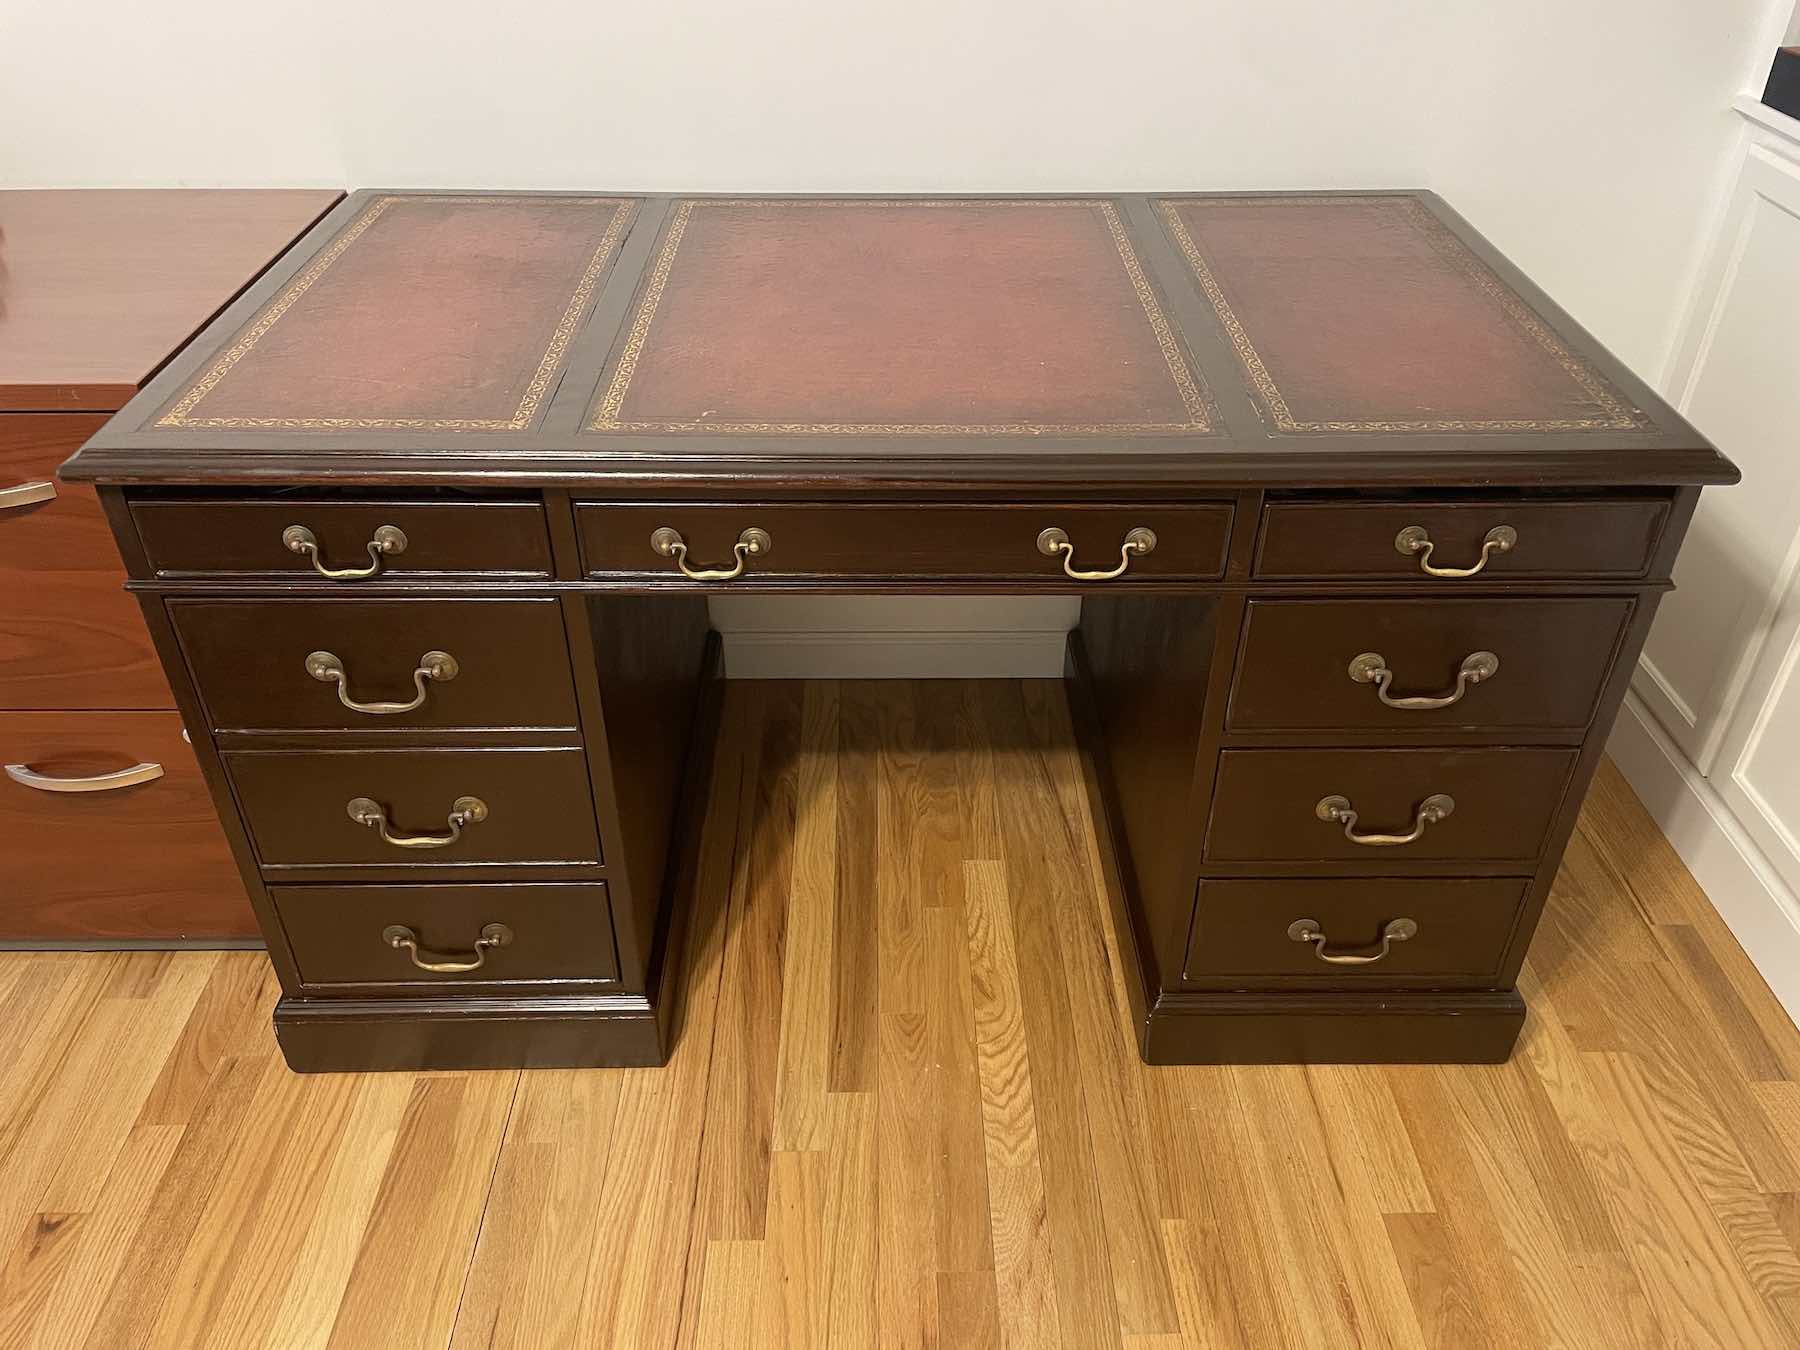
New DIY Home Office Make Over: Refinishing Heirloom Desks (Pt.3)
As part of our home office remodel, we have two mid-century desks that need refinishing. Both are family heirlooms from my father. Refinishing:…
Leave a Reply