
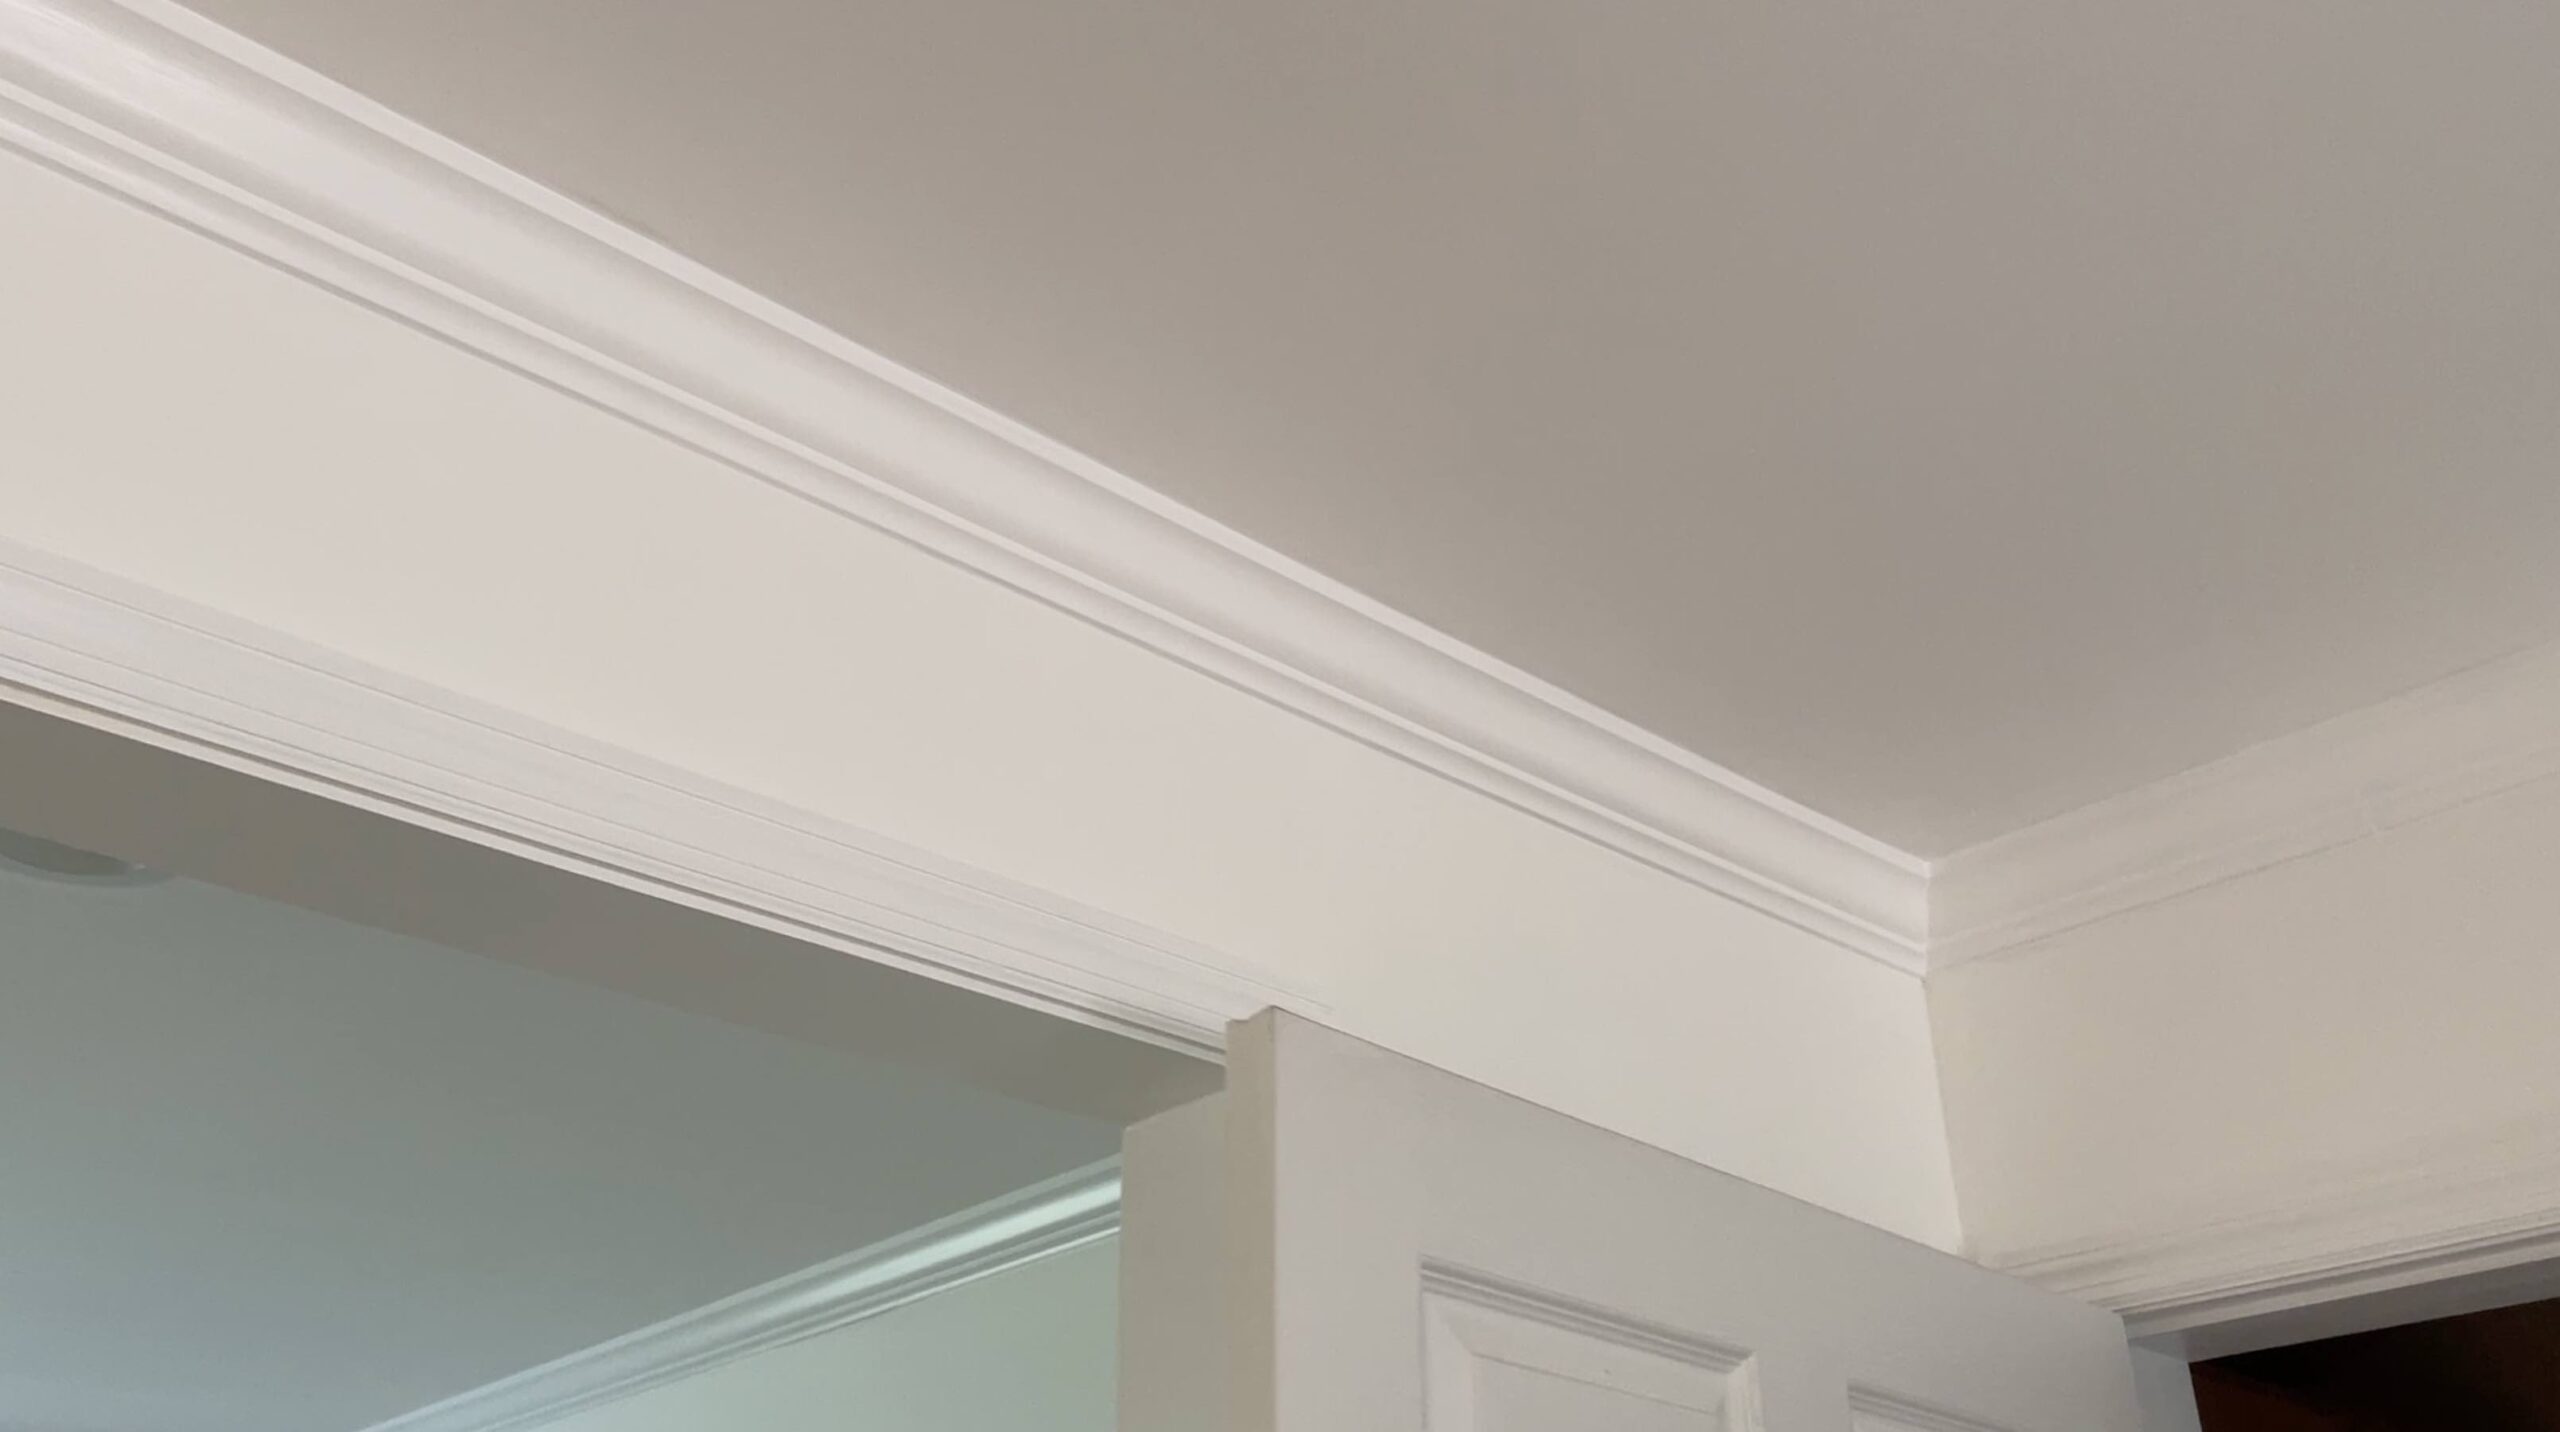
When we first walked through our new home, the only room that had crown molding installed was the living room. It wasn’t something we really thought much about. There were other priorities such as remodeling our kitchen, deck, primary bathroom and closet and our home office.
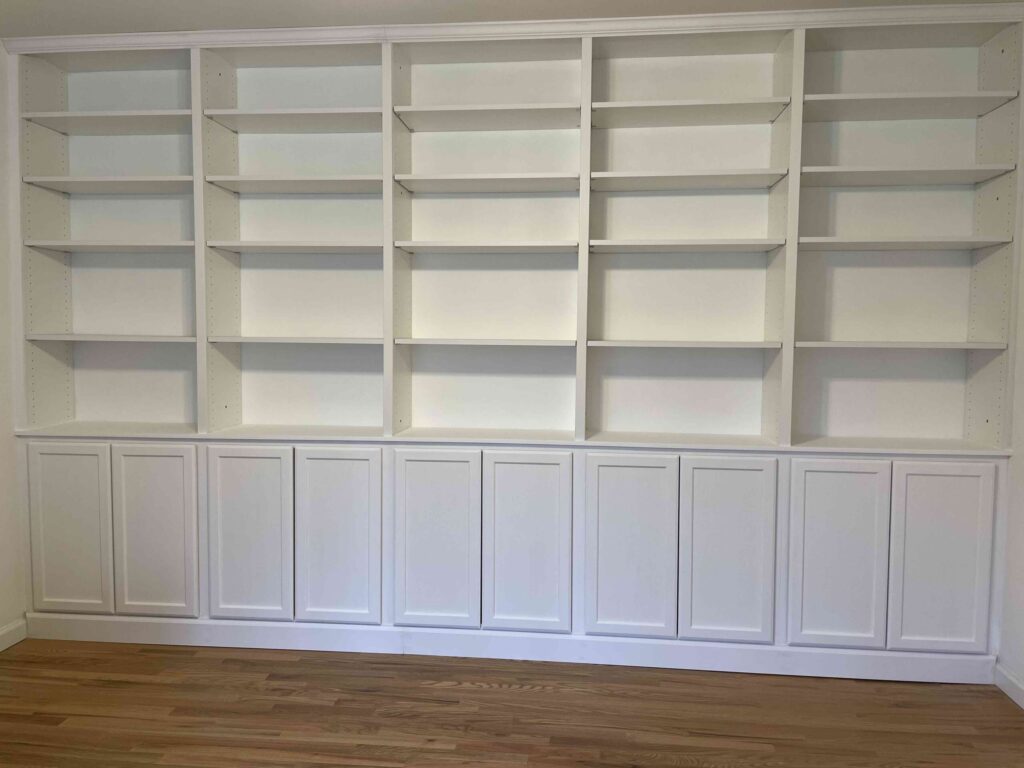
However, once I built the new bookcase in our home office, I knew it needed crown molding across the top. Once I installed it, I realized the whole room needed it and from there the whole first floor needed it!
Getting Started
The first thing you need to do is decide what kind of crown molding you want and whether you want 2 3/4” or 3 ¾” molding. Below is a breakdown of your options:
- Solid Wood: Natural grains like pine, oak, or cherry; best for staining or high-end custom looks.
- MDF: (Medium Density Fiberboard): Budget-friendly wood composite that cuts cleanly and is meant for indoor painting.
- Polyurethane / Urethane: Lightweight, moisture-resistant, and factory-primed; great for DIY installations and high-humidity rooms like bathrooms.
- PVC: Waterproof synthetic material used mostly for heavy moisture or exterior applications.
- Flexible: Pliable polymer resin engineered to bend around curved walls, arches, or circular windows
We went with solid wood for our installation.
Installation is tricky and there are several steps in the process:
Cutting and installing crown molding is a tricky process. Unlike normal square cuts, crown molding is both cut and installed at an angle. Plus, there are ‘inside’ as well as ‘outside’ cuts. You really need to create templates to make the process manageable. I will get more into that further down.
The prep work
Before you start your crown molding installation project, you need to do some prep work.
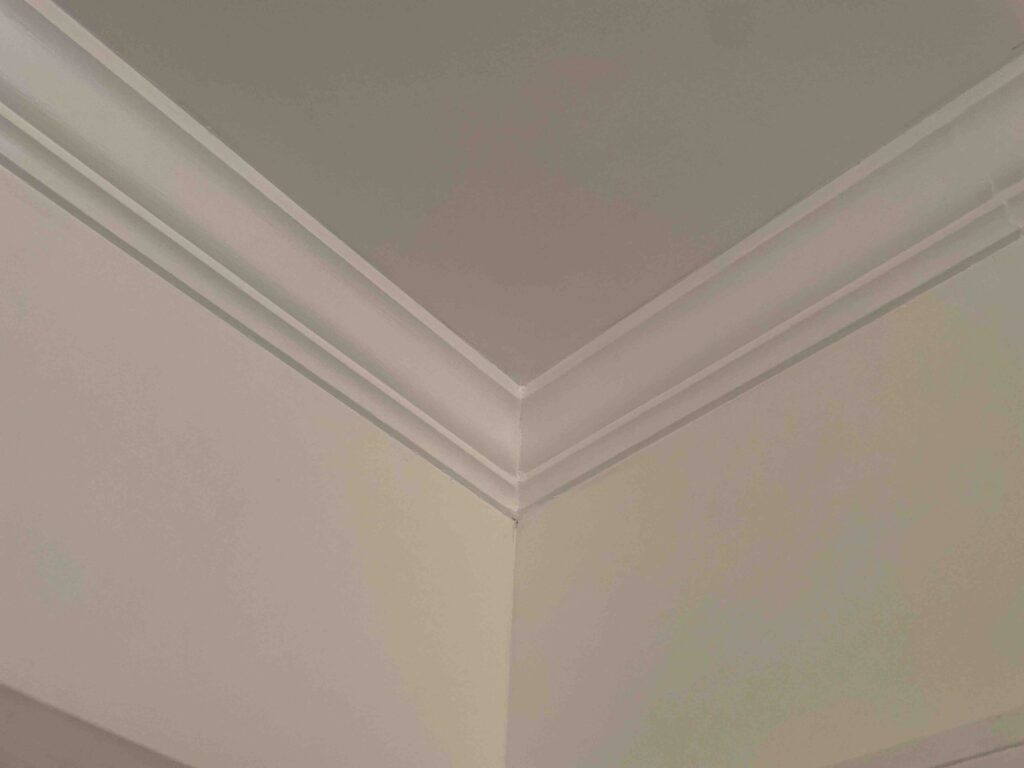
First you want to mark your miter saw so that each of your cuts are consistent. Start by cutting two sections of molding that will serve as your ‘inside’ and ‘outside’ templates. From there, place a template section upside down on your miter saw (imagine that the tableof the miter saw (the cutting surface) is the ceiling and the fence (what you use to ensure your wood is straight) is the wall). Then position the piece at an angle so that the top and bottom are flat against the fence and table surfaces.
Once you are comfortable with the placement of your template piece, take a marker and draw a line along your miter saw. This will ensure that you line up each piece of molding at the same angle consistently.
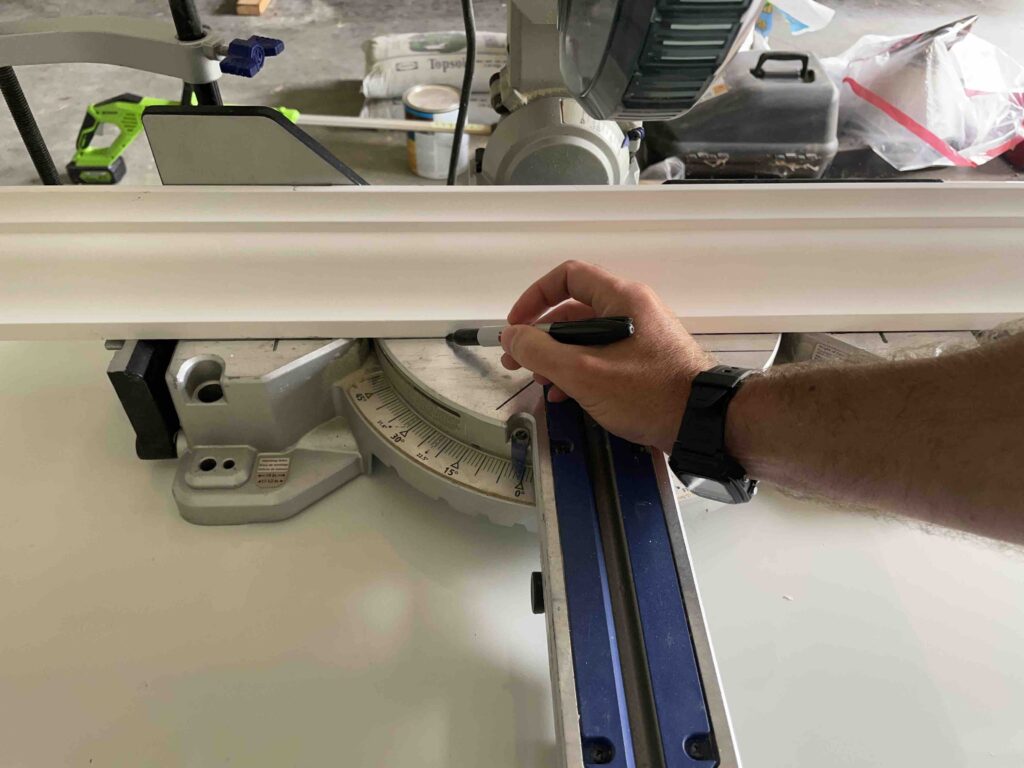
Repeat this step with the table bevel at a 45* angle, both left and right.
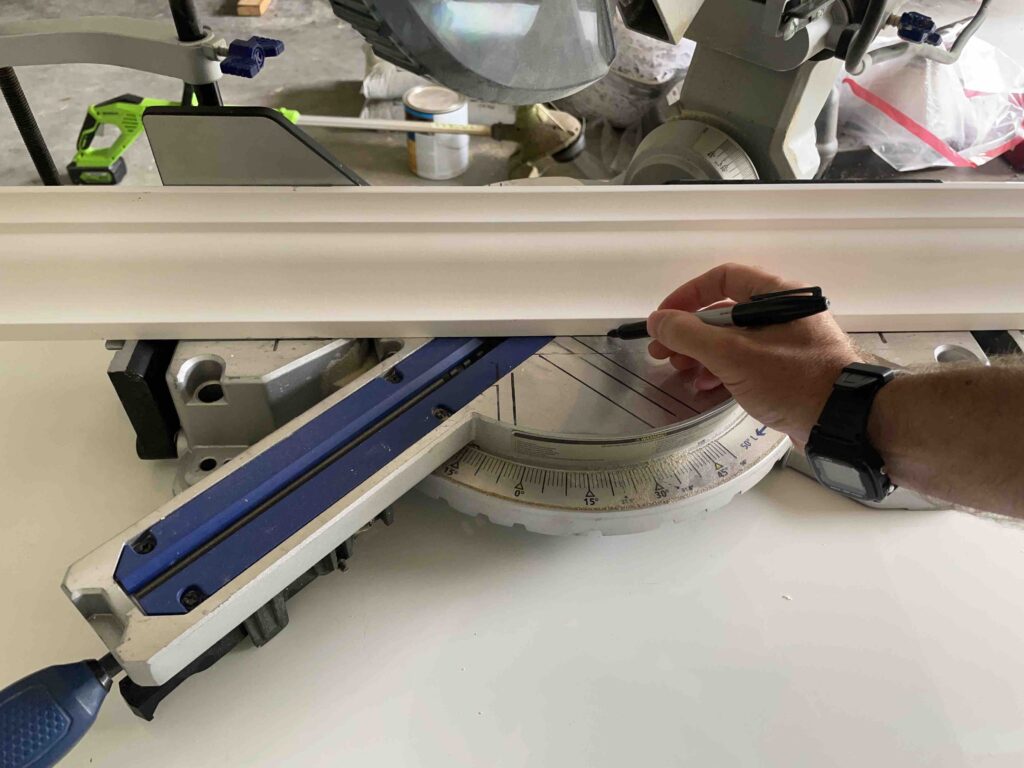
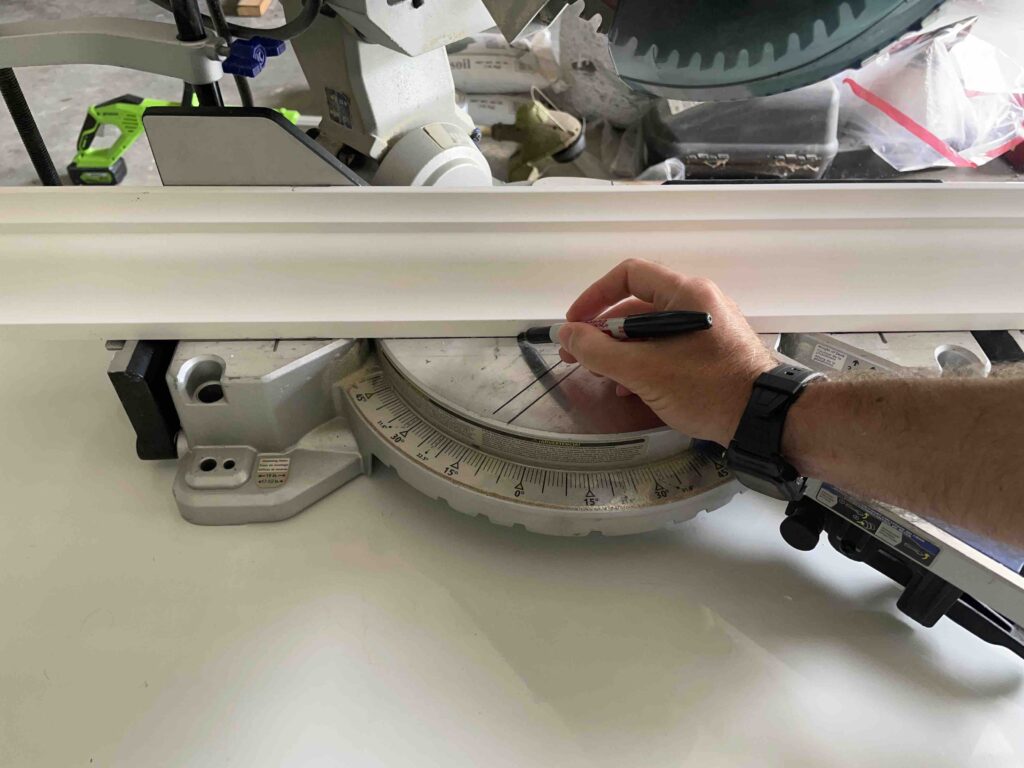
Next, cut your templates for ‘inside’ and ‘outside’ corners.
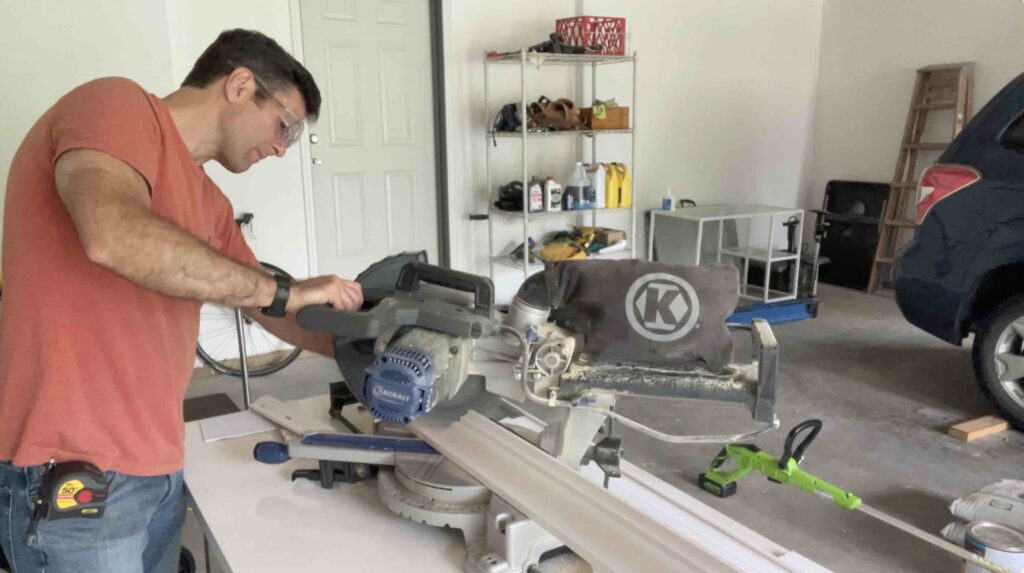
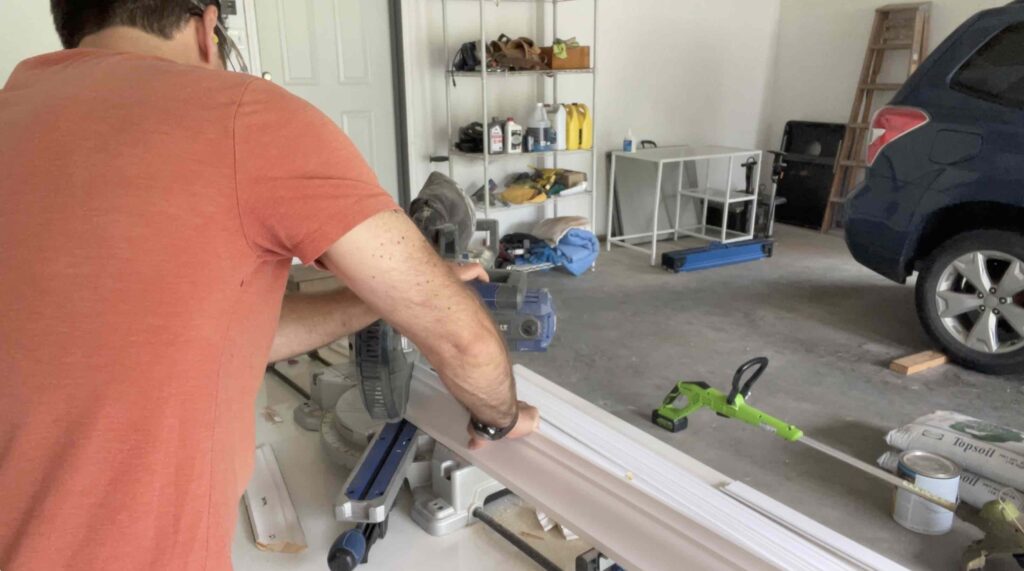
Next, take your templates and test them against your work surfaces to ensure they are cut appropriately.
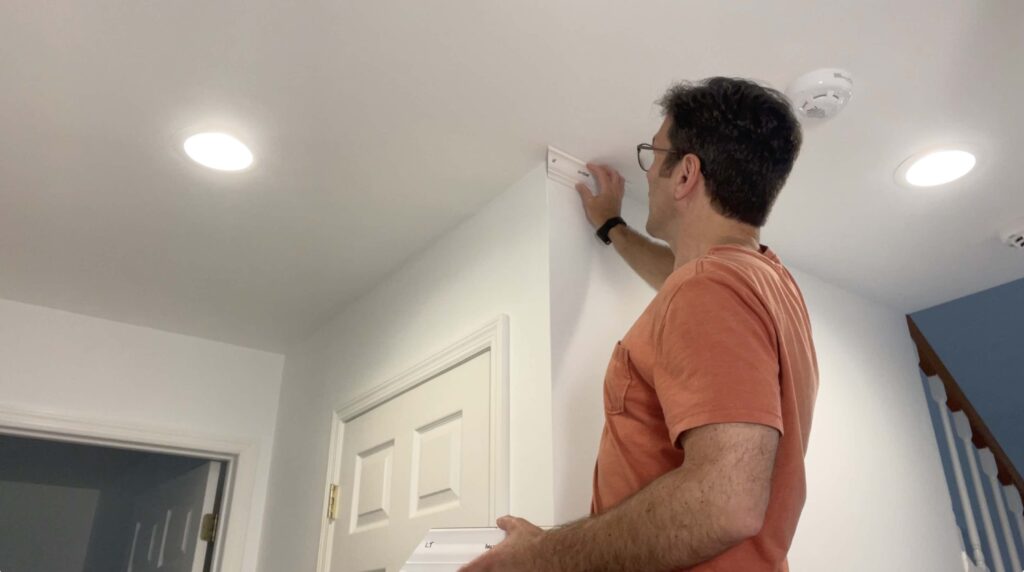
If they are correct, take a marker and write on them with the details below so you can grab them as needed quickly. These templates will guide you through the installation process.
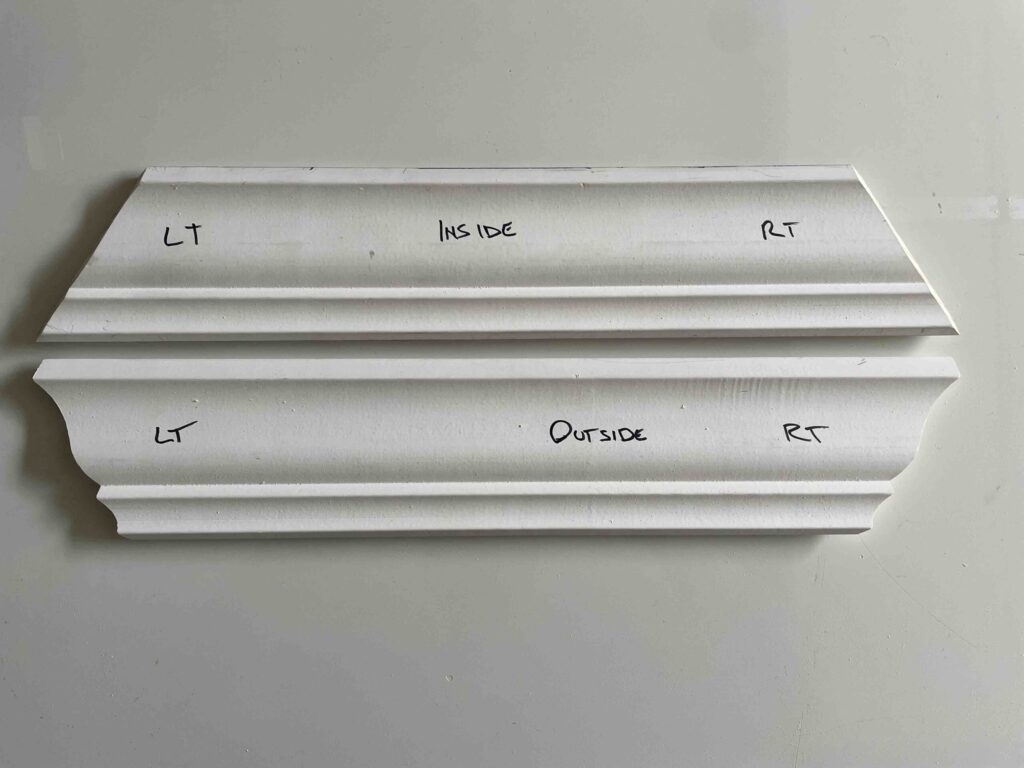
Now you are ready to begin cutting and installing your molding!
Cutting and fitting your molding
To begin the cutting and fitting process, take your tape measure and measure your first cut, noting whether your need to make an ‘inside’ or ‘outside’ cut.
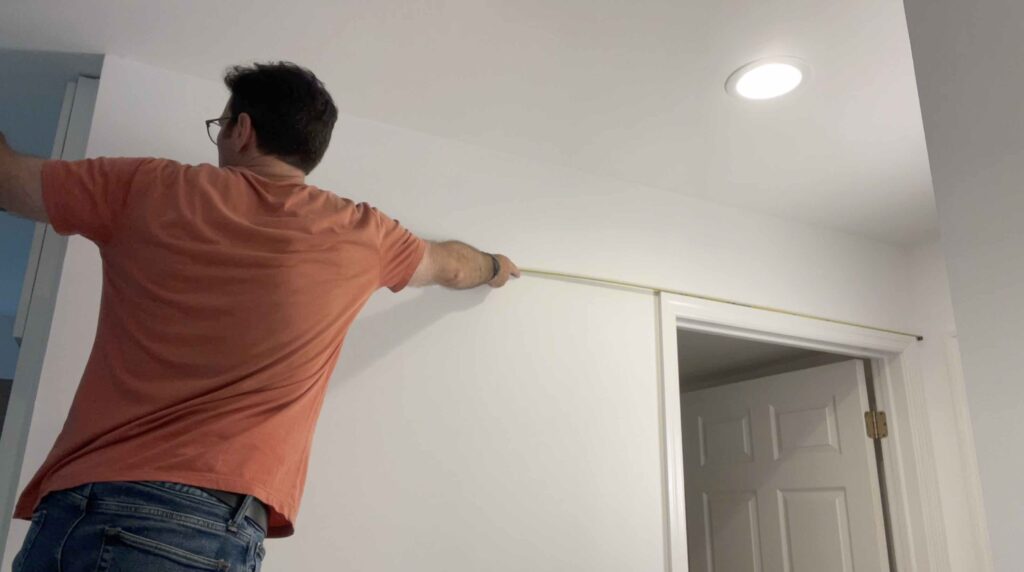
Copy that measurement onto your first piece of molding, being sure to hold it upside down so you make your cut from the bottom of the molding. Take the appropriate template and confirm what angle you want to cut.
Cut the molding
From there, bevel your miter saw in the corresponding direction, line your molding up on your miter saw and make your cut.
Leave a little bit of extra space in case you need to trim down the molding. It’s always better to have too long a cut then to be short! If your molding piece requires another angled cut at the opposite end, mark and cut that angle.
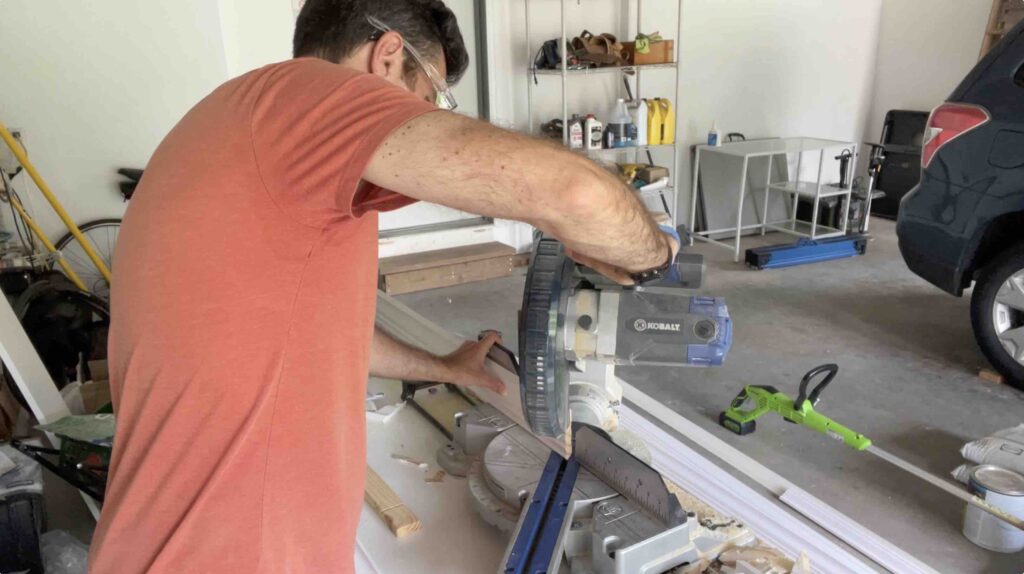
Check your fitting
Take your newly cut molding piece and the template piece and position them up on your wall, ‘rolling’ them into position until your angles match. You may want a second pair hands handy to help balance longer molding sections while you are doing this.
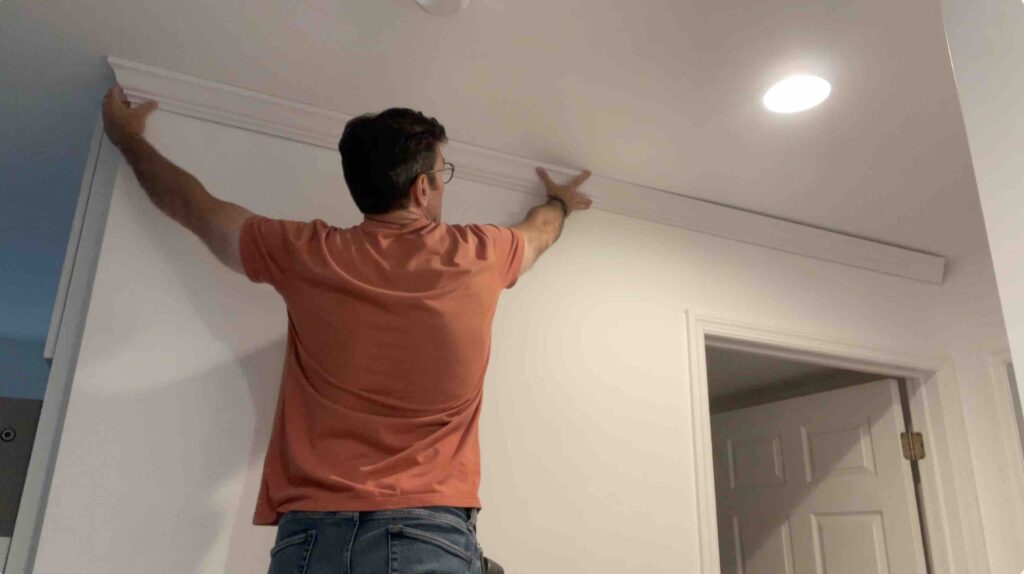
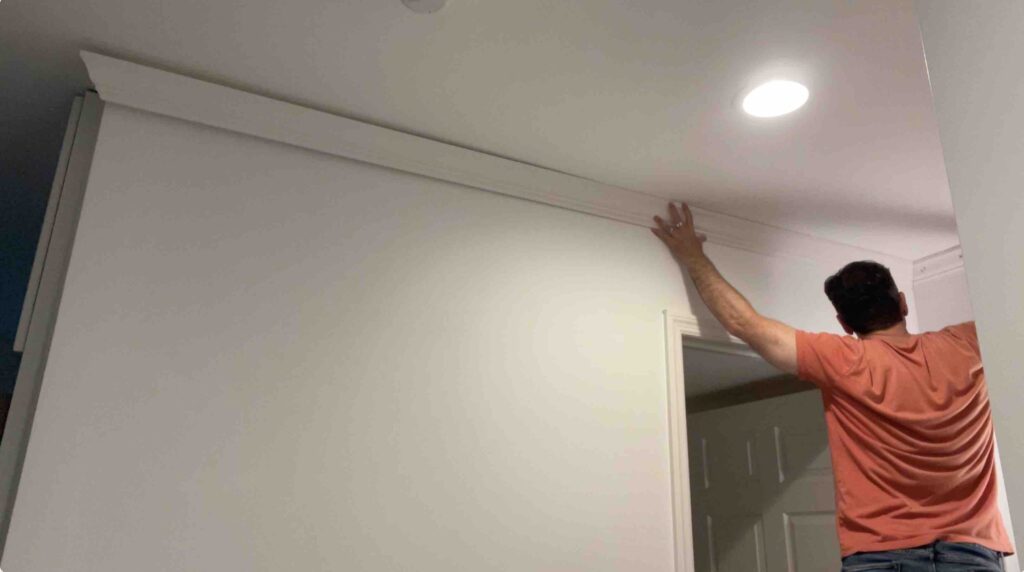
Mark Your Caulk Line
If the angles look good, draw lines marking where the top and bottom of your molding should line up.
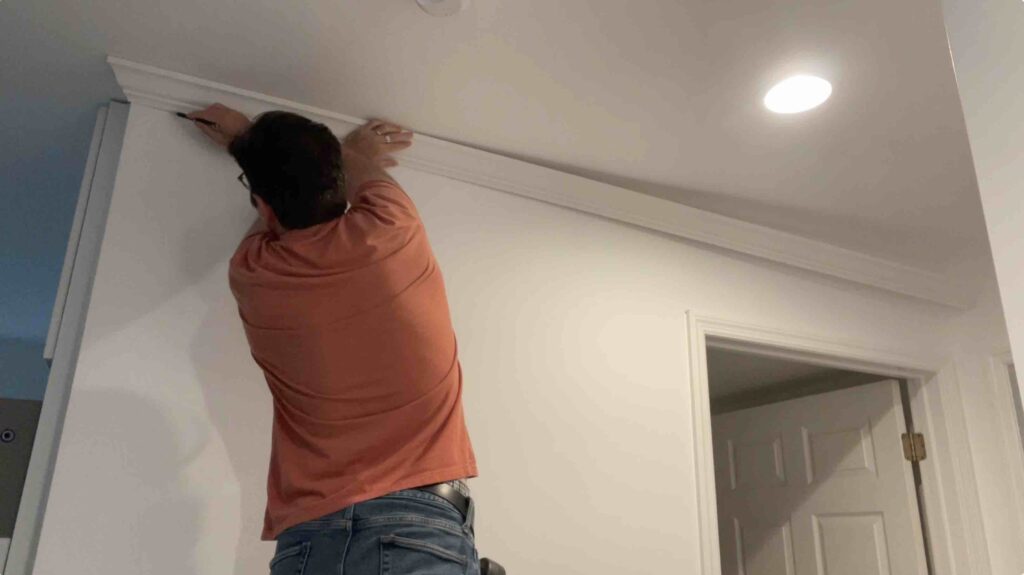
Move your ladder along the wall and continue drawing the lines where you will place your molding. You can use your template piece if that is easier.
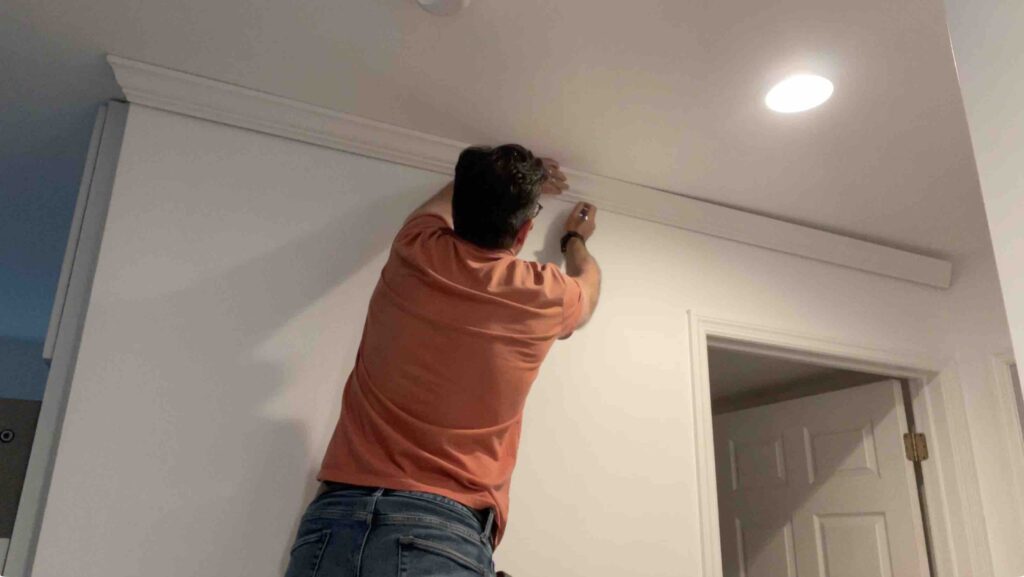
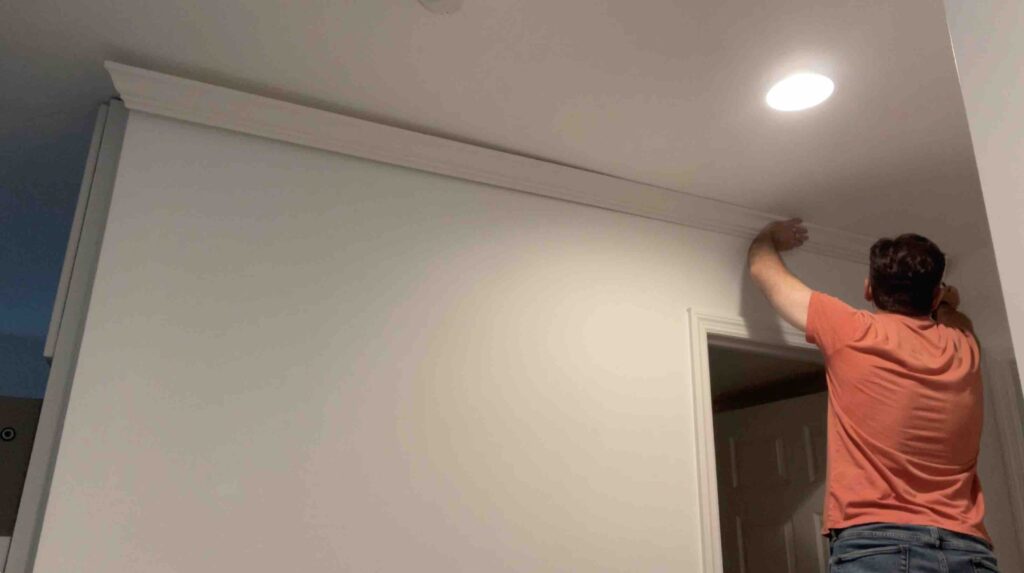
Caulk the wall and ceiling
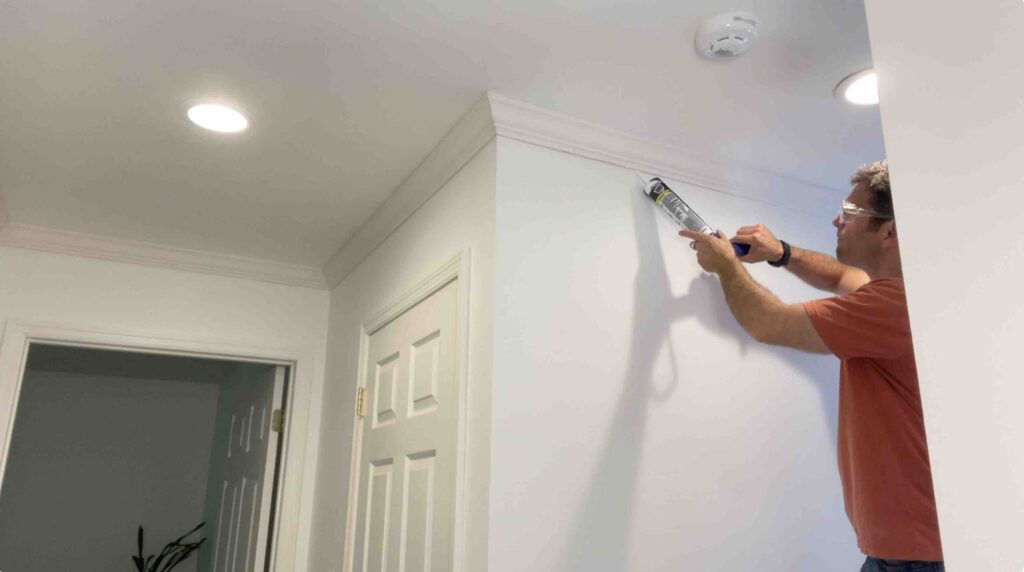
From there, either add caulking to the ceiling and wall just within your line or on the edges of the molding sections themselves. This will help the molding seal against the surfaces as the temperature changes and things shift throughout the year.
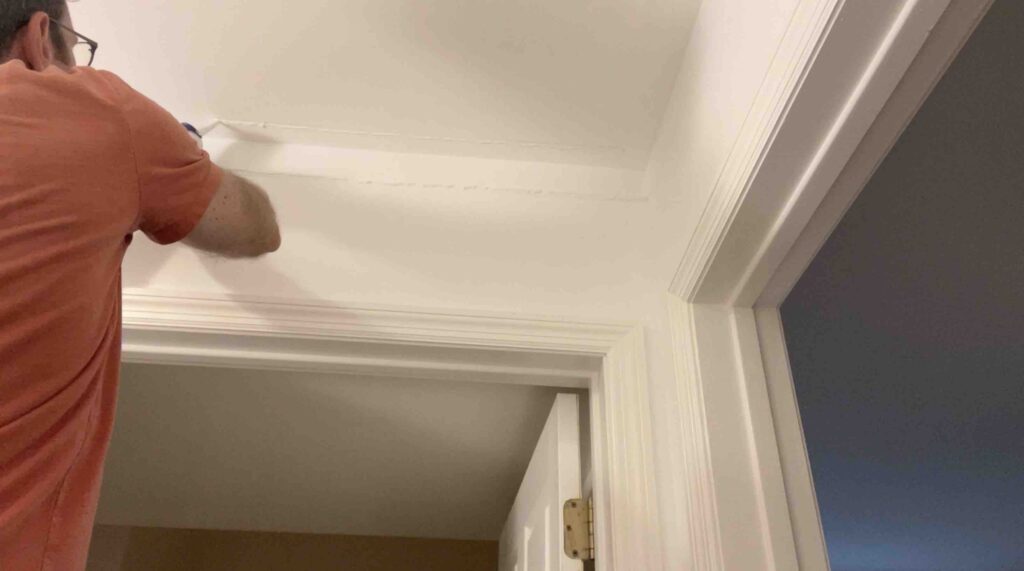
Nail the molding
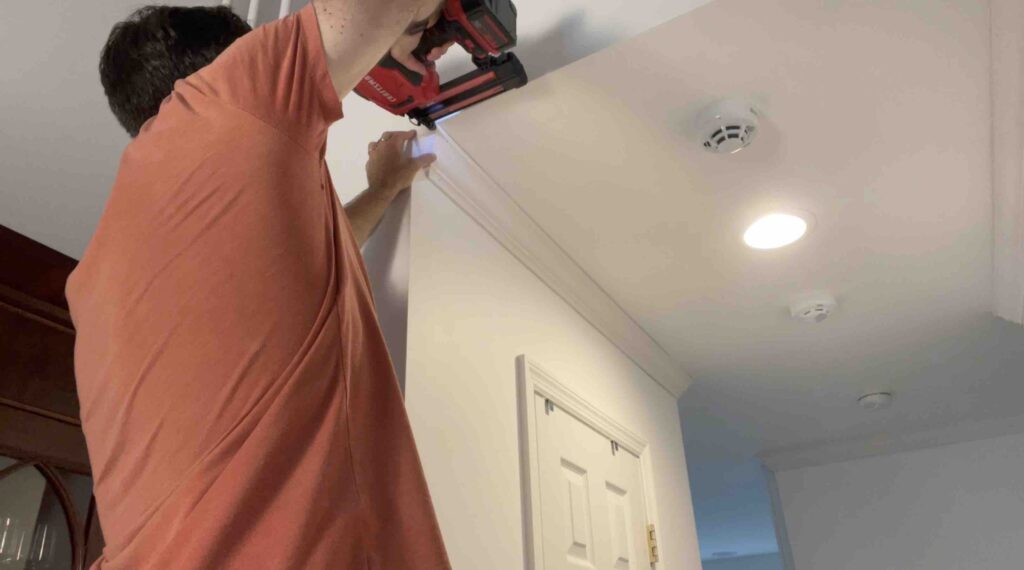
Next, hold the new molding and your template against the ceiling and wall again, ensuring a snug fit, swap the template out for your brad nail gun and begin securing the molding into place.

Continue nailing in the molding piece into place, leaving some slack at the opposite end so you can repeat the fitting process as needed.
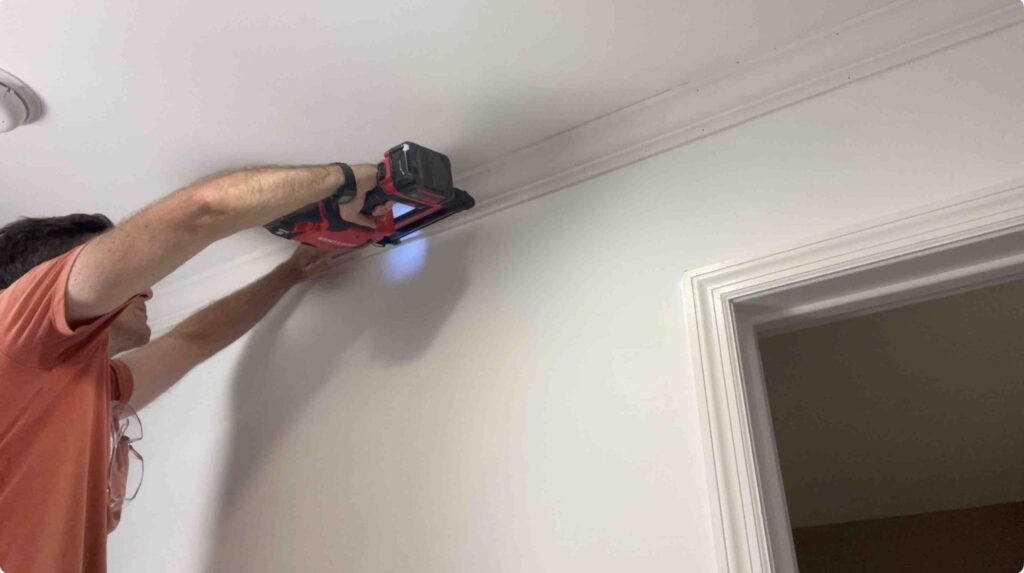
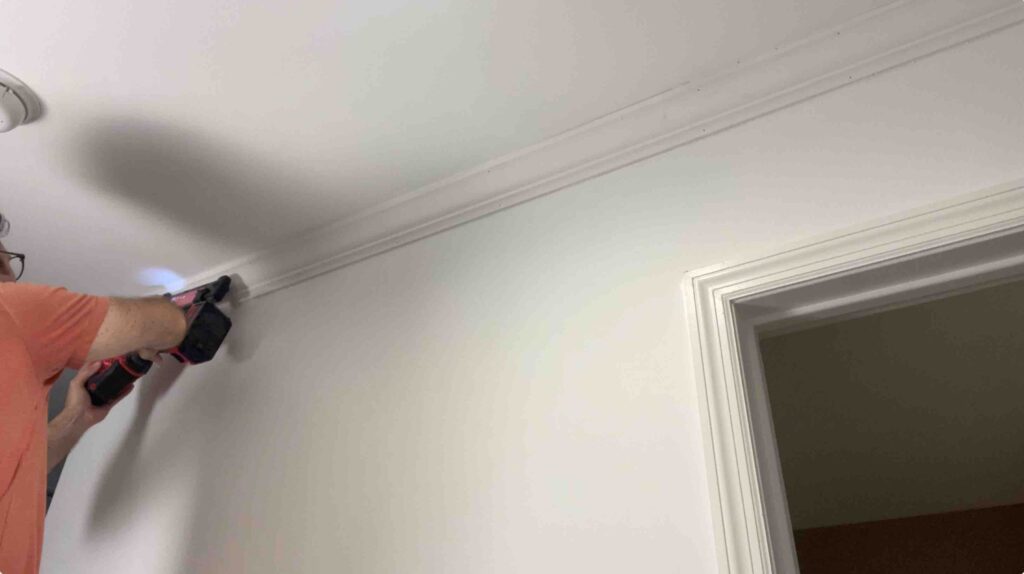
Repeat these steps for each cut and install.
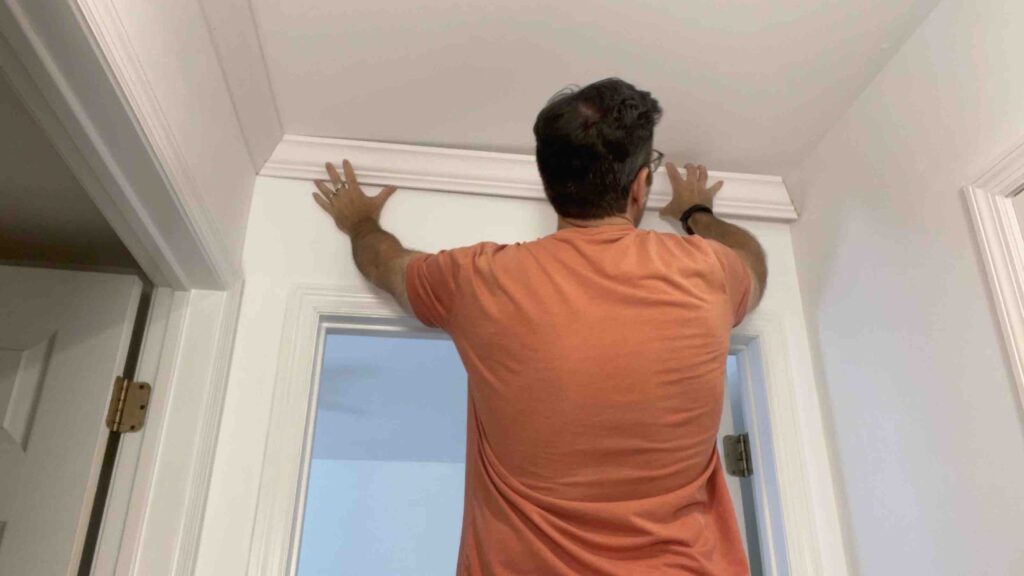

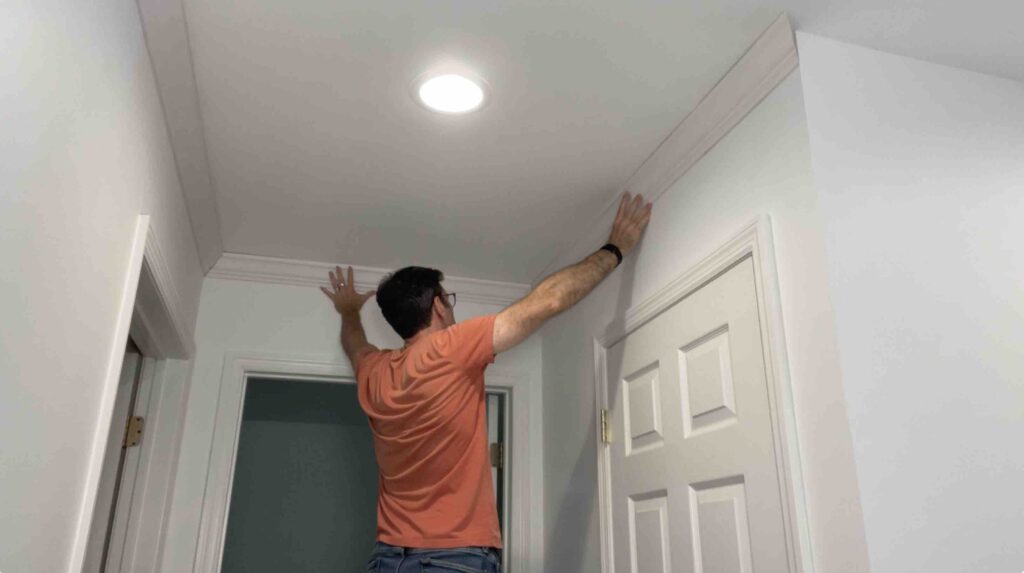
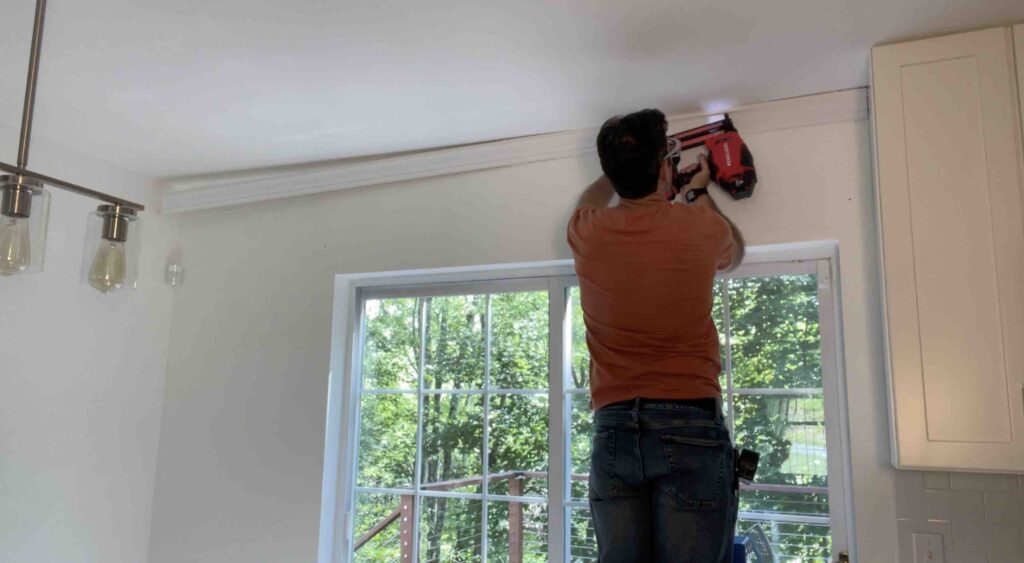
Joining two sections of molding together, seamlessly
As was the case for me, there may be some walls that require you to join two sections of molding together (ie. a 12’ section and an 8’ section). You want the seam to be in place that is the least noticeable (above a doorway, ‘hidden’ above furniture, etc.).
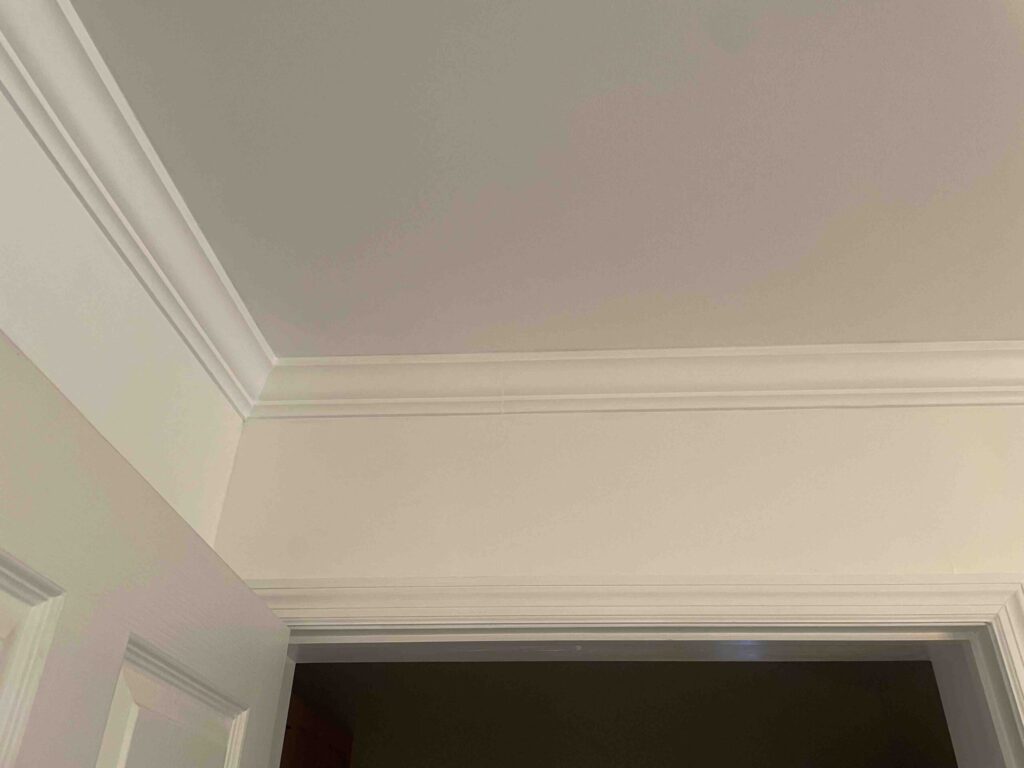
In this case, place the molding flat against the miter saw fence (again, upside down), move your bevel to either the left or right at a 45 degree angle, and make your cut. An angled seam will be harder to notice than if you used a straight cut. Once installed, measure out the remaining distance.
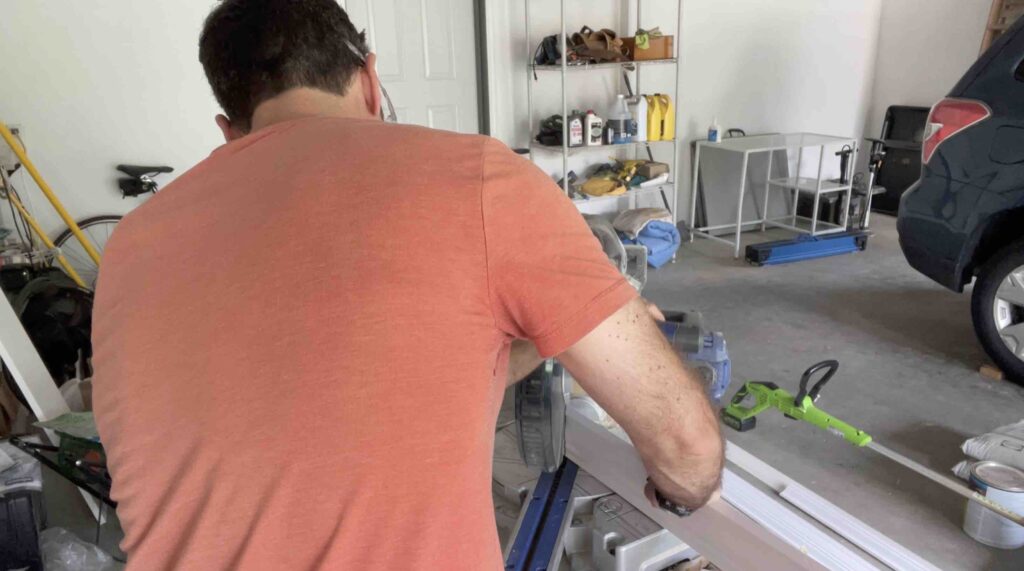
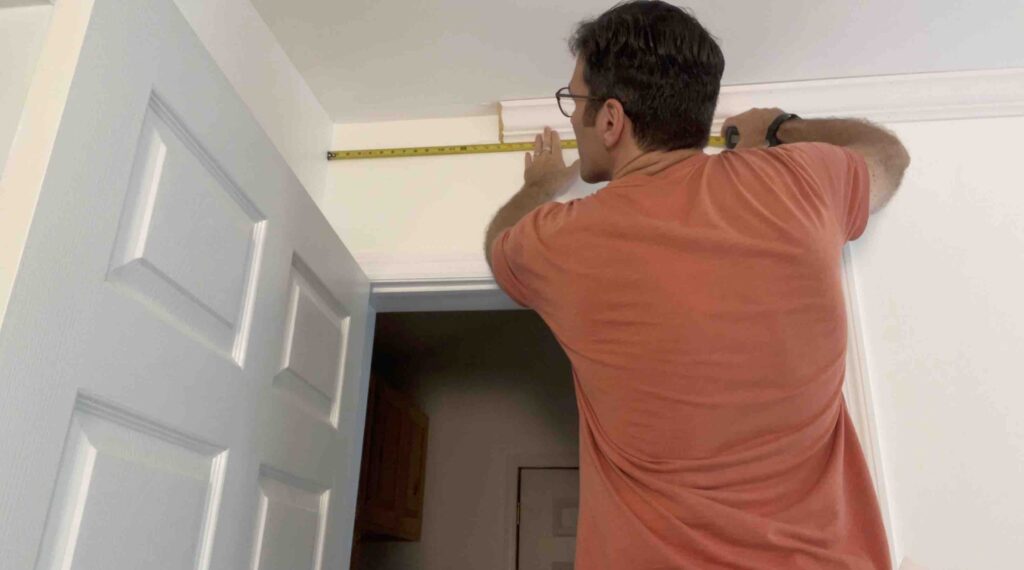
Then cut your second piece at the same 45 degree angle. You want to match this same cut with your next piece so they merge together, seamlessly. Don’t forget to use your ‘inside’ or ‘outside’ template to make sure your corner angles are flush.

Then add some caulking to the ceiling, wall and seam and nail it in.
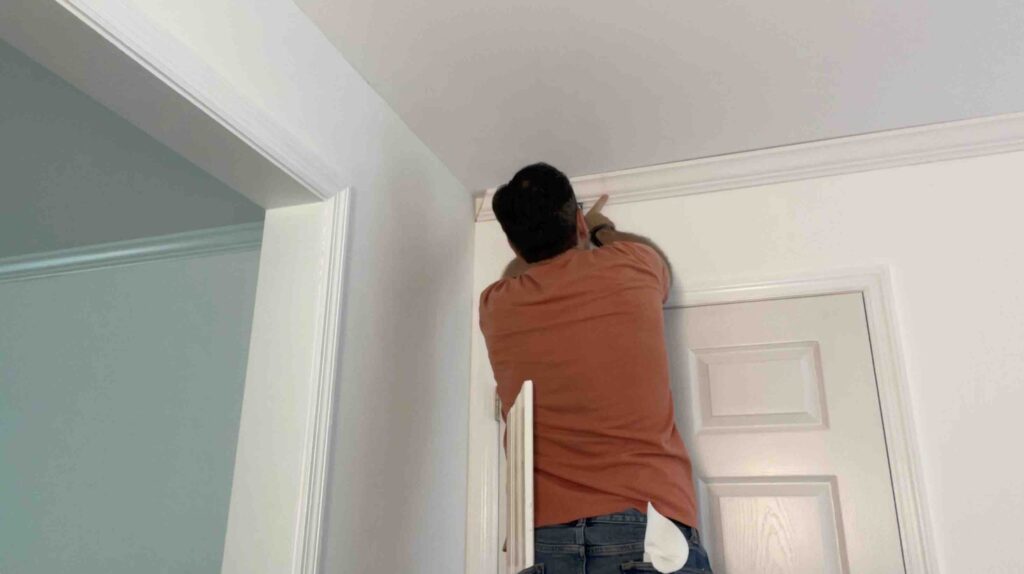
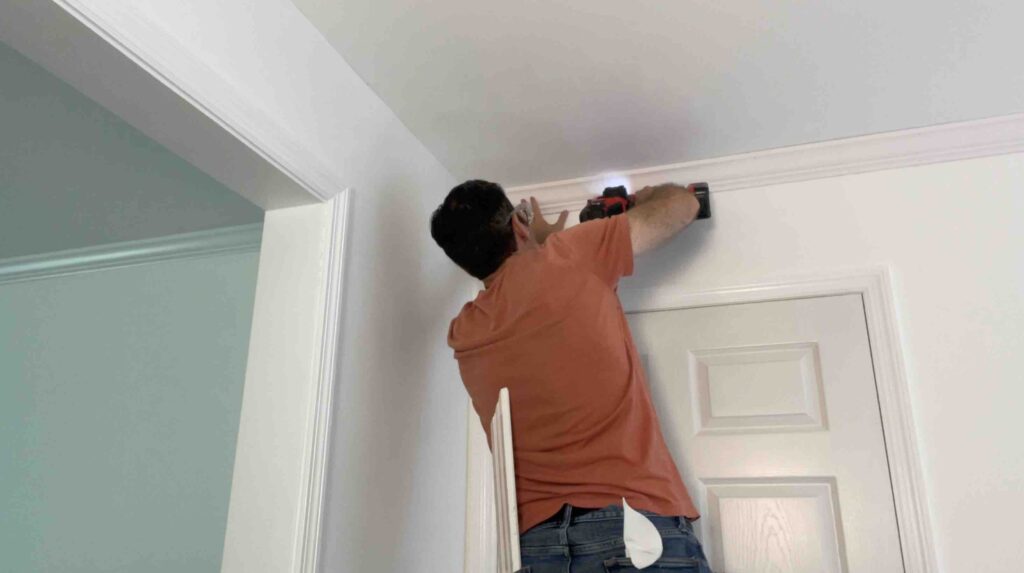
I had to do this twice for my kitchen / dining space, once over the doorway and again over the archway.
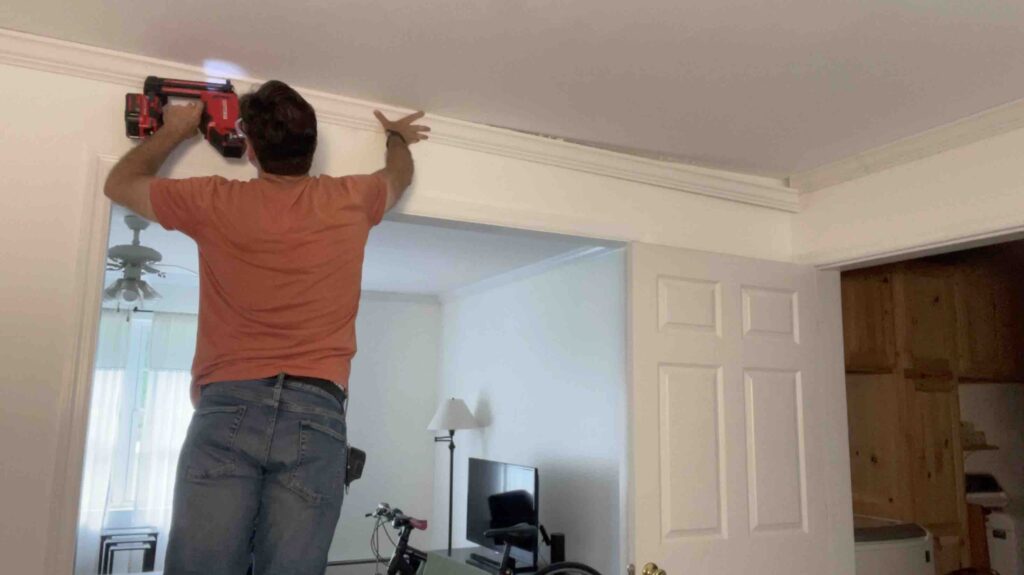
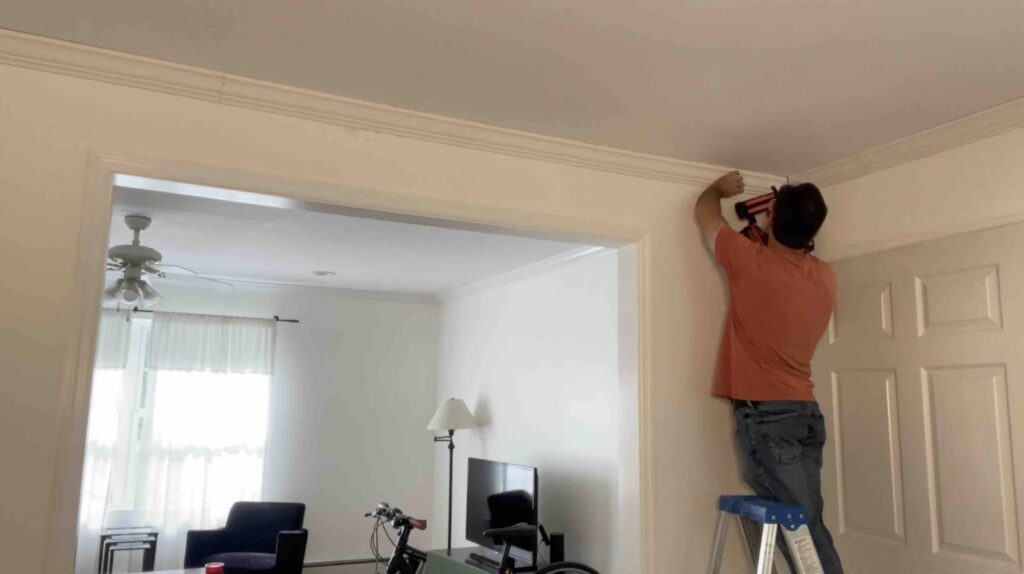
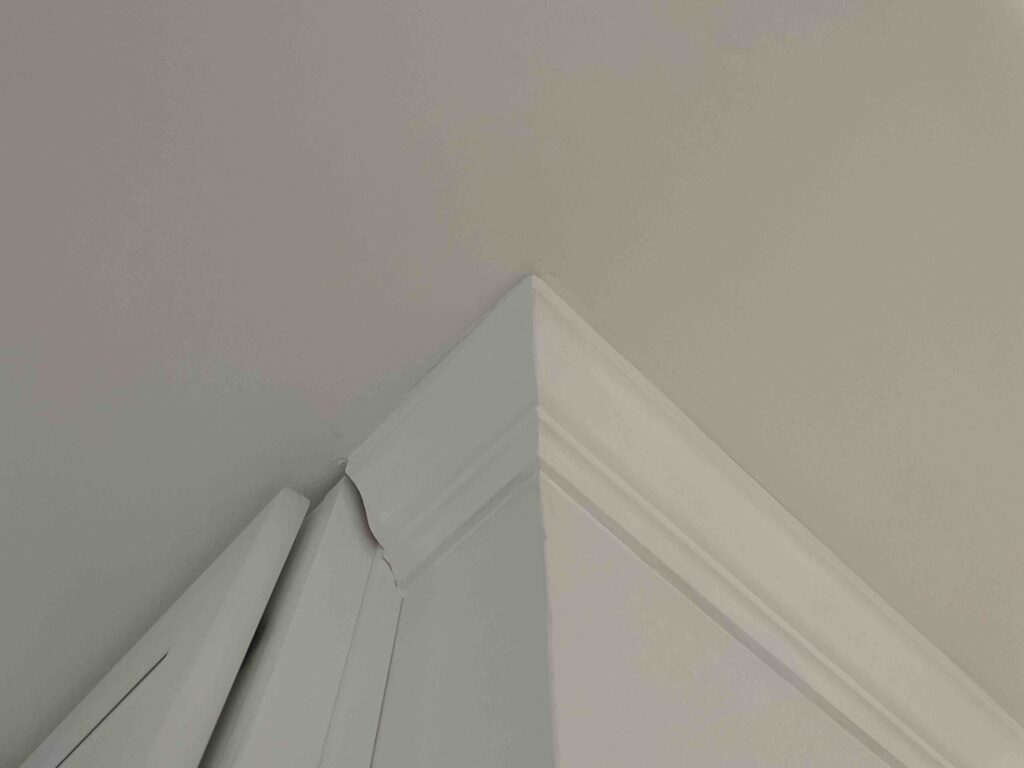
The ceiling in the corner was bowed upward, making it challenging to secure the molding properly. The original section I put up fell off, snapping in two, and I had to start all over, but it all came together in the end.
End Corners
At some point, you will likely run into an area that requires an end piece. I had two of those at the start of our hallway.
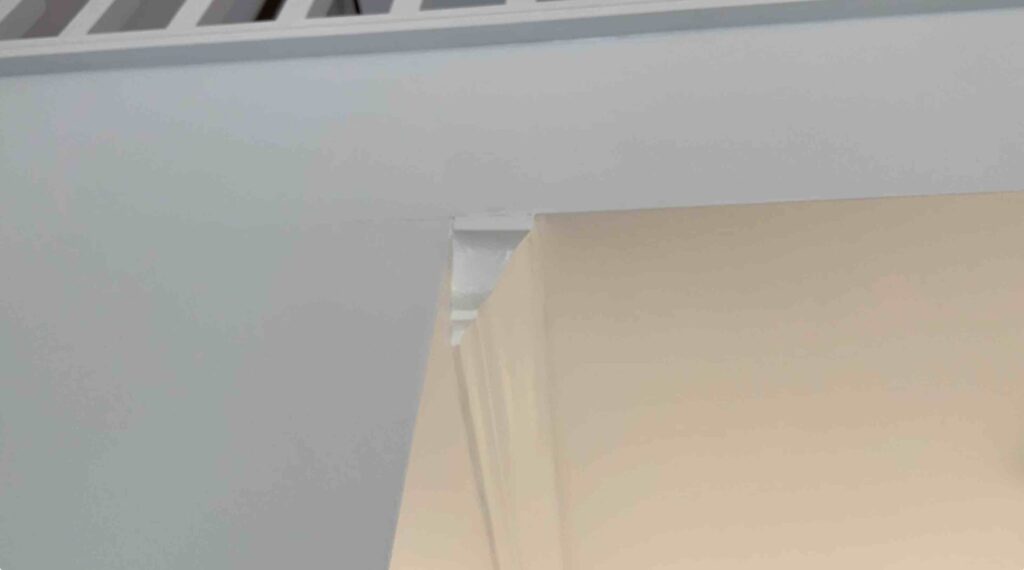
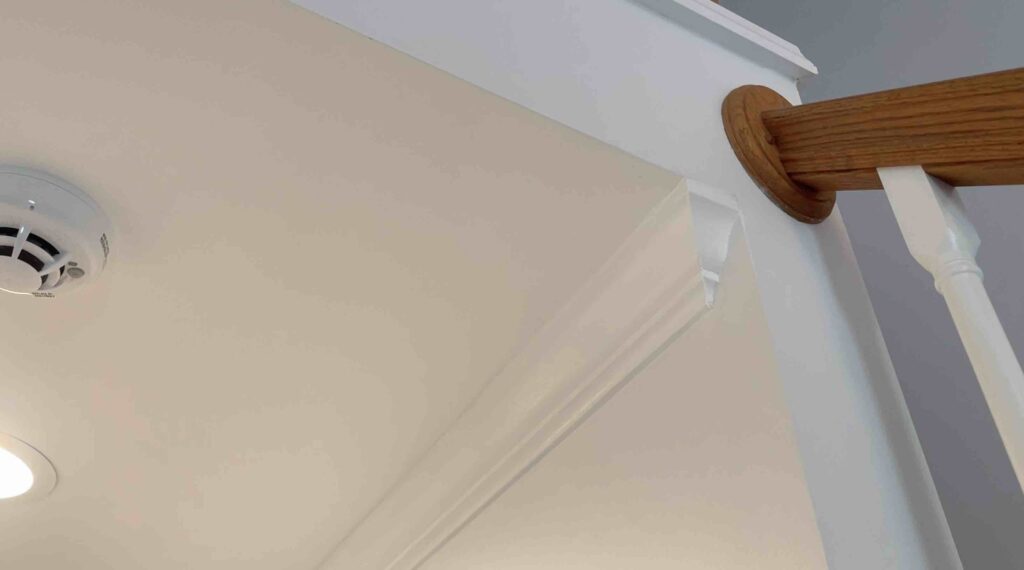
These smaller pieces are tricky to cut because they are so small. I used a pair of pliers to hold the molding down while cutting it (sorry, no photos) and I had to do this repeatedly until I had a snug fit. Once I had a good fit, I added caulking to each edge and used the nail gun very carefully so I wouldn’t impact my fingers.

Caulking and sanding
Once you have your molding installed, caulk the seams along your molding, in the corners and anywhere you have two sections of molding merged together. I used Alex Plus 40 year caulking which I find really easy to use and clean up.
I also used spackle (joint compound) to cover the brad nail holes.
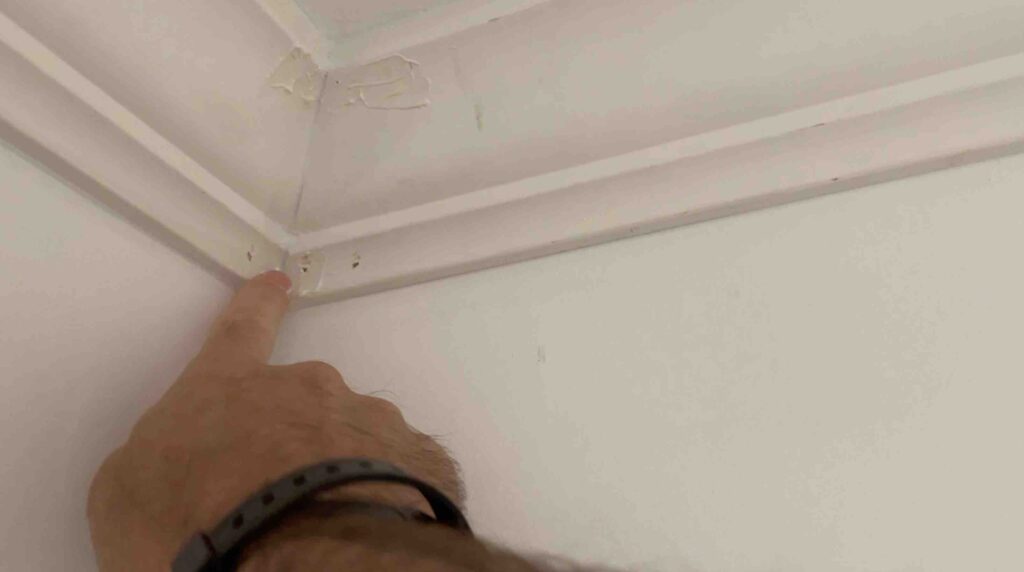
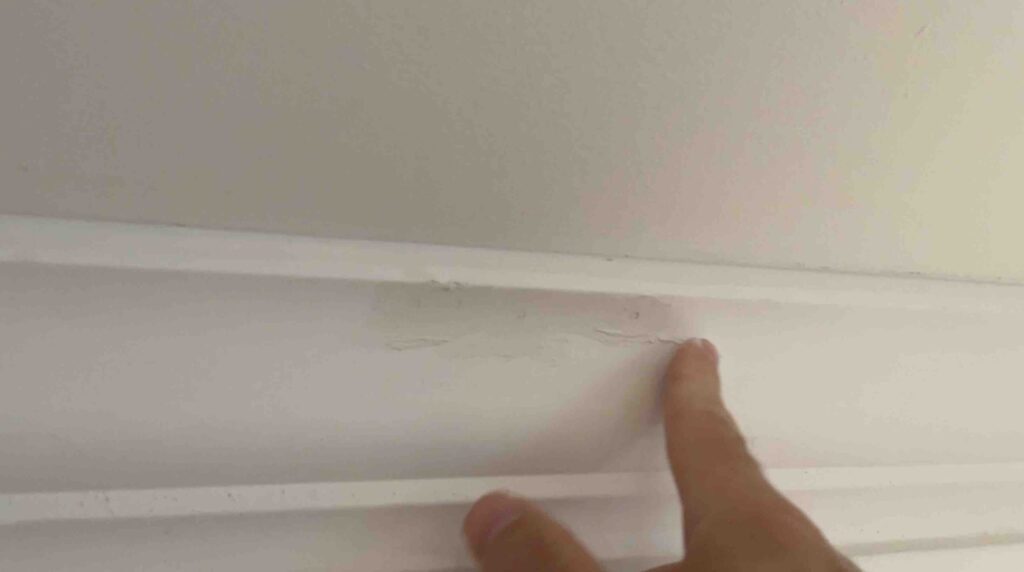
Once the caulk is dry, take a wet towel (and possibly 150 grit sandpaper) and clean away any excess caulking. Then paint the crown molding in your desired color. I used Valspar’s Signature Semi-Gloss and it took me two coats to achieve the finished look I wanted.
Final Thoughts
While it was certainly a laborious process, the new crown molding in our hallway, dining room area and first floor guest room looks amazing. The molding has really elevated the entire first floor.
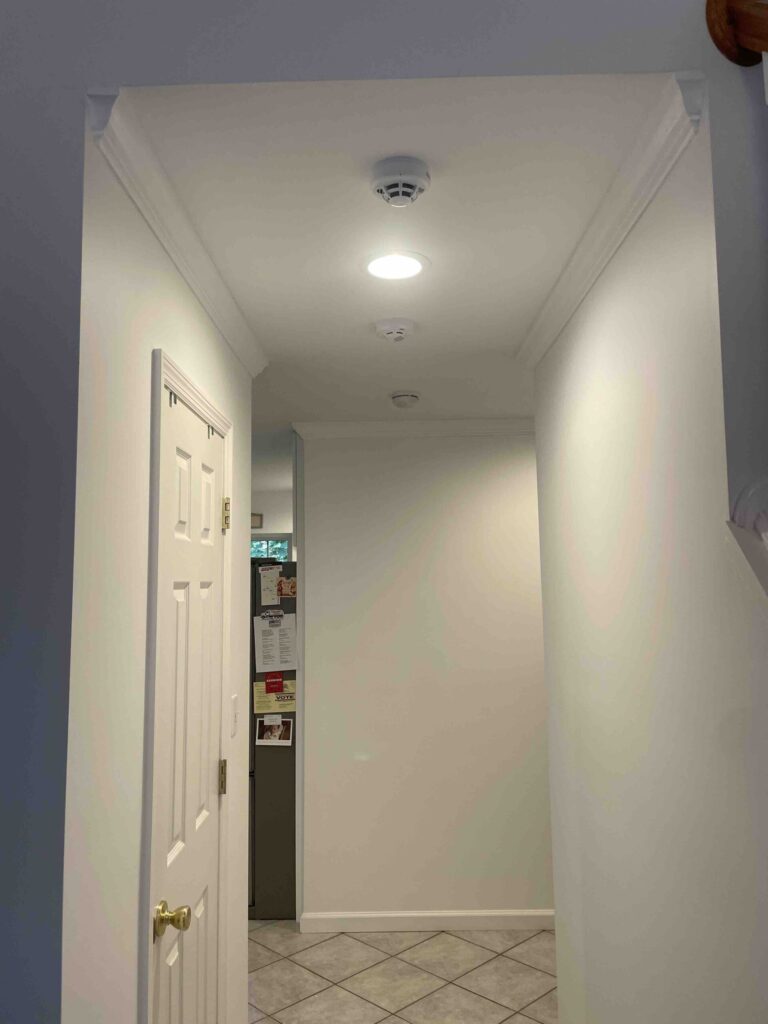
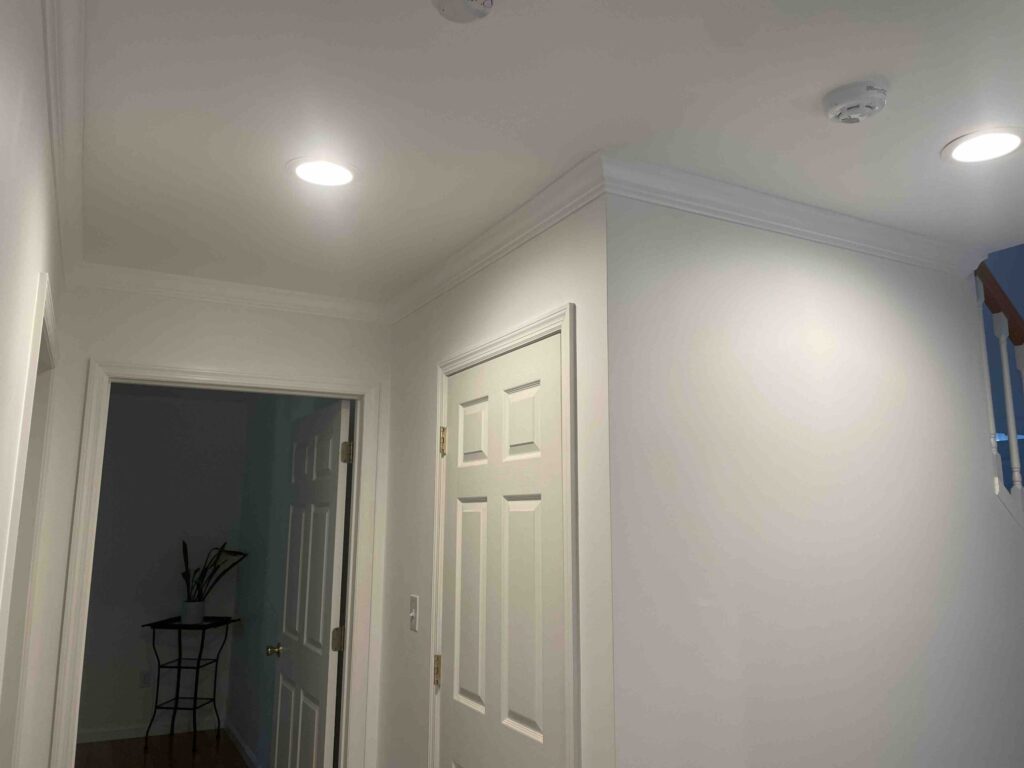
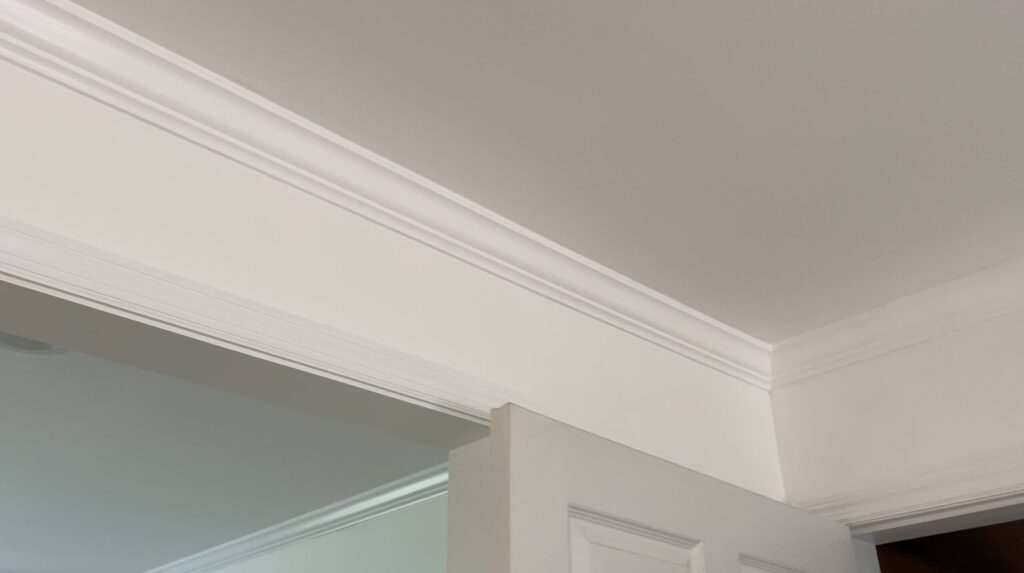
Below is a breakdown of materials and costs if you are considering making the same upgrade to your home.
Materials and Cost$
Lowe’s:
Crown Molding– $293.20
Alex Plus Caulking 2 tubes- $8.17
If you enjoyed this post, be sure to check out my home office remodel project, which inspired this whole crown molding endeavor. I’ve also determined that some additional trim detail is what our dining room area, which is currently a blank wall, needs. That’s up next.
Recent Posts
The Laundry / Mud / Pantry Room Refresh
For many homes the mud room is the initial entry point from the garage. Our house is no different….

Must Have DIY Landscaping Tools
Do you need to replace any of your landscaping tools? Fall is fast approaching and it marks the second time of…
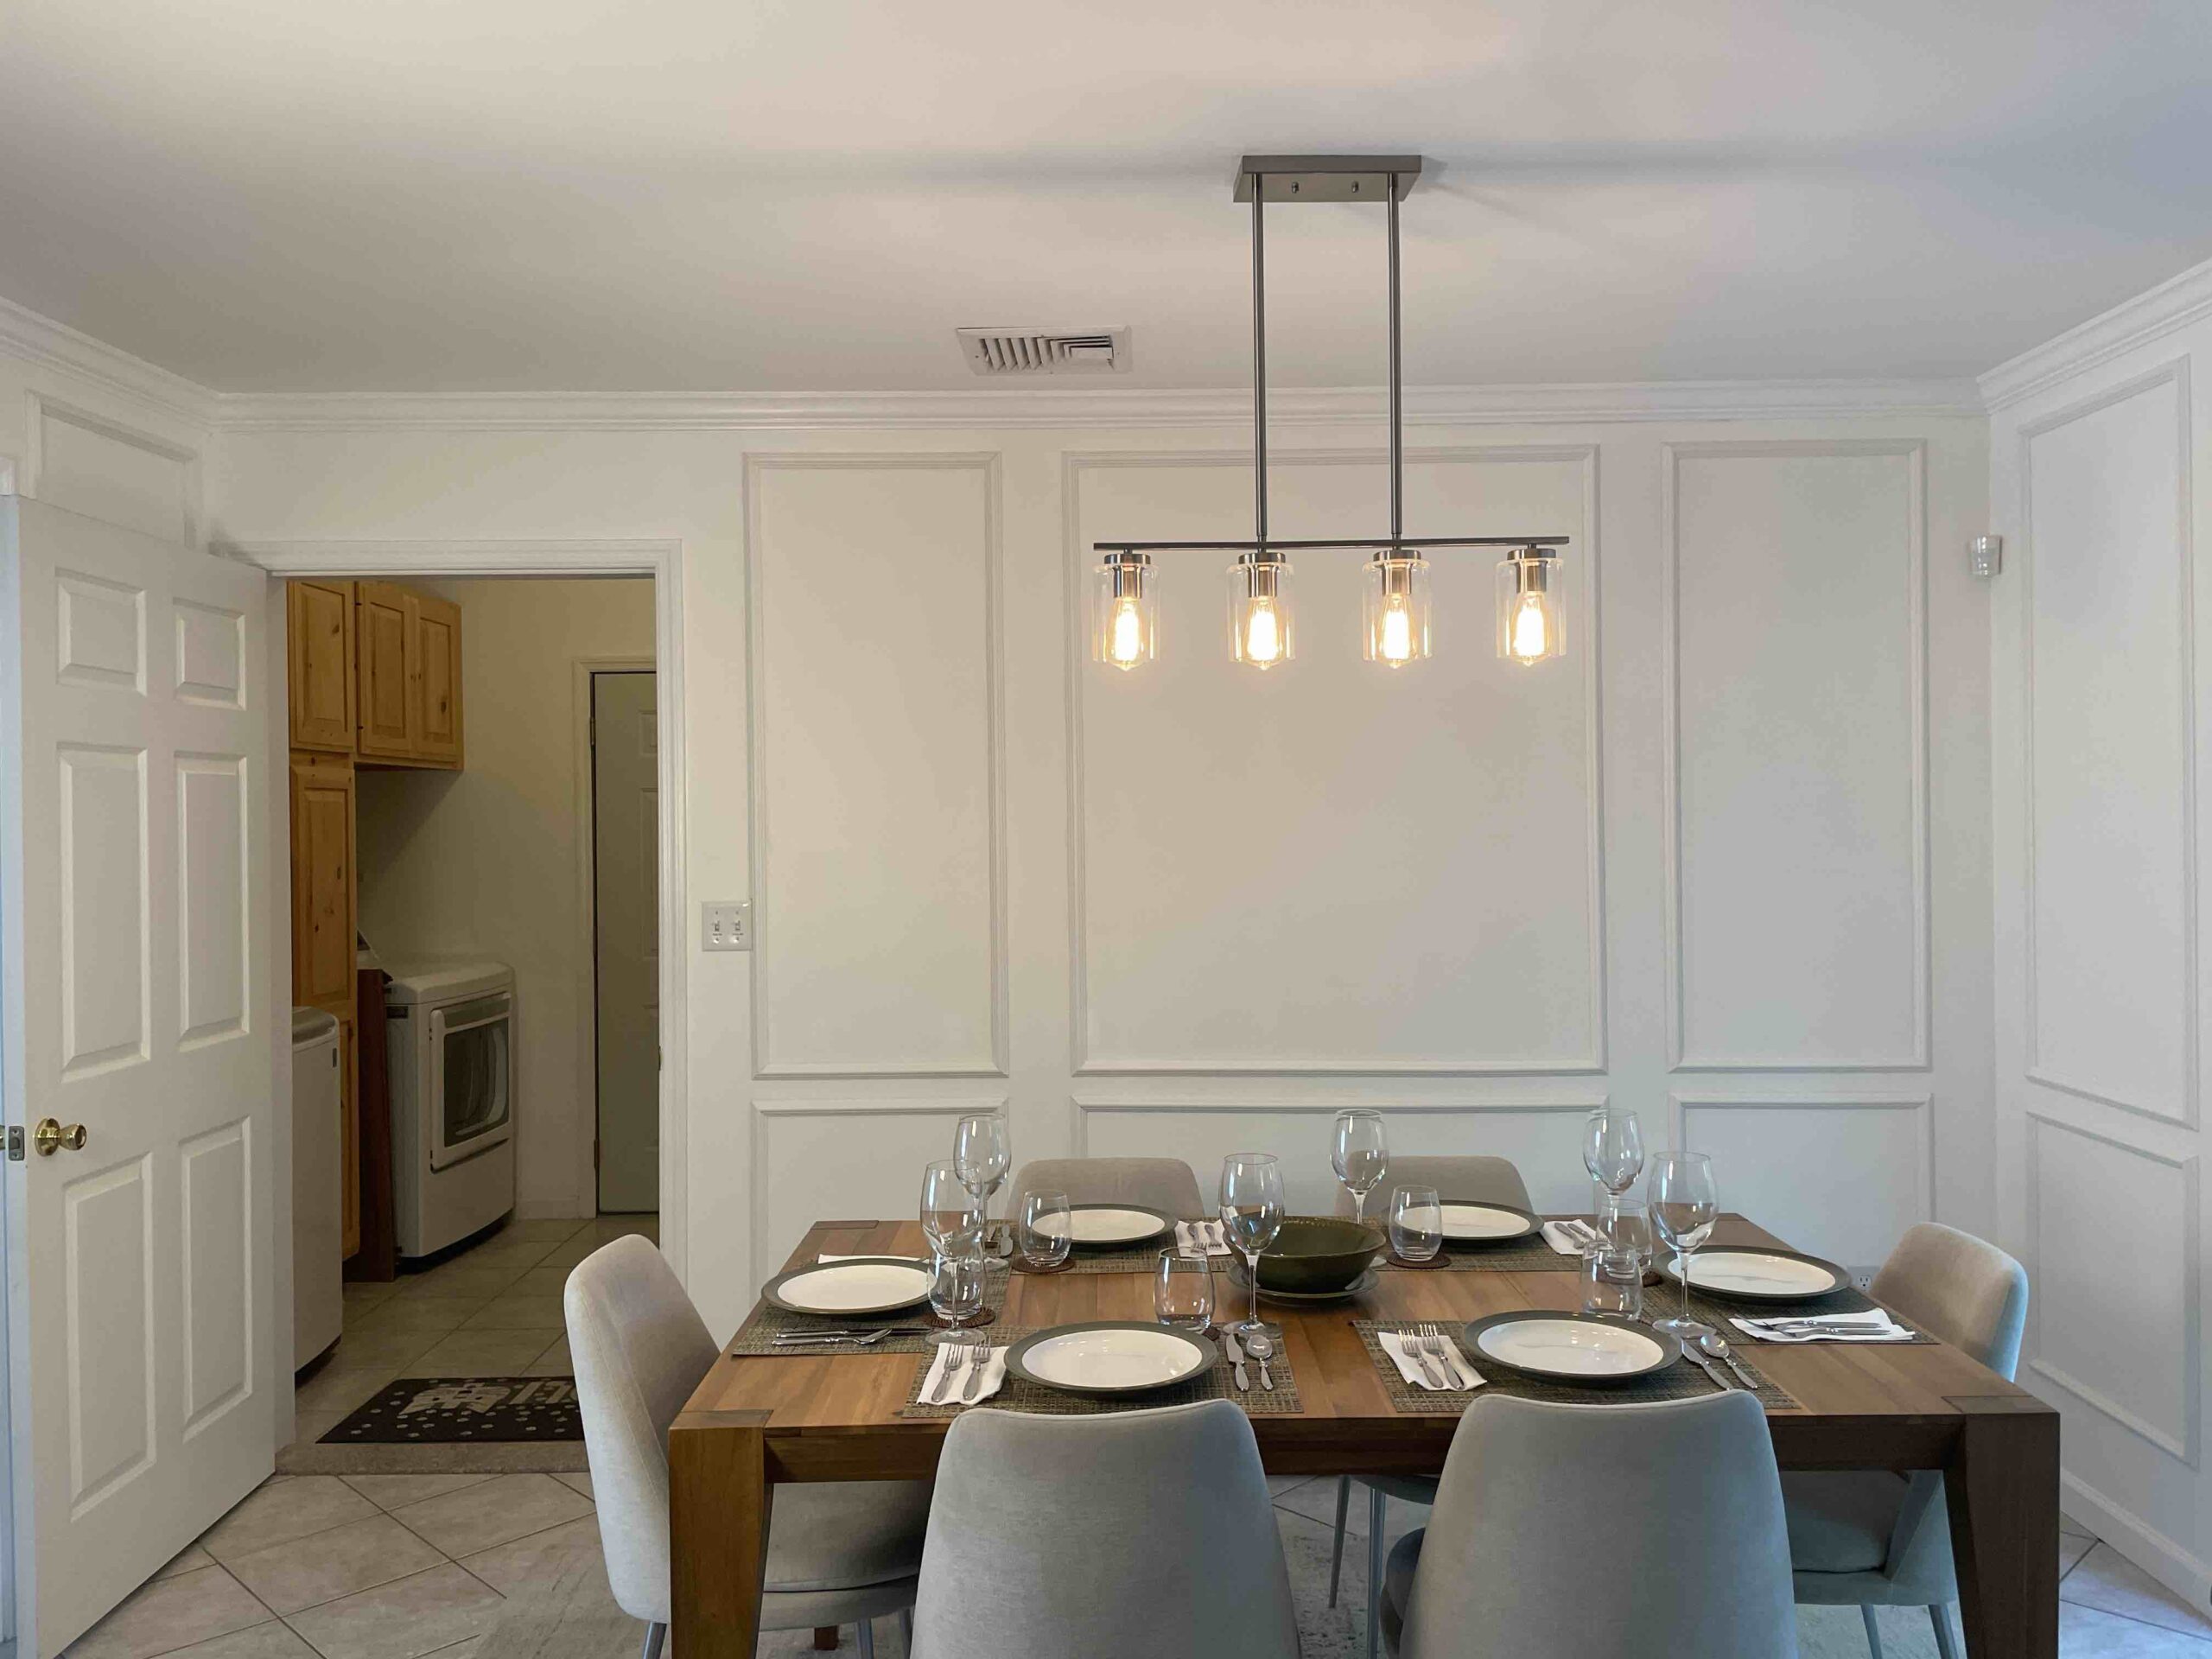
How To Add Texture And Depth With Wainscoting
Wainscoting is a great way to add texture, depth and character to any room. It also protects your drywall from…
How To Add New Crown Molding For An Elevated Finish
When we first walked through our new home, the only room that had crown molding installed was the living room….
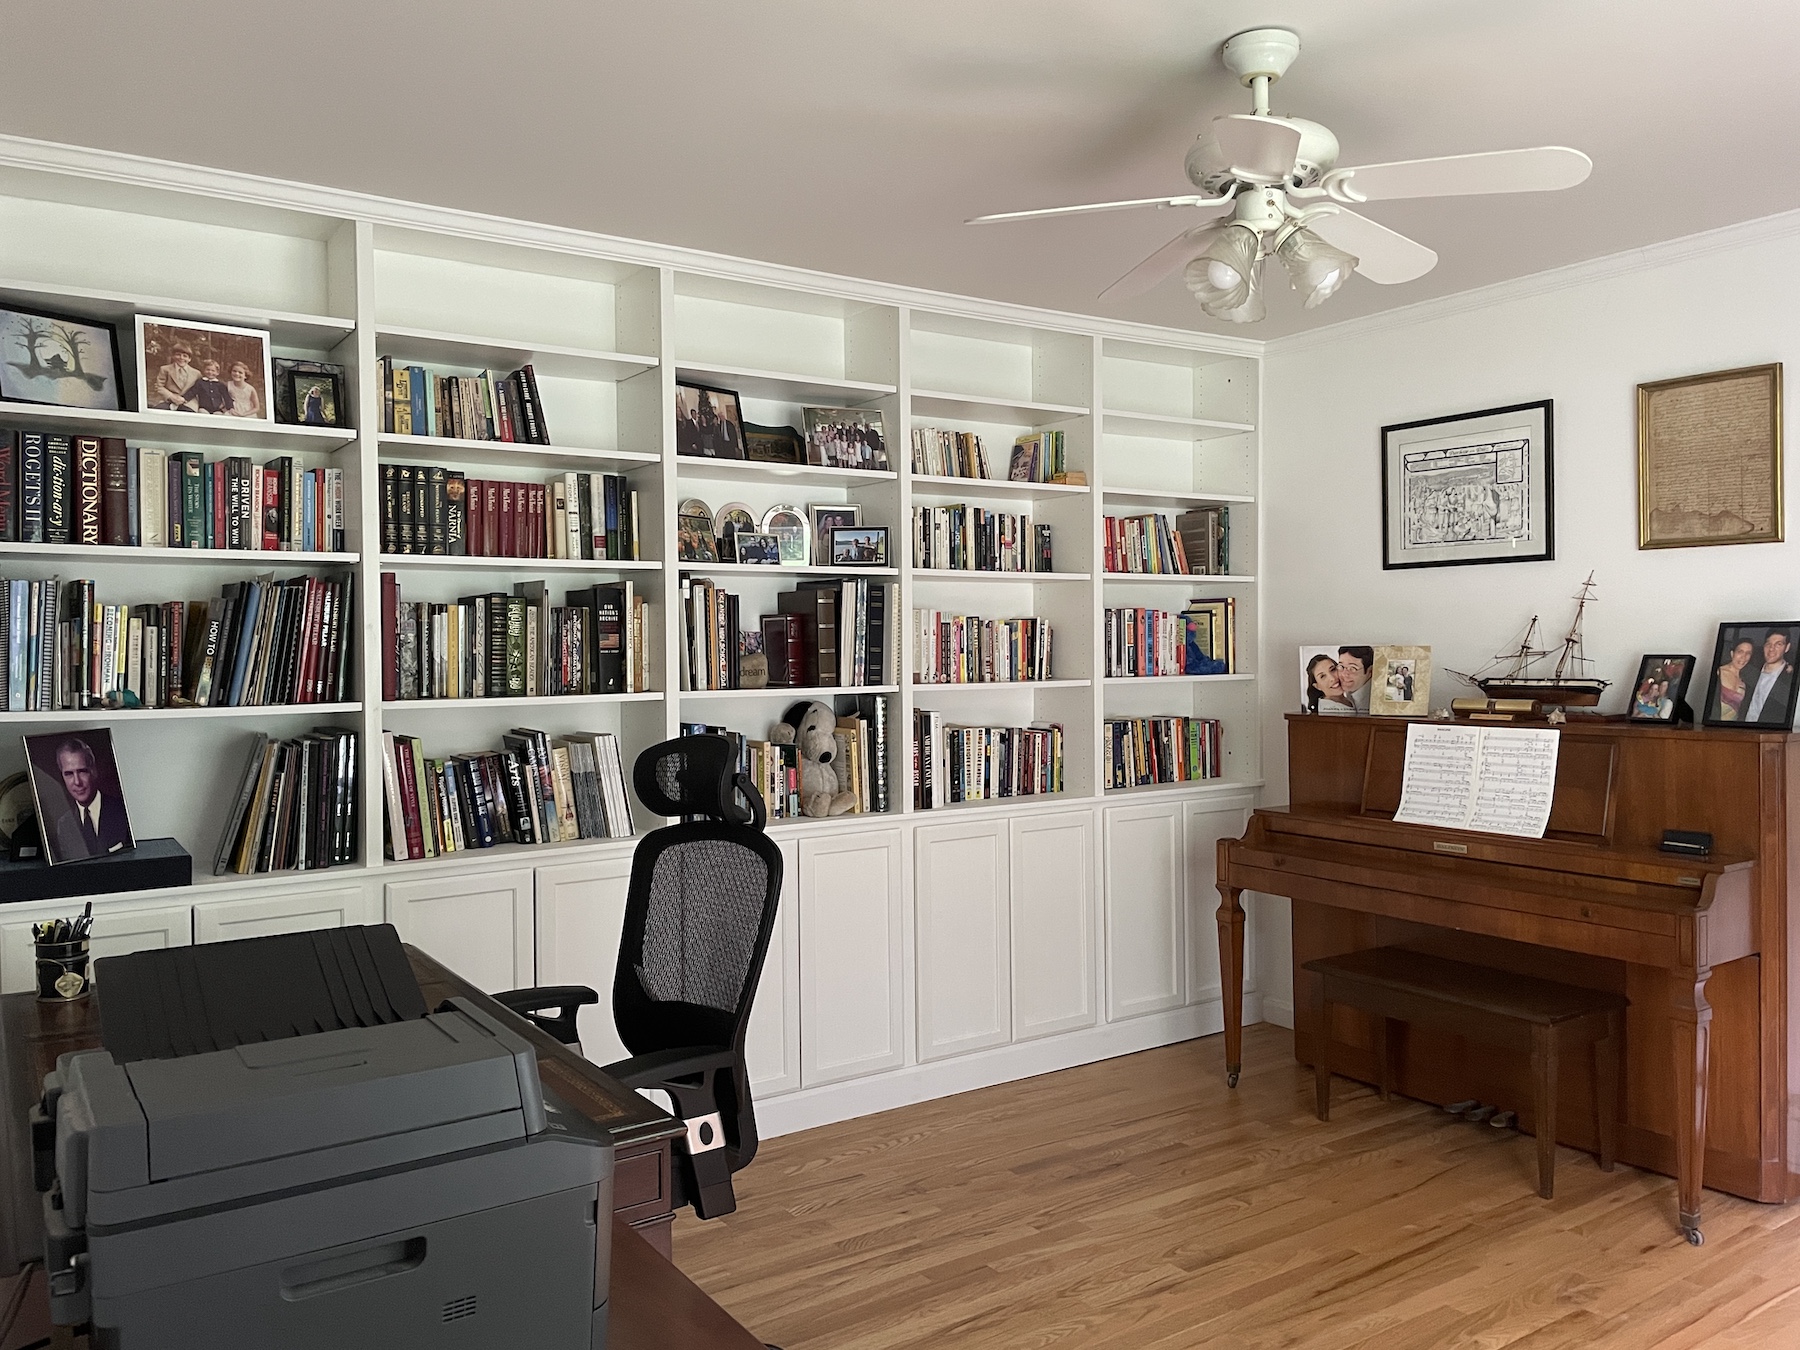
New DIY Home Office Makeover: The Reveal (Pt.4)
I first started our home office makeover in April and it’s time for the reveal! Similar to our experience with our new walk-in…
New DIY Home Office Make Over: Refinishing Heirloom Desks (Pt.3)
As part of our home office remodel, we have two mid-century desks that need refinishing. Both are family heirlooms from my father. Refinishing:…
Leave a Reply