
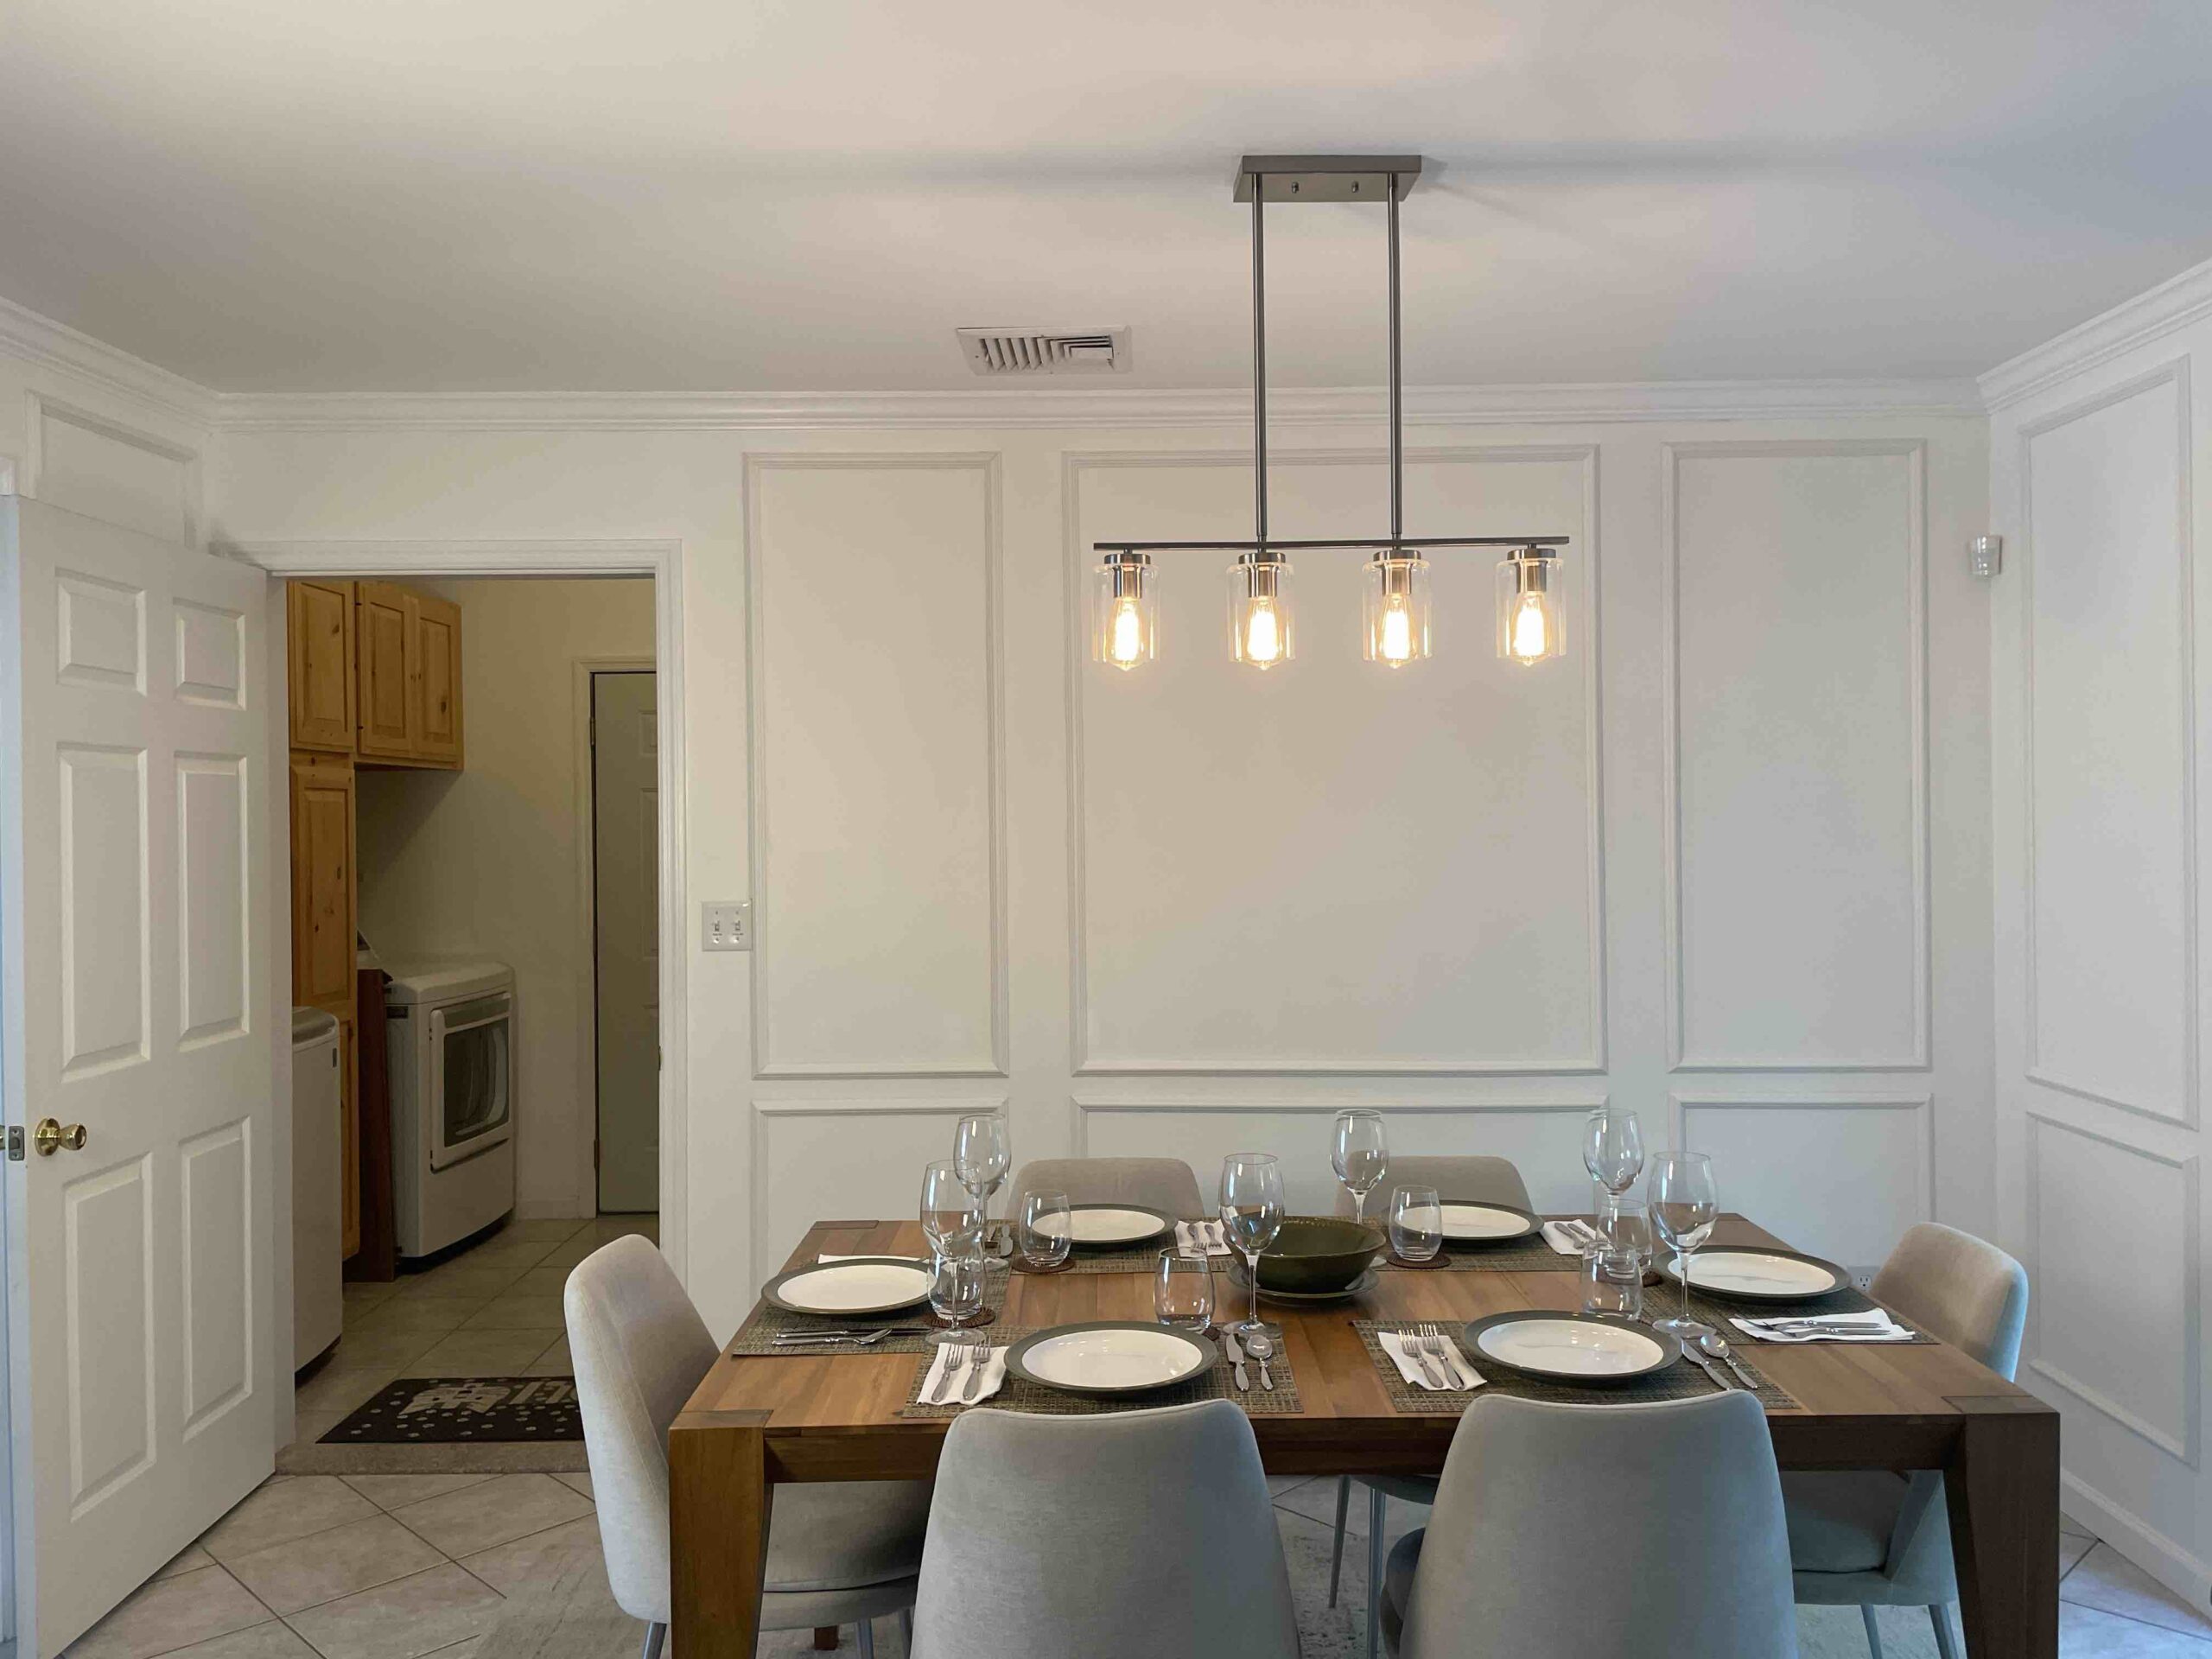
Wainscoting is a great way to add texture, depth and character to any room. It also protects your drywall from bumps and scrapes caused by furniture or pets and can act as a moisture barrier. It can create a horizontal division for wall paper, contrasting colors on a wall, and offer ‘picture framing’ design. Lastly, it can add value to your home as a custom upgrade.
Starting out
In my last post, I described how much of a difference installing crown molding made to elevate the first floor of our house. Well, we needed more than that in our dining room space, which was just a blank and boring wall.
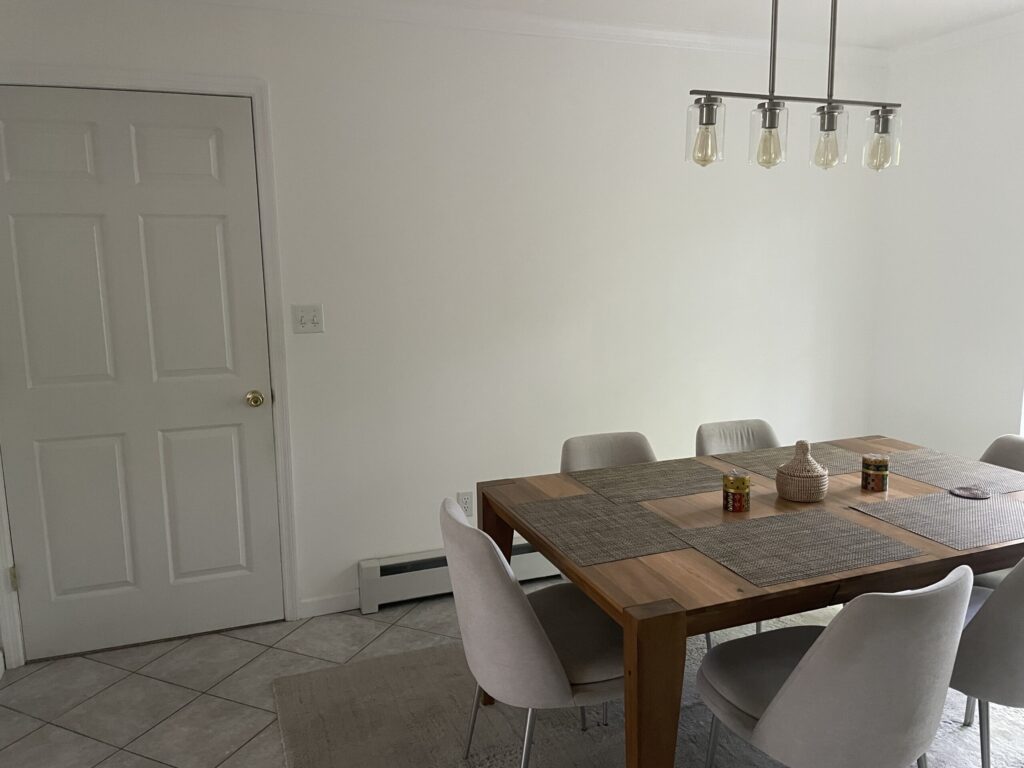
We puzzled over whether to add artwork to the wall, which presented its own challenges. What artwork did we want to display? What size canvas did we need?
Then I saw an online photo of ‘picture frame’ molding on Wayfair. It is such a versatile option, whether you incorporate wall paper or paint within the faming, or simply let the molding pieces stand out on their own. I knew this was the best option of our dining area.
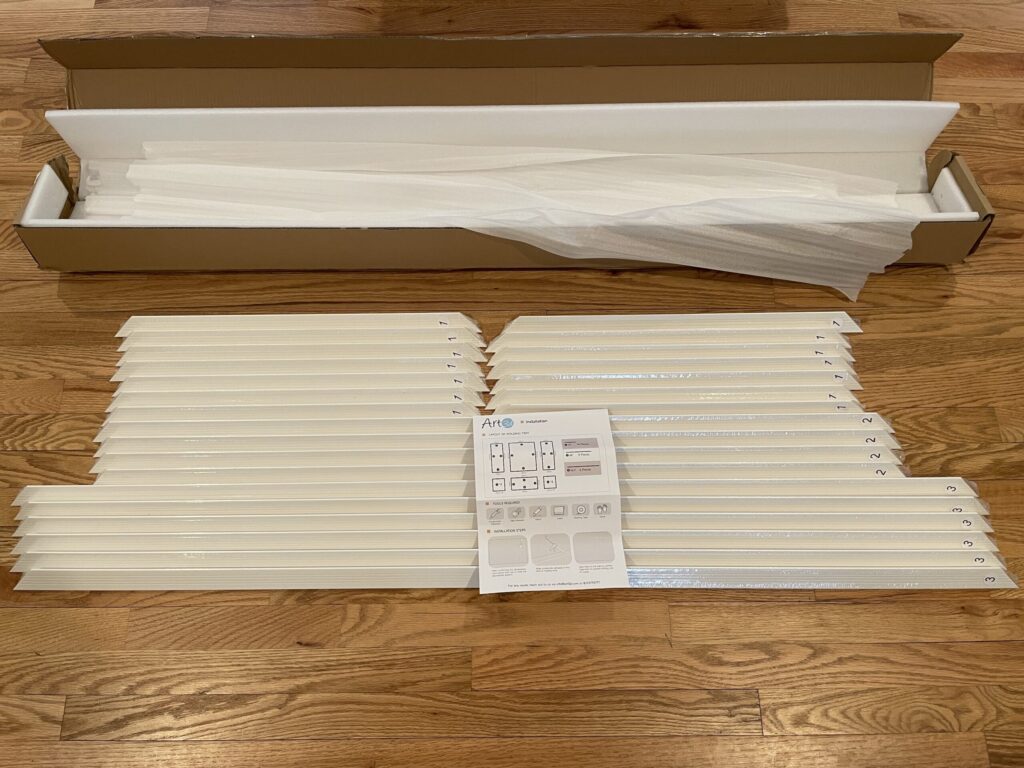
What Wayfair sends you
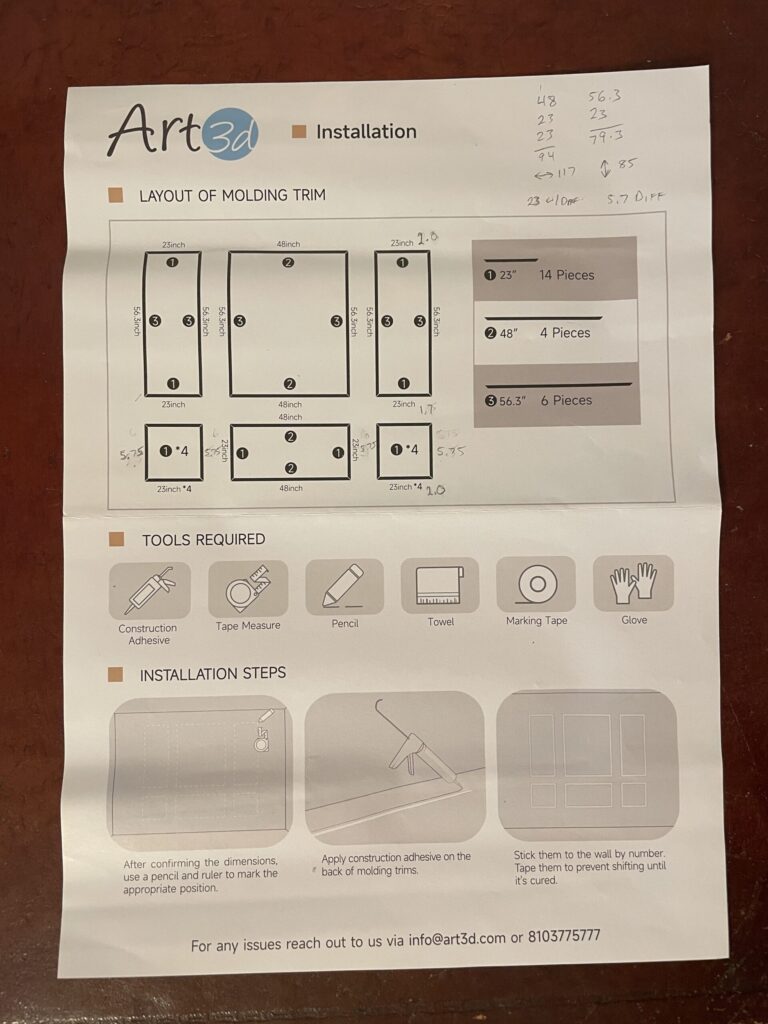
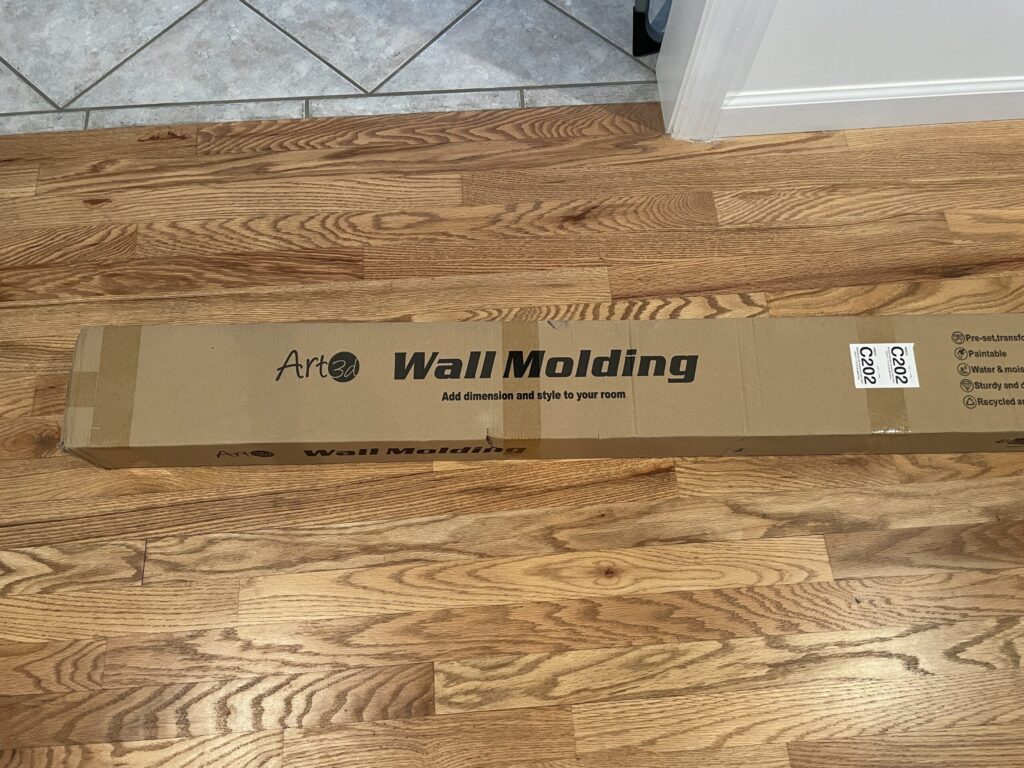
Each package includes installation instructions and molding pieces for six sections: a top row with a large central section between two taller and narrower frames, and a bottom row with smaller corresponding sections. Everything came numbered (parts 1, 2 or 3), making it easy to grab what you need quickly. The molding is pre-painted polystyrene that is super easy to clean.
Establishing the framing grid
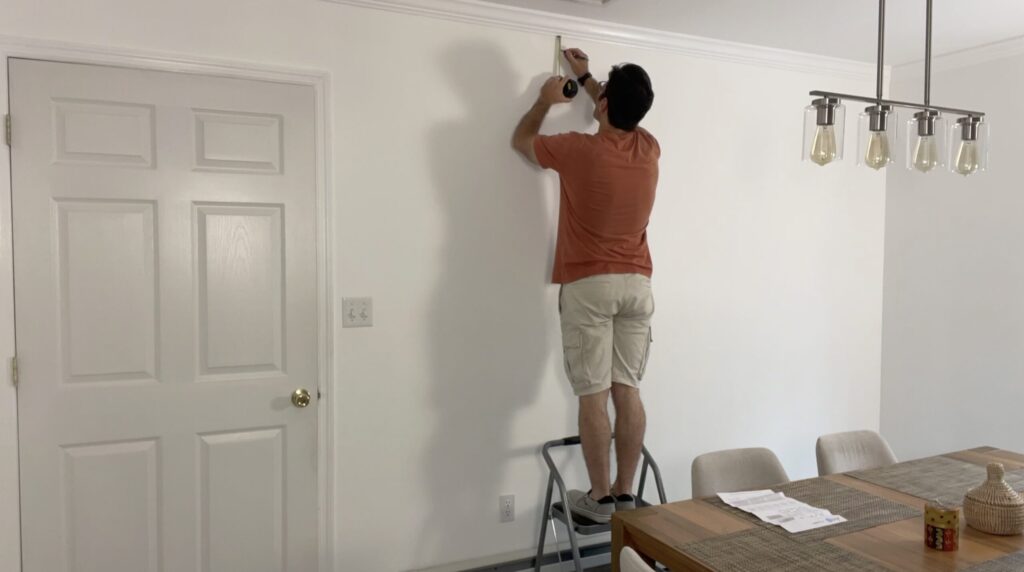
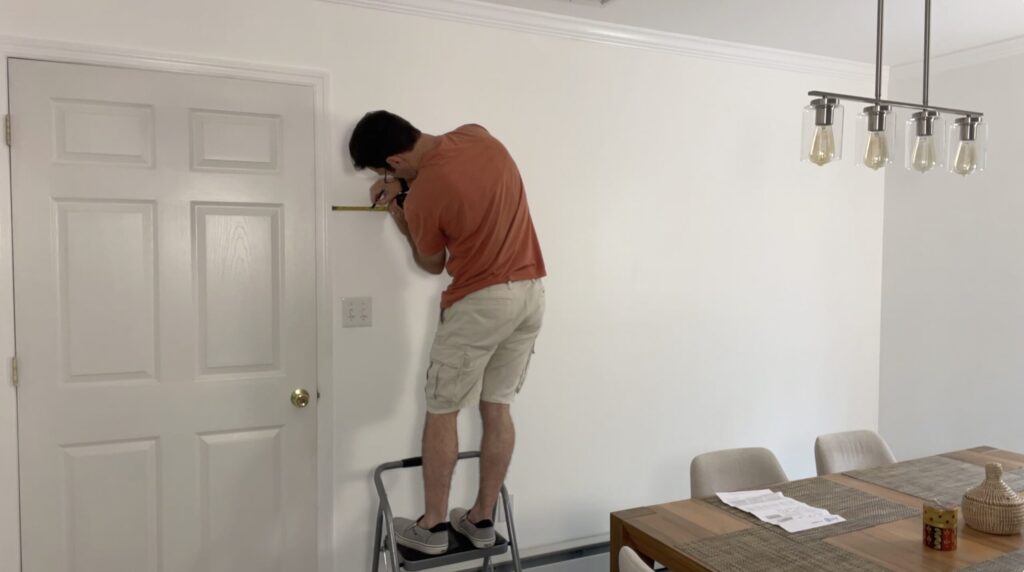
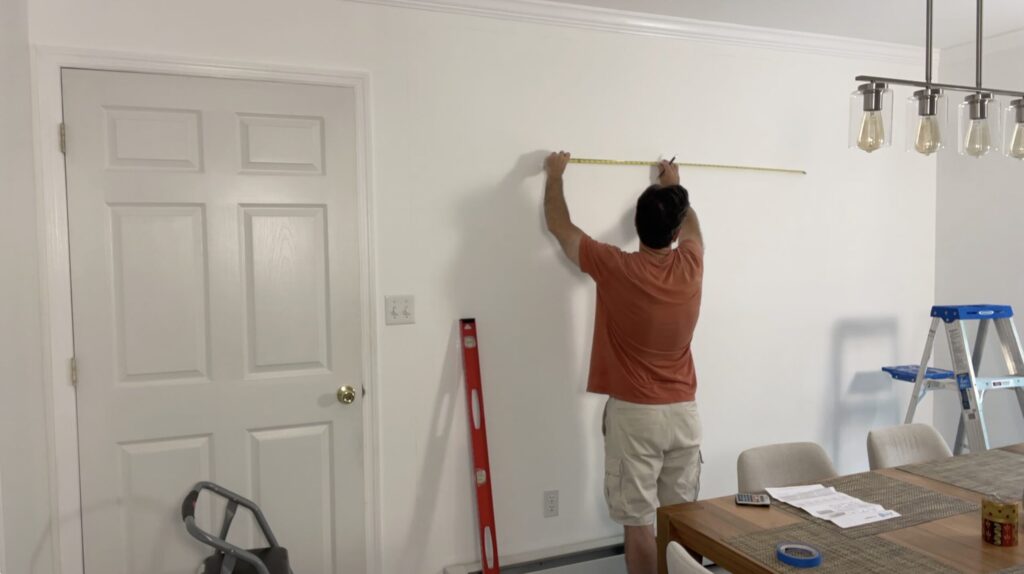
Before I could install any of the molding, I had to measure out the wall and determine where each section was going to land, factoring in the width of each molding piece. This established a grid I could reference during the installation process.
Installing the molding
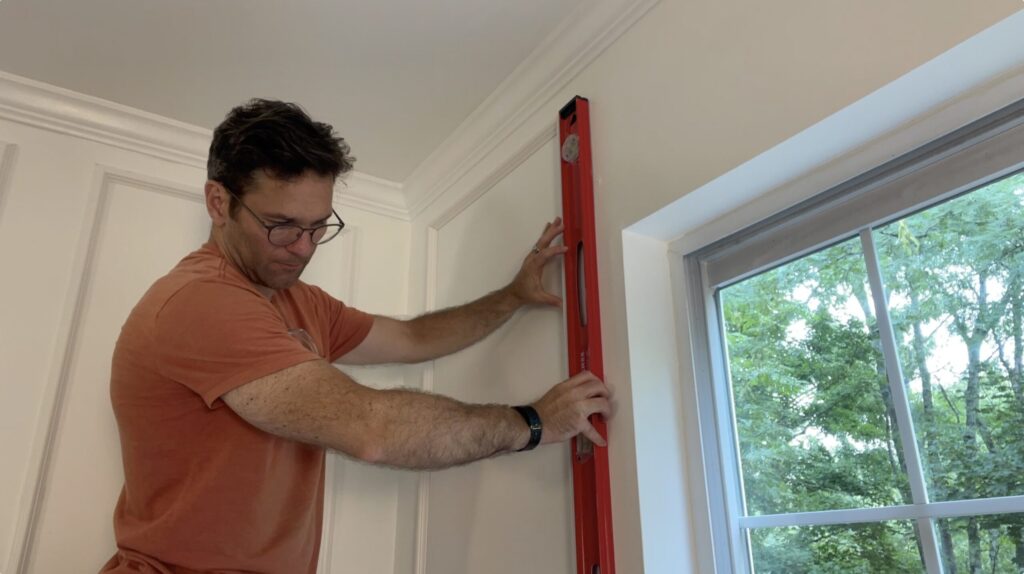
I worked my way down from the crown molding, and in from the doorway to our mudroom and the wall leading to our back deck, using a level to keep everything lined up properly.
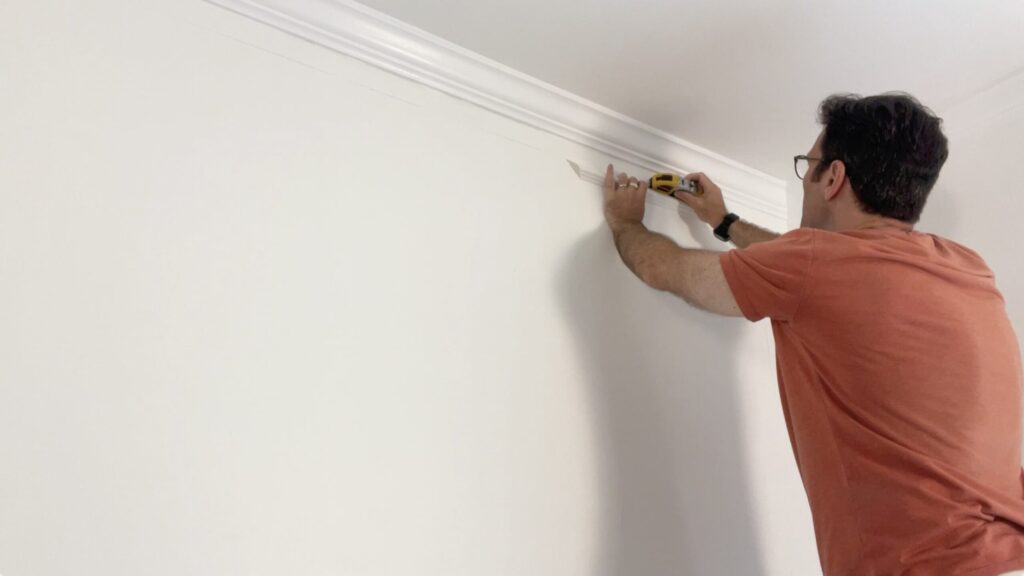
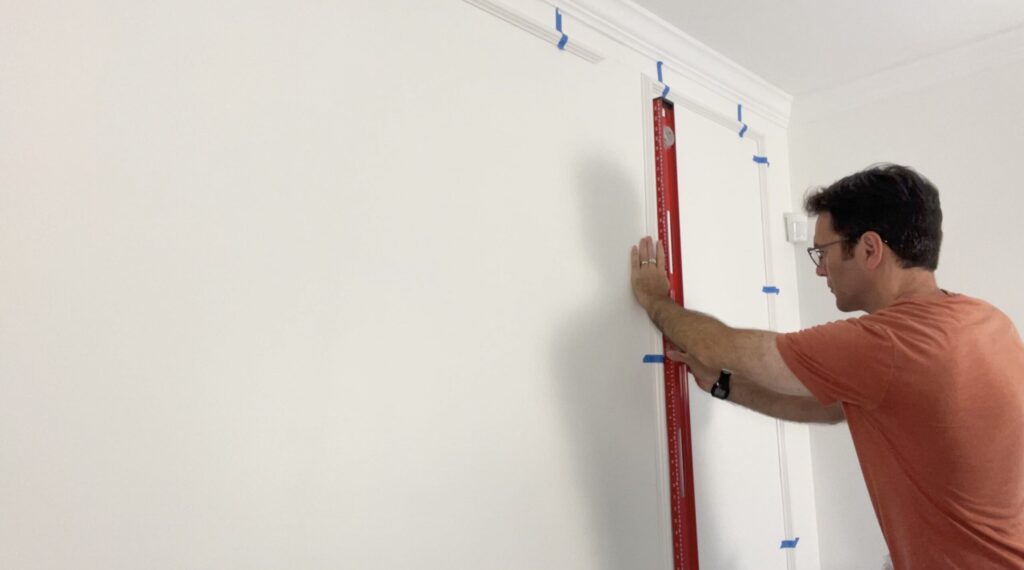
The directions for the molding suggest you can install the individual pieces without using a nail gun, just strong adhesive with masking tape.
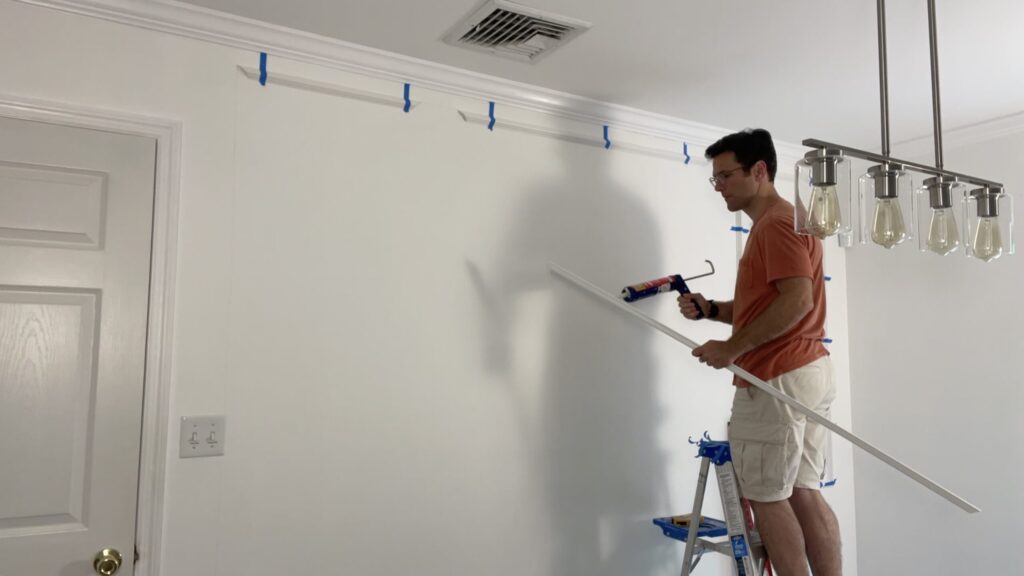
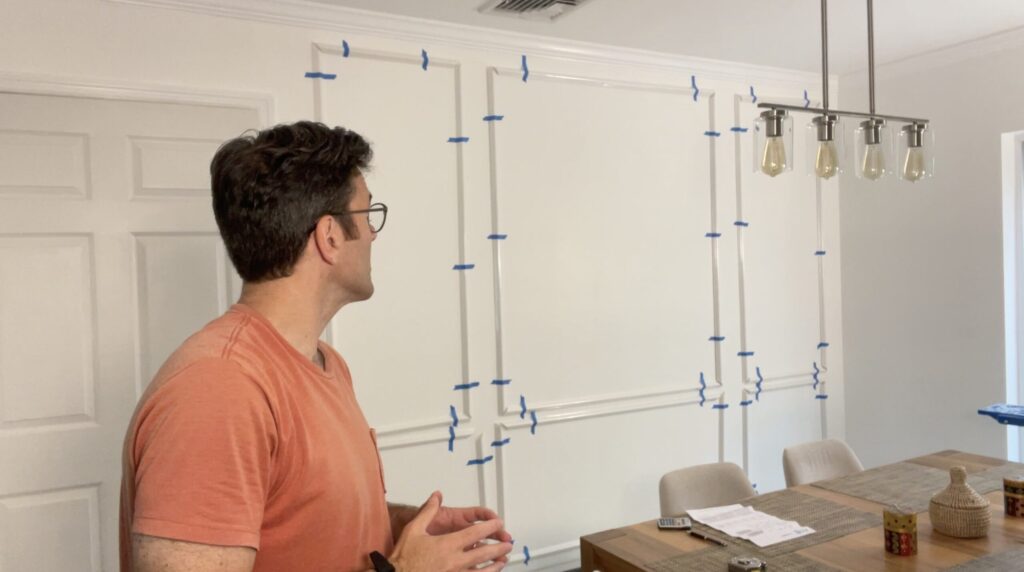
I used painter’s tape I had available and this approach didn’t work for me. The molding pieces kept shifting around when I matched up their corners. The tape also wasn’t strong enough to keep the sections in place or keep them tightly sealed against the wall. They kept falling on the floor.
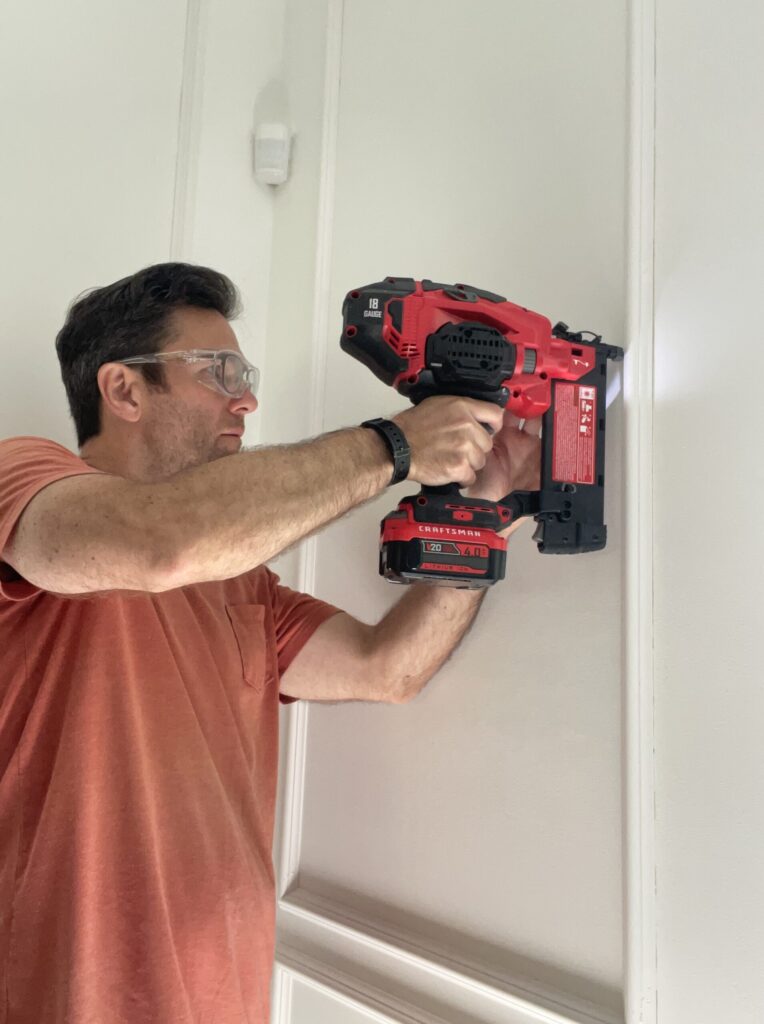
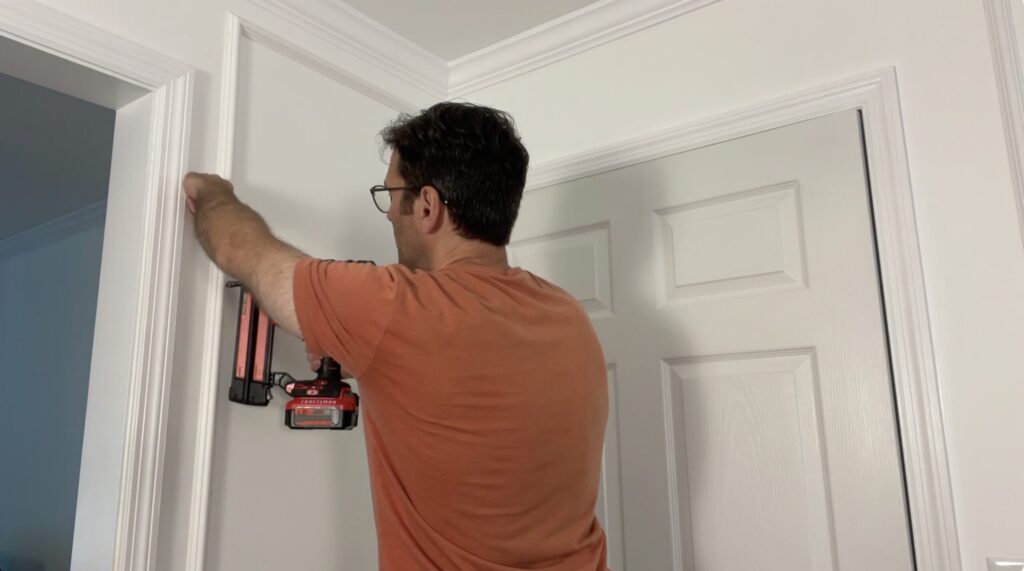
So, I grabbed my brad nail gun and that proved more effective along with the adhesive.
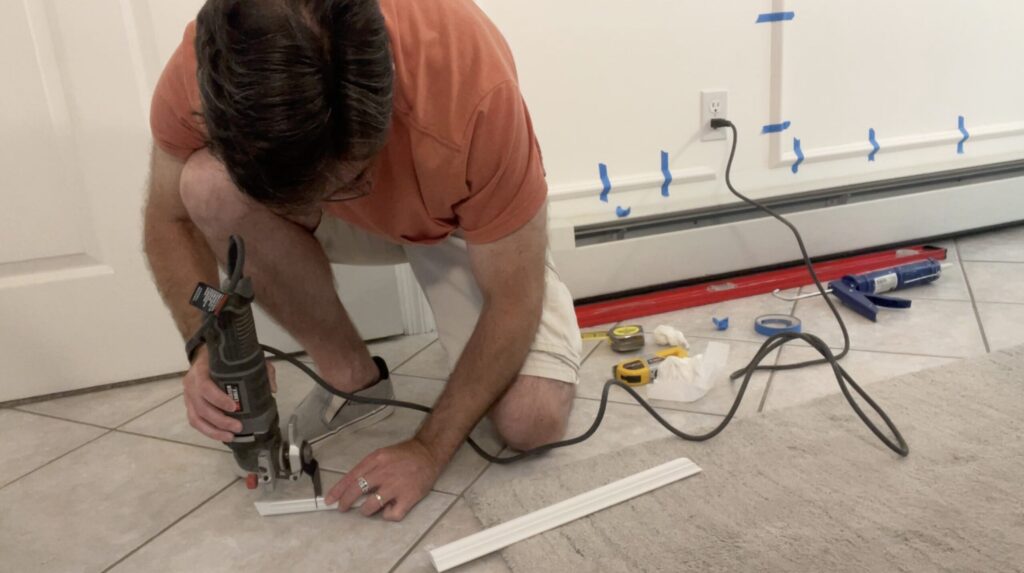
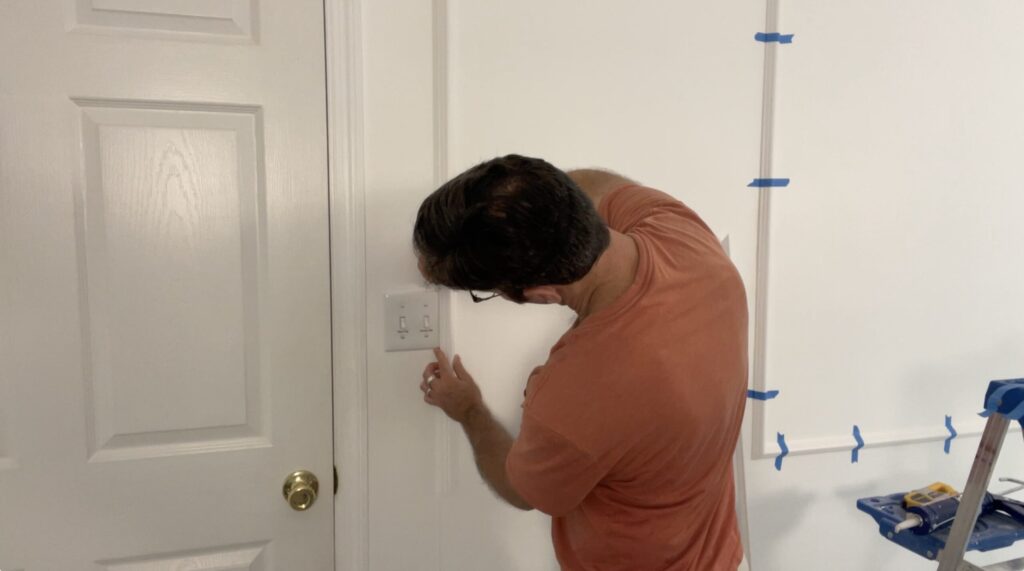
Some of the pieces required precise trimming to accommodate the light switch panel leading to the mudroom as well as an electrical outlet. I used my oscillating multi-tool to make the precise cuts.
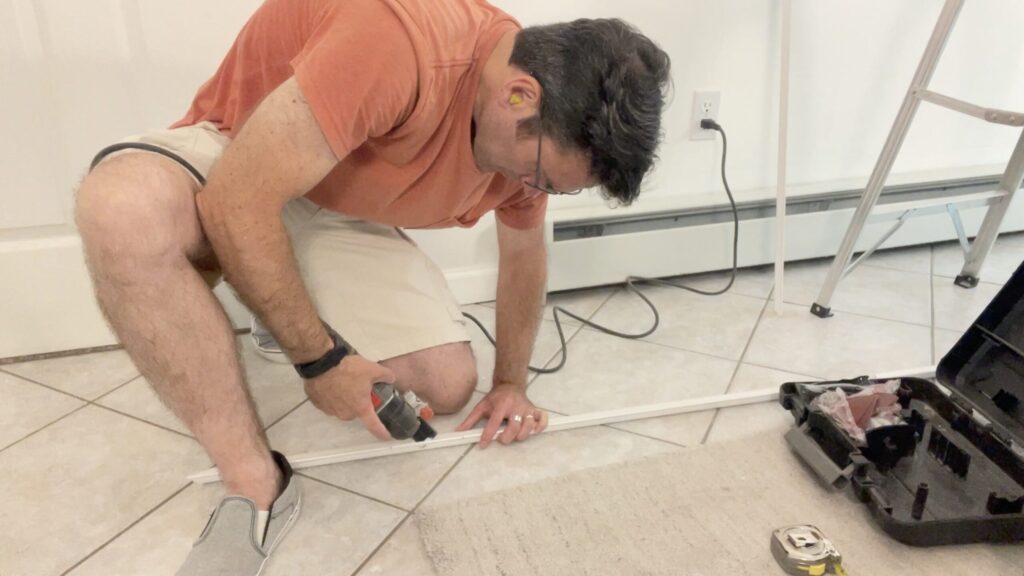
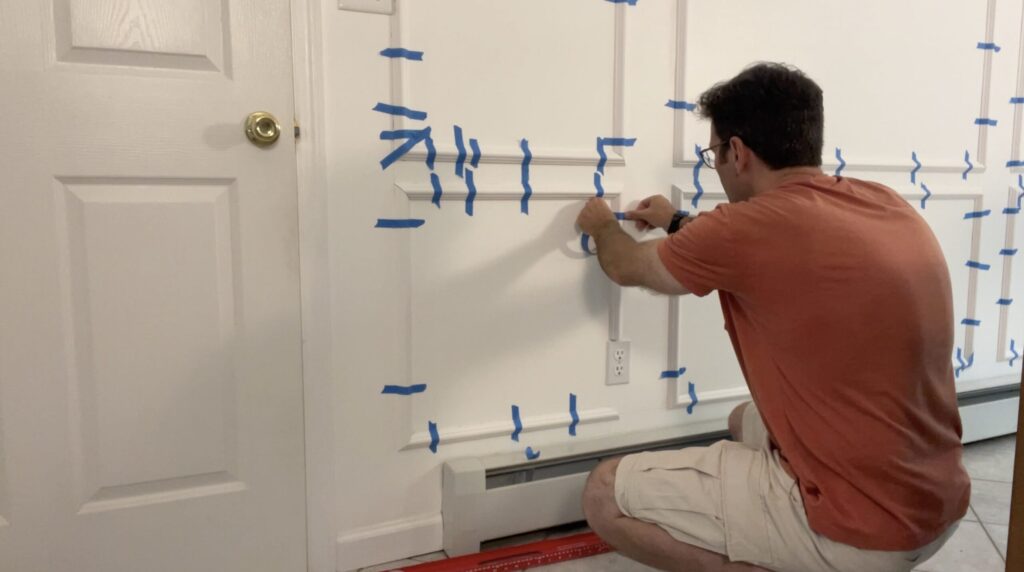
Once I had the first package of molding installed, I realized that I needed additional molding to finish bookending the dining area.
Caulking and cleanup
Once I had all of the molding pieces installed, I added caulk along each of the seams.
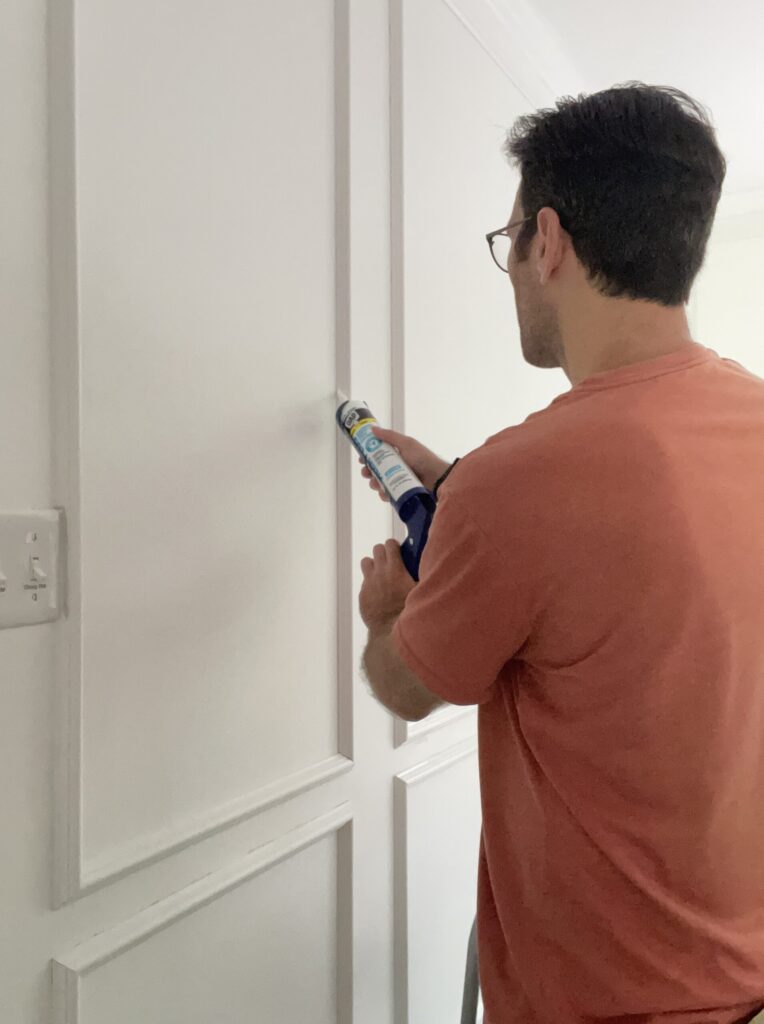
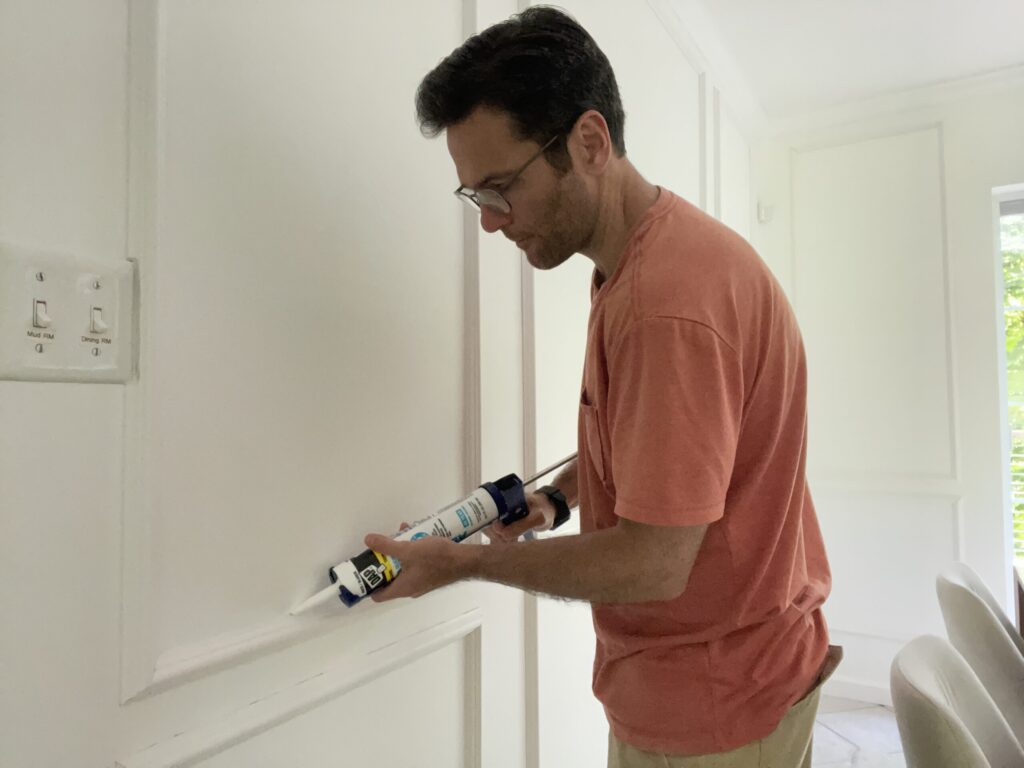
From there, I used a wet paper towel and 150 grit sandpaper to clean off all the excess adhesive and caulking. I didn’t even need to paint it!
Final thoughts
Adding the ‘picture frame’ wainscoting was totally the right decision for our dining area and we’re thinking about adding it to other areas on our 1st floor. We may add some artwork to the middle section, but for now we are enjoying the look as is.
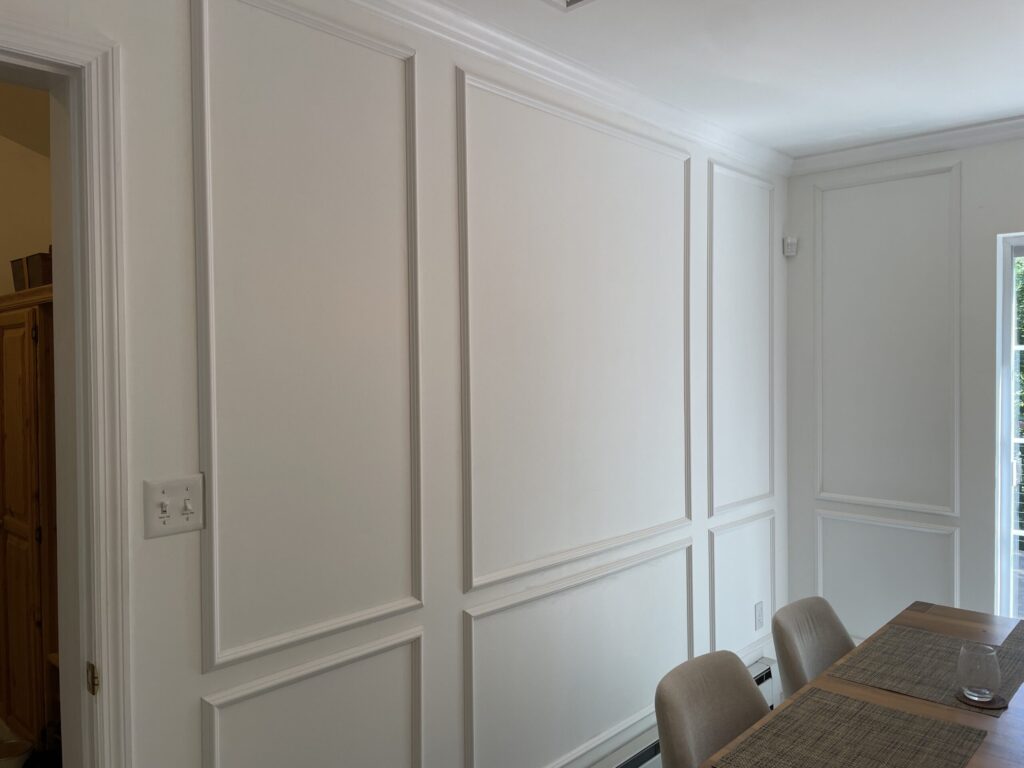
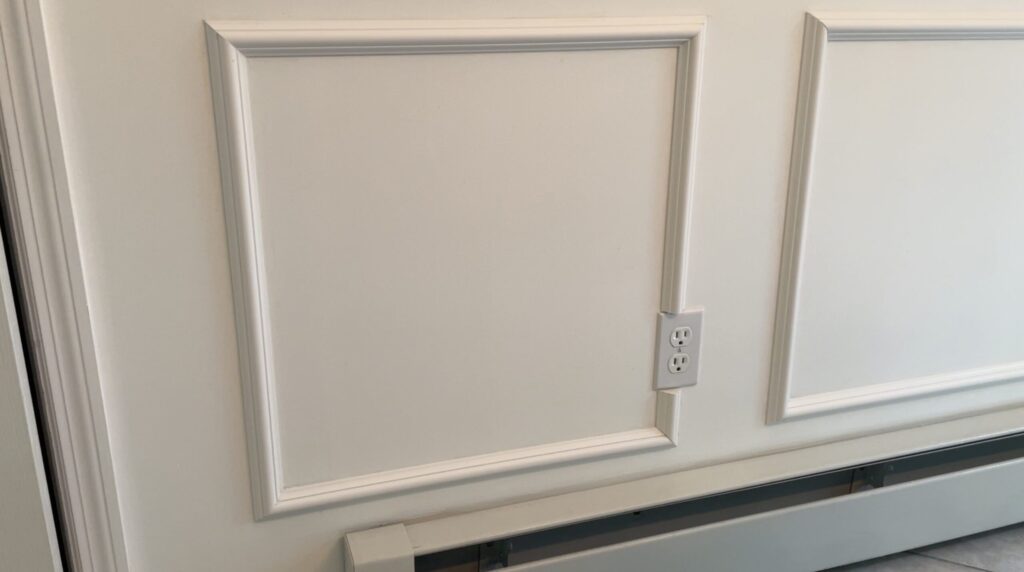
Below is a breakdown of material and costs for this project. If you liked this post, check out how we replaced our carpeting with new hardwood floors.
Materials & Cost$
Wayfair
Wainscoting-$64.76 each (2x) / $129.52
Lowe’s
Caulk-$4.48 each (2x) / 8.96
Liquid Nails Adhesive-$2.98 each
Project Total: $141.46
Recent Posts
The Laundry / Mud / Pantry Room Refresh
For many homes the mud room is the initial entry point from the garage. Our house is no different. It’s…

Must Have DIY Landscaping Tools
Do you need to replace any of your landscaping tools? Fall is fast approaching and it marks the second time of…
How To Add Texture And Depth With Wainscoting
Wainscoting is a great way to add texture, depth and character to any room. It also protects your drywall from…
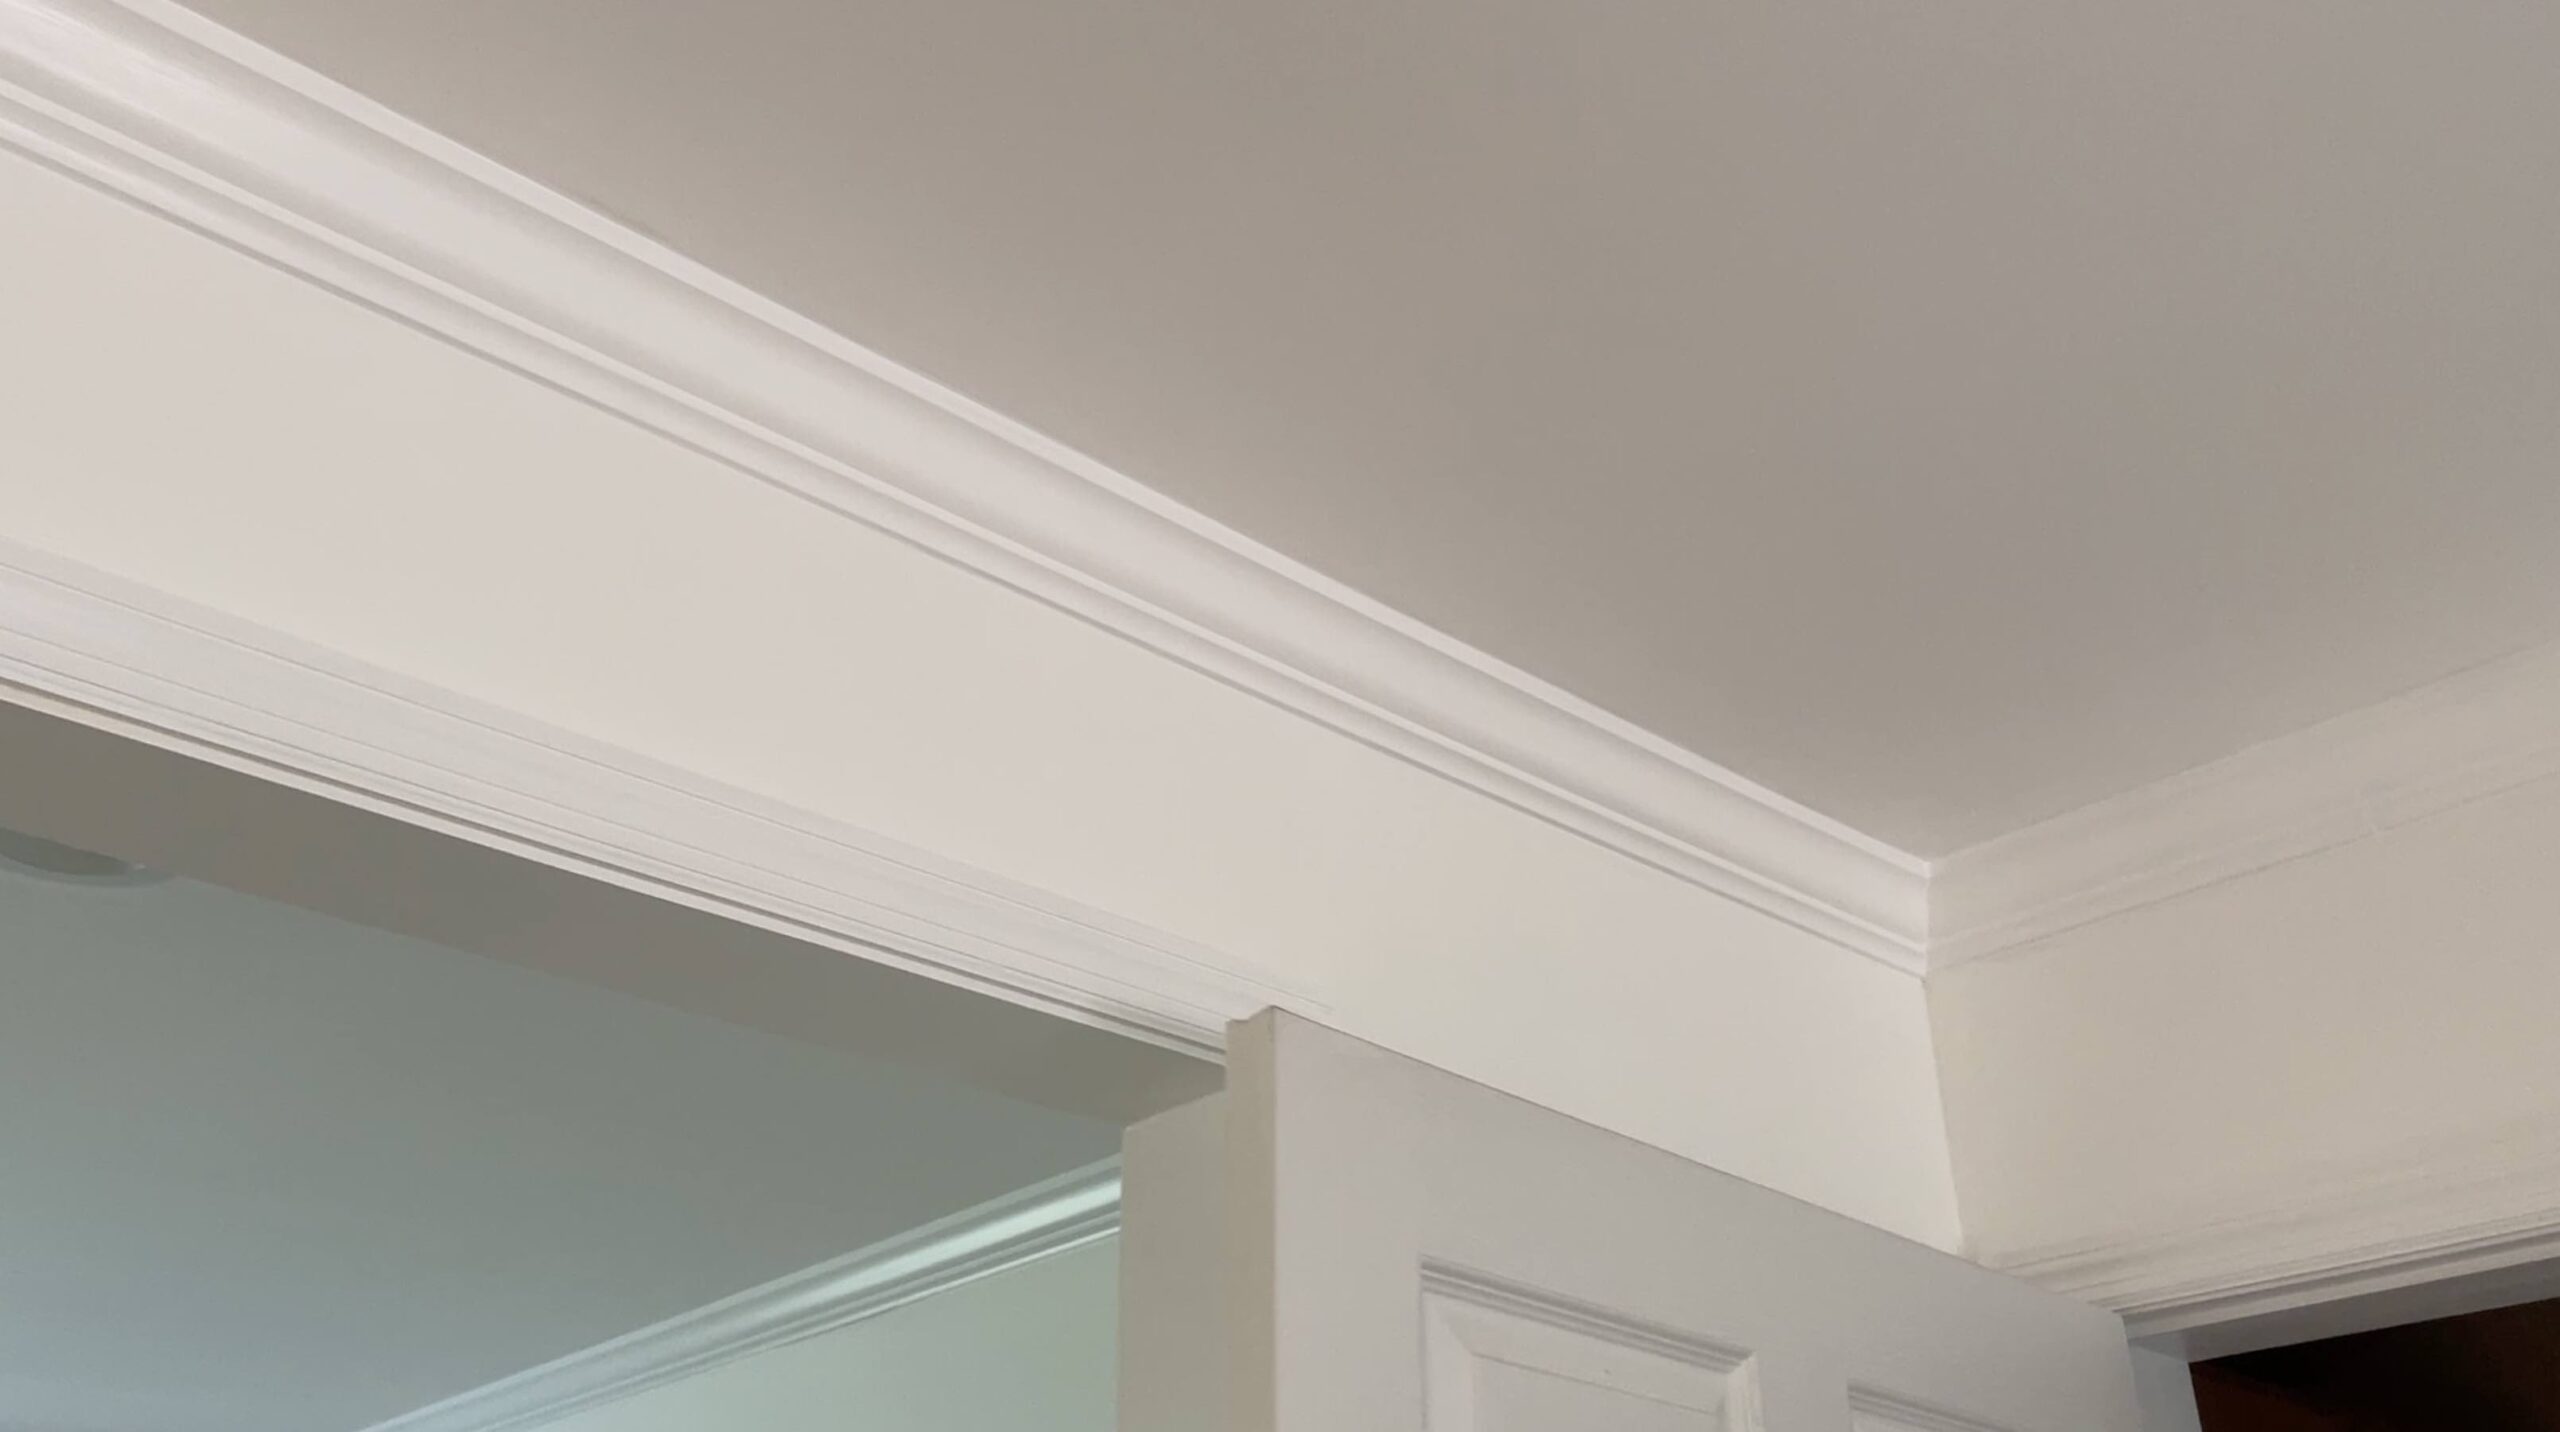
How To Add New Crown Molding For An Elevated Finish
When we first walked through our new home, the only room that had crown molding installed was the living room….
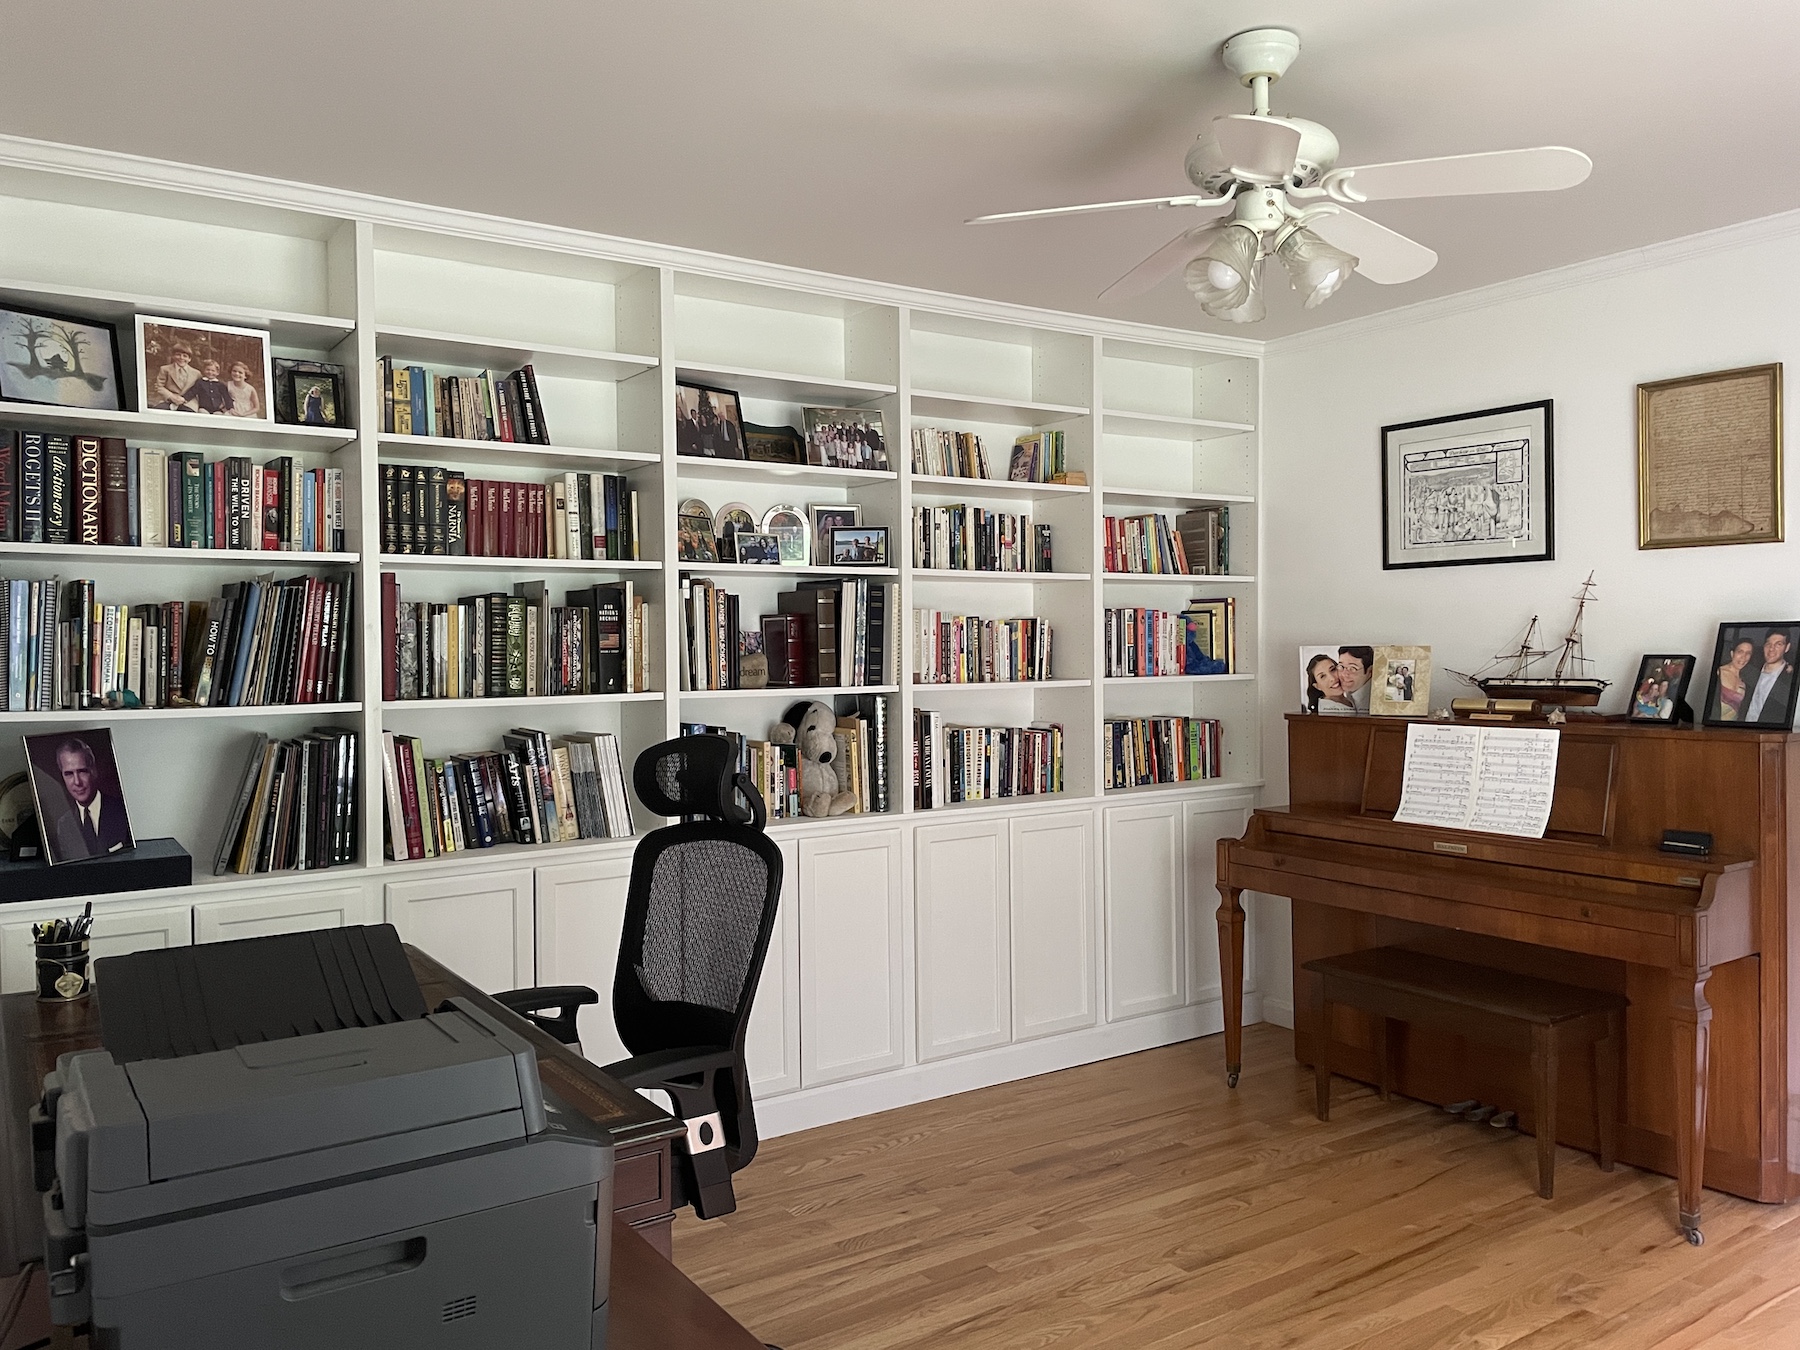
New DIY Home Office Makeover: The Reveal (Pt.4)
I first started our home office makeover in April and it’s time for the reveal! Similar to our experience with our new walk-in…
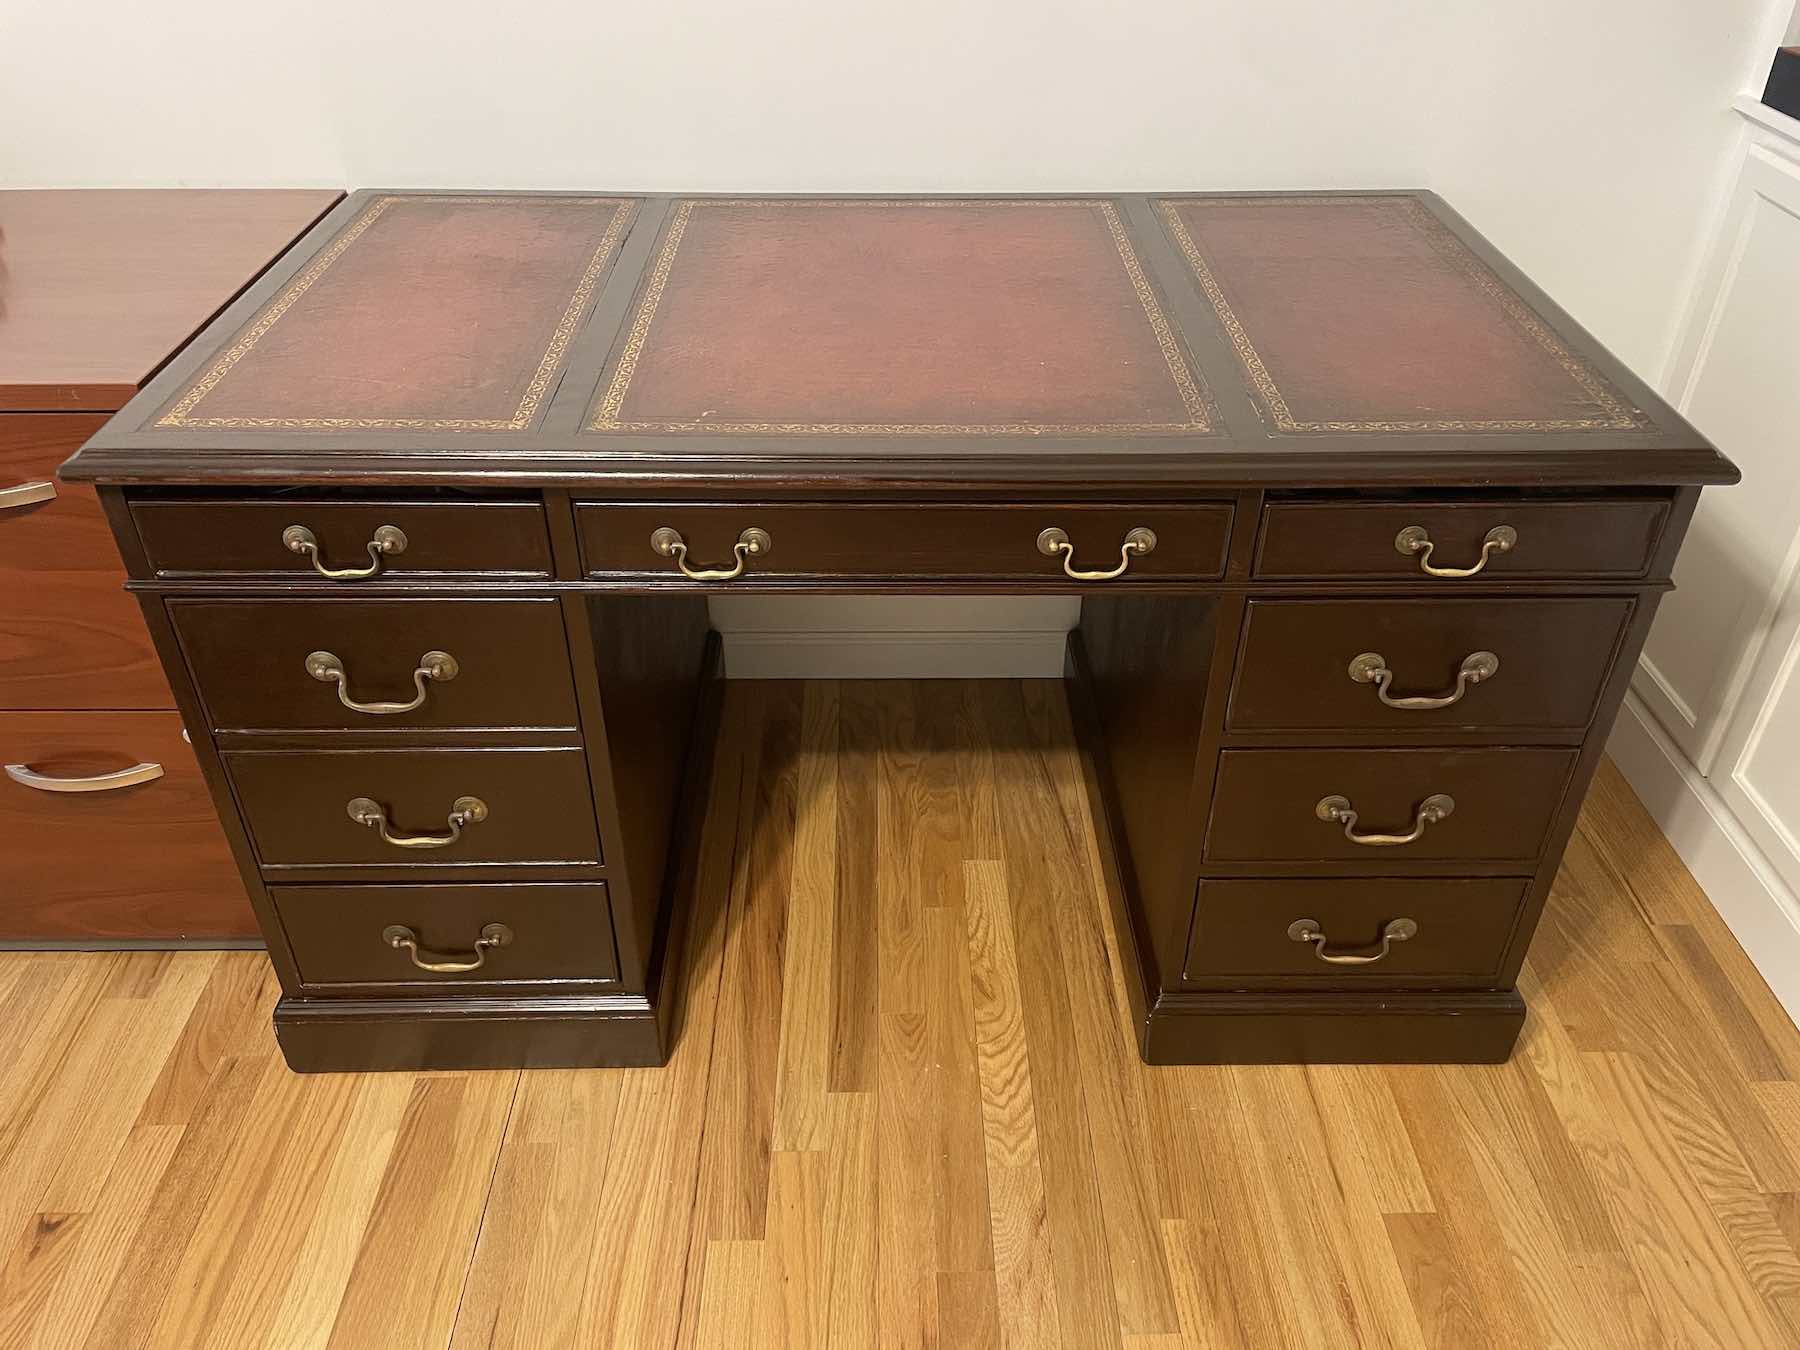
New DIY Home Office Make Over: Refinished Desks (Pt.3)
As part of our home office remodel, we have two mid-century desks that needed to be refinished. Both are family heirlooms from…
Leave a Reply