
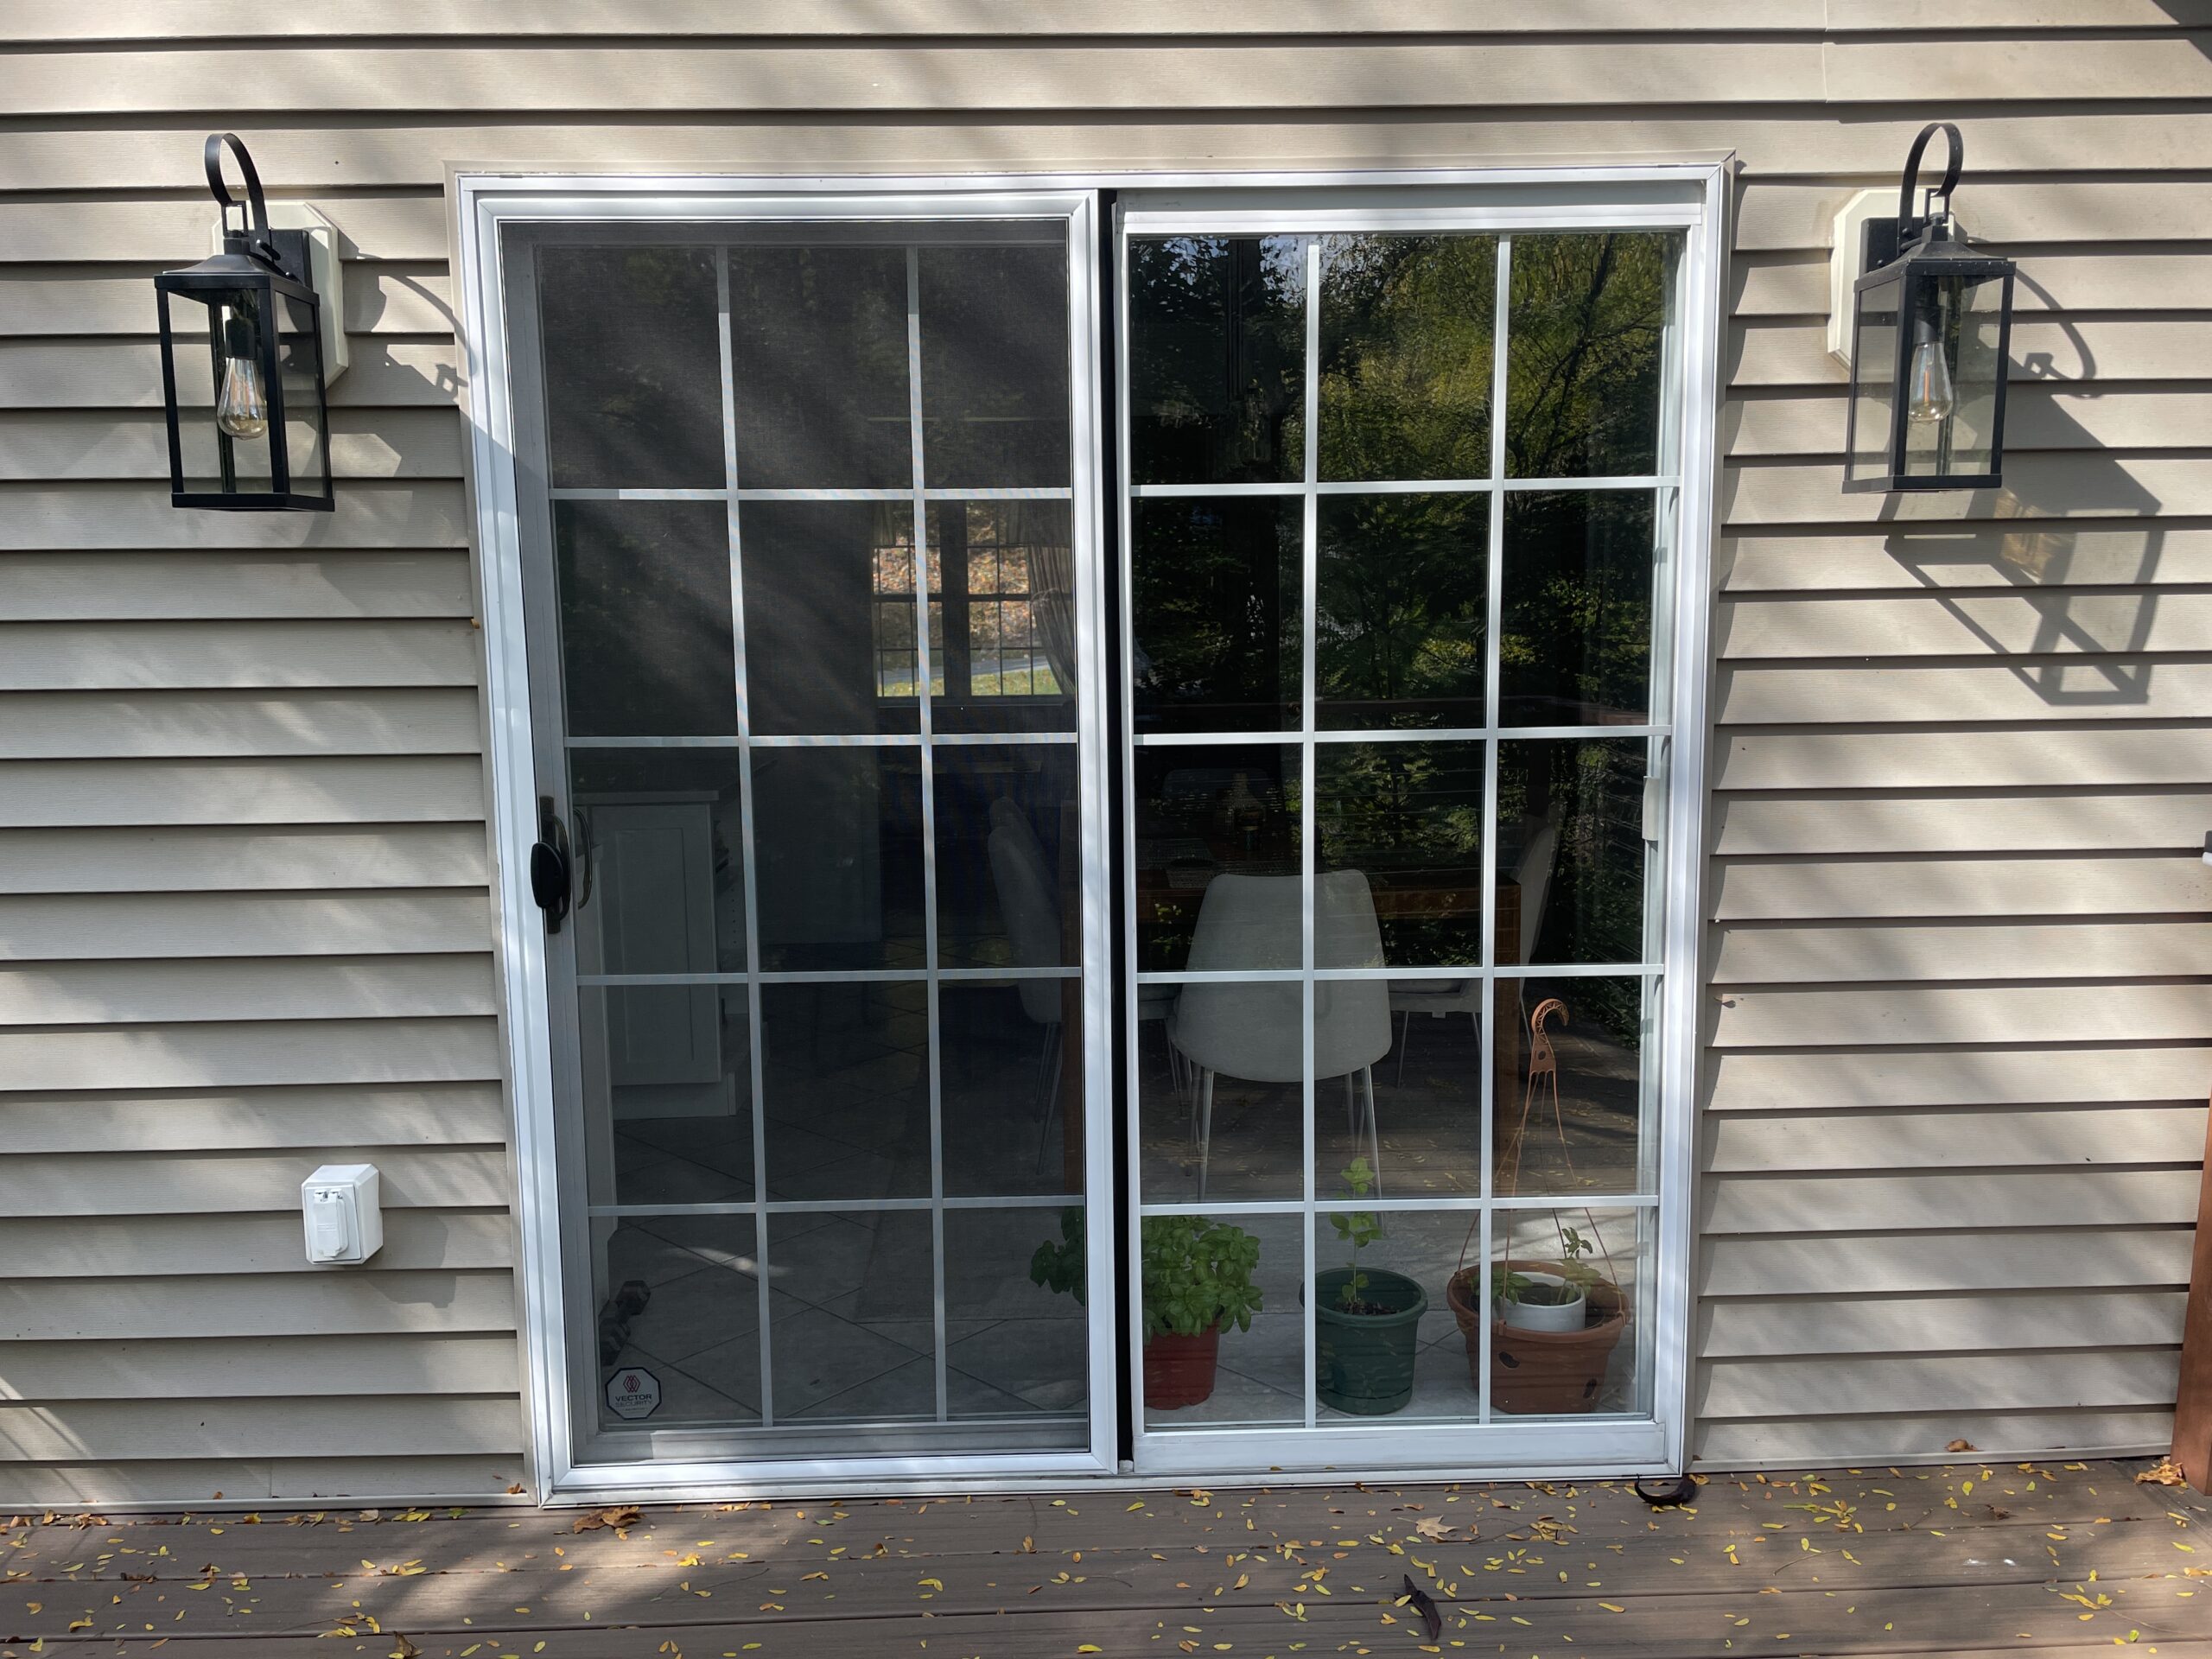
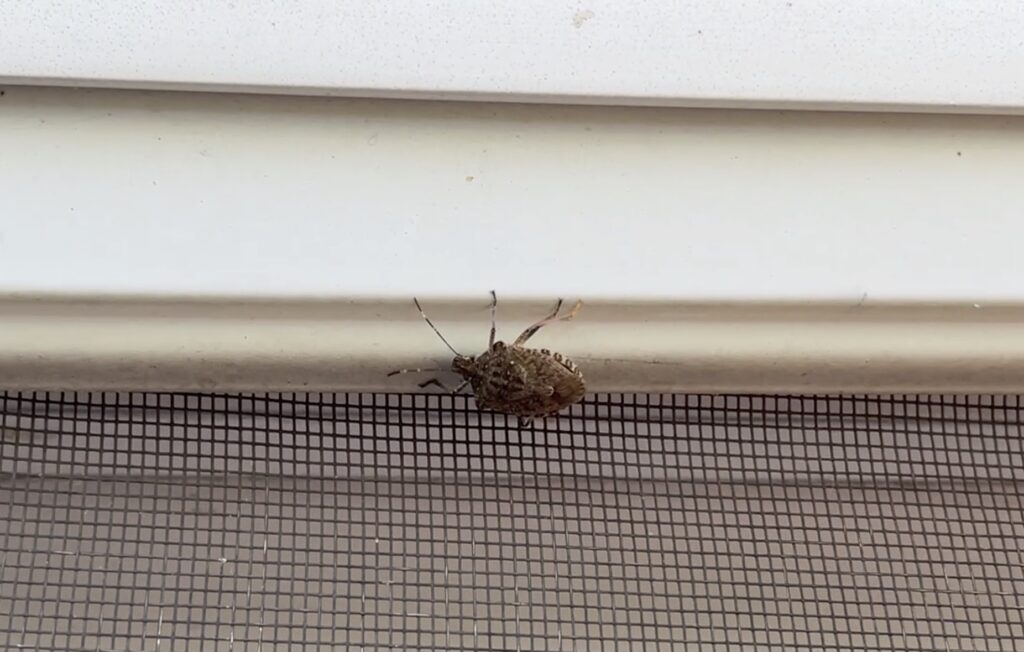
Do you have a screen door that is torn and is letting lots of bugs in or just isn’t operating properly? That’s exactly what happened to the screen door to our back deck. It was something I’d ‘left for later’ once I had finished our back-deck remodel, but the bugs (think ‘stink’ bugs and little fleas or gnats) were really… bugging us.
Starting out
Our screen door had multiple tears in it, including around the handle, so lots of bugs of all sizes were getting in, making our home theirs. We’d see them while we were eating, watching TV, or just walking around the house.
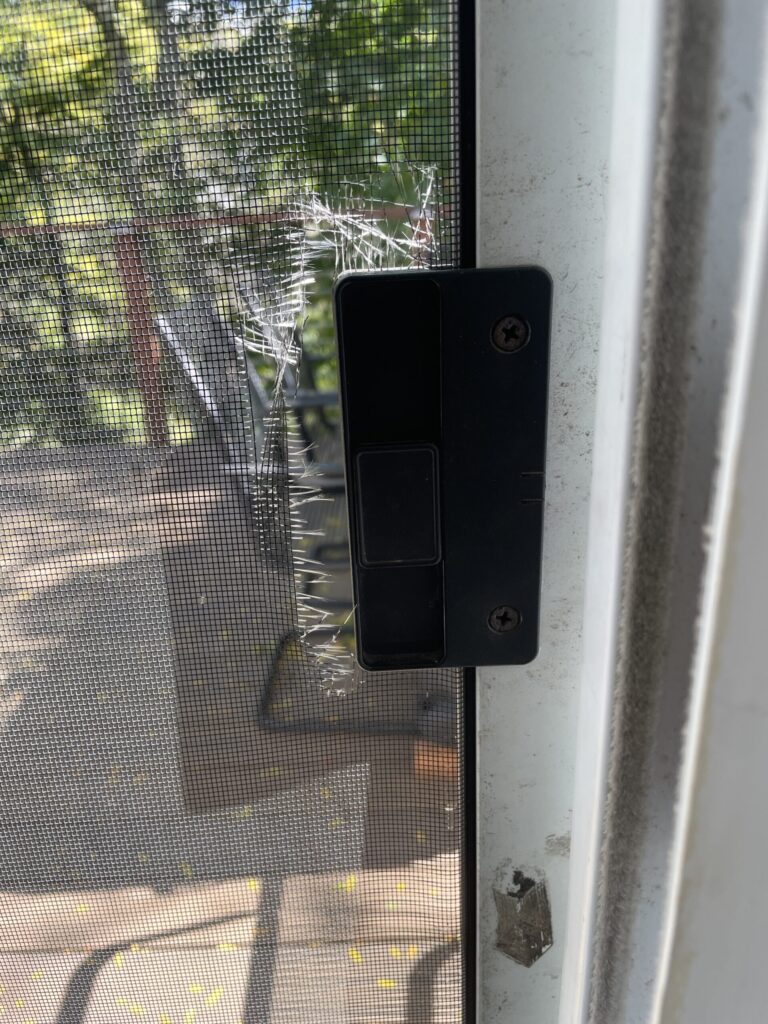
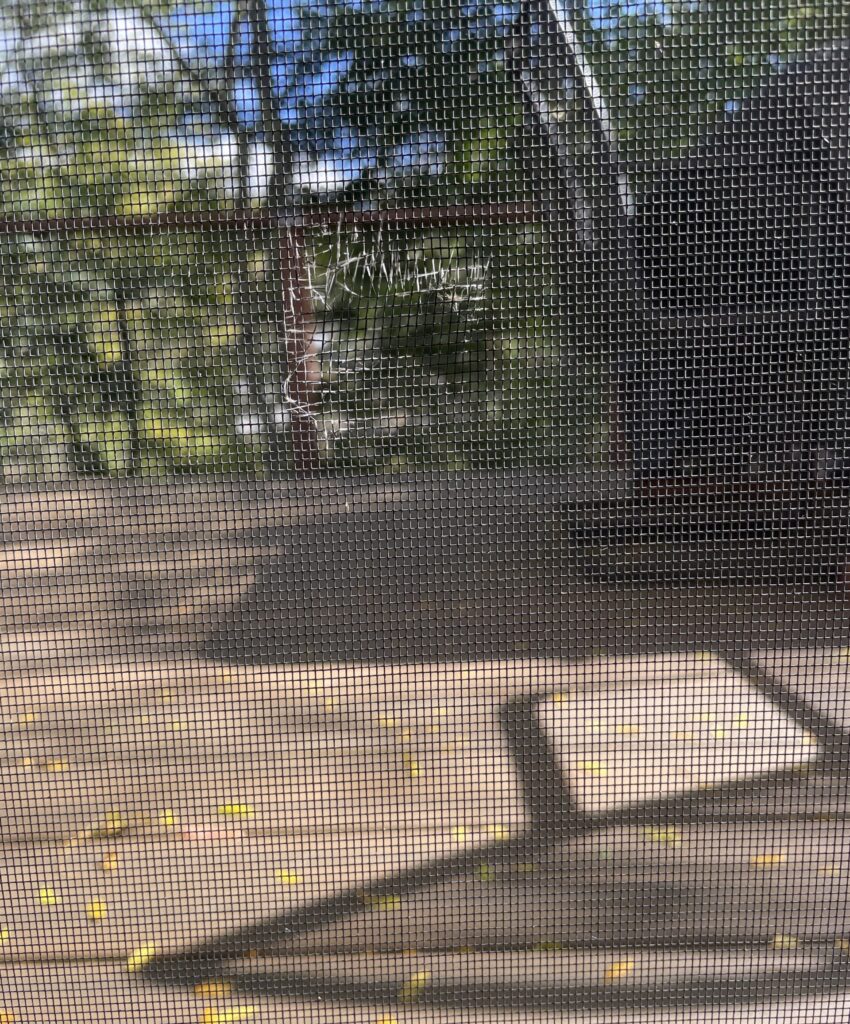
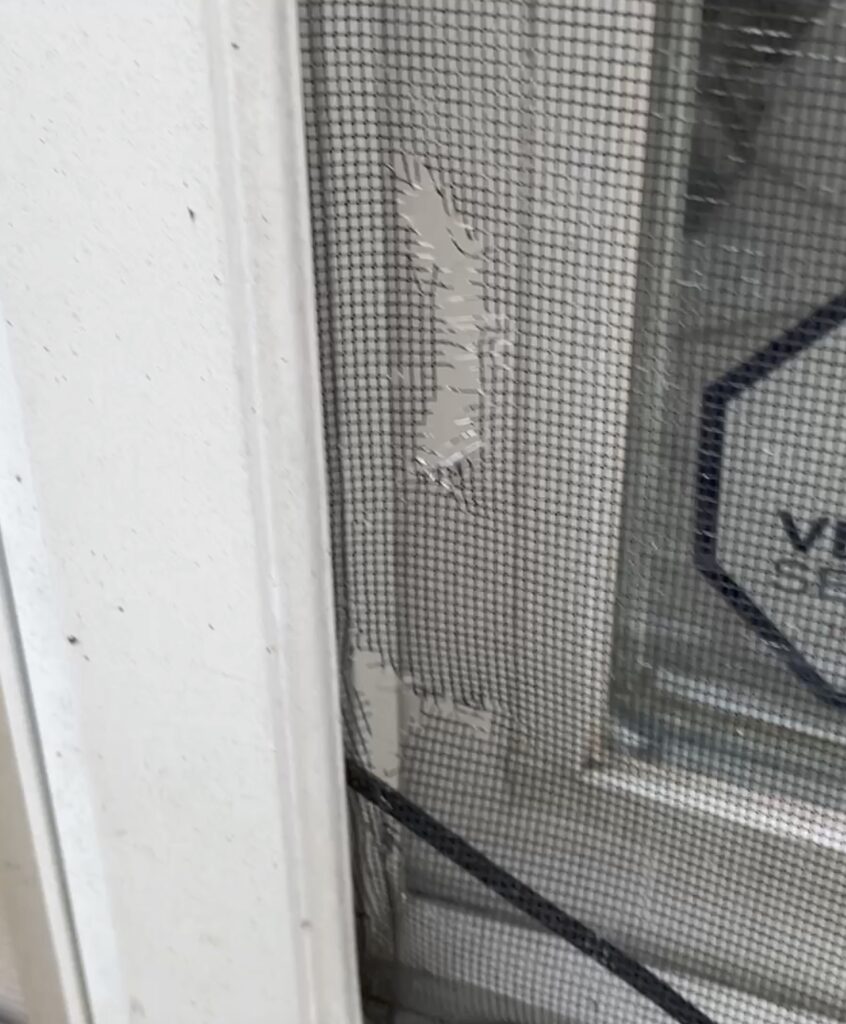
The door was also too large for the frame and had multiple rusty parts that weren’t working properly. I finally decided it was time to do something about it.
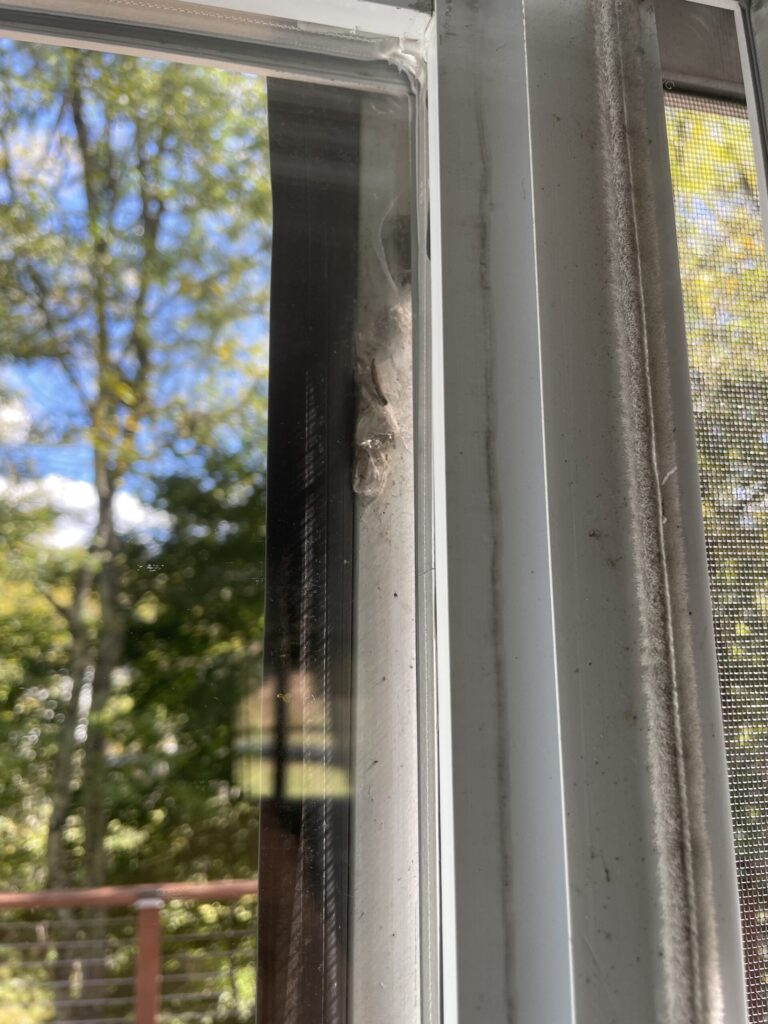
Finding the right door
It took a surprising amount of time to find a replacement door, perhaps because I previously looked at the wrong time of year.
I ultimately found a screen door that looked like ours online, at Home Depot, and went to pick it up. What I forgot to do was bring a tape measure with me. Big oops! Screen doors come in 30” and 36” and each box seemed to have similar labels on them. For whatever reason I also didn’t line them on top of each other to compare sizes. I ended up grabbing the wrong size, the 30”, which fell short of the middle of our door frame, and had to go back and get the right size.
Although I measured the inside of my car for each door size, I wasn’t sure if the door(s) would actually fit inside my car (a Subaru Forester) vs. using the overhead rack. The latter option was not appealing because the doors are so light they blow around easily in the wind. I also got some strange looks from other people while I was trying to secure the 36” door to the roof rack. Thankfully, I figured out a creative way to fit the door inside.
Swapping out the doors
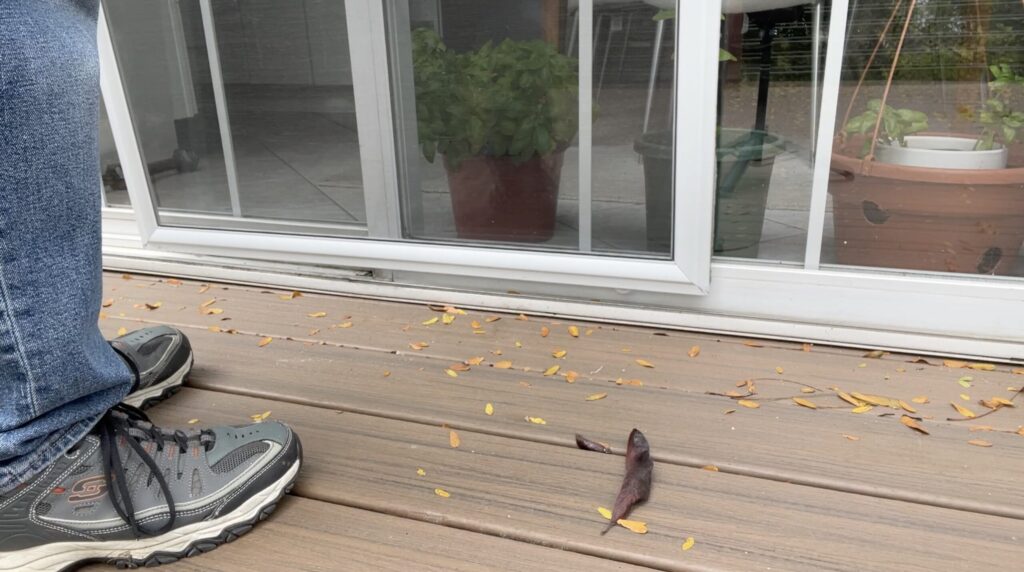
Screen doors have two set of flexible wheels at the top and the bottom, which allow you to remove or install them. The wheels on the bottom follow a track that allows the door to slide smoothly back and forth.
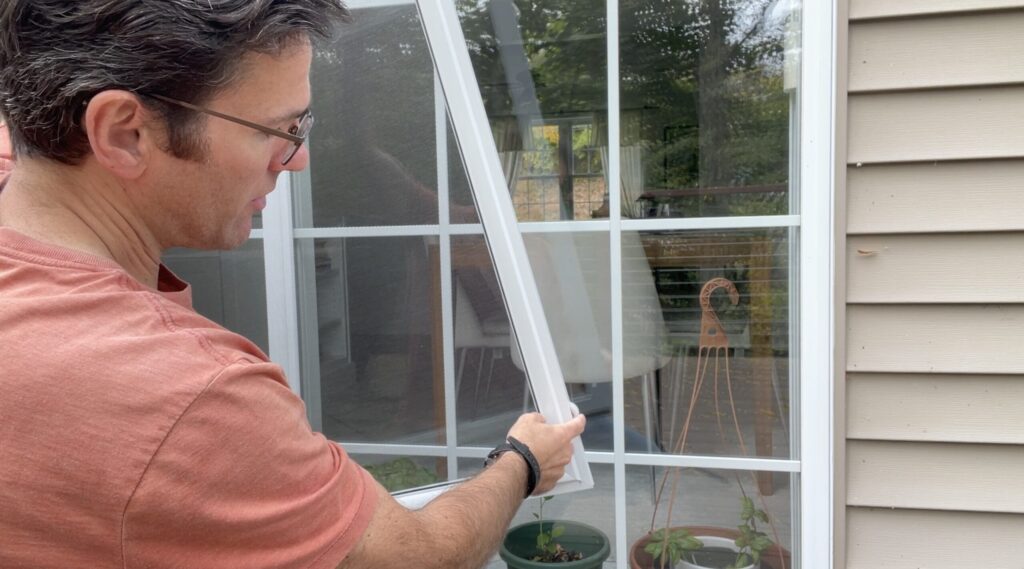
As I mentioned before, the old door was full of rusty parts, including the track wheels, so it took a bit to remove. Additionally, I discovered the metal track strip in the doorframe wasn’t installed properly and lots of dirt and debris had collected beneath it. I cleaned it all out and reinstalled the track bar.
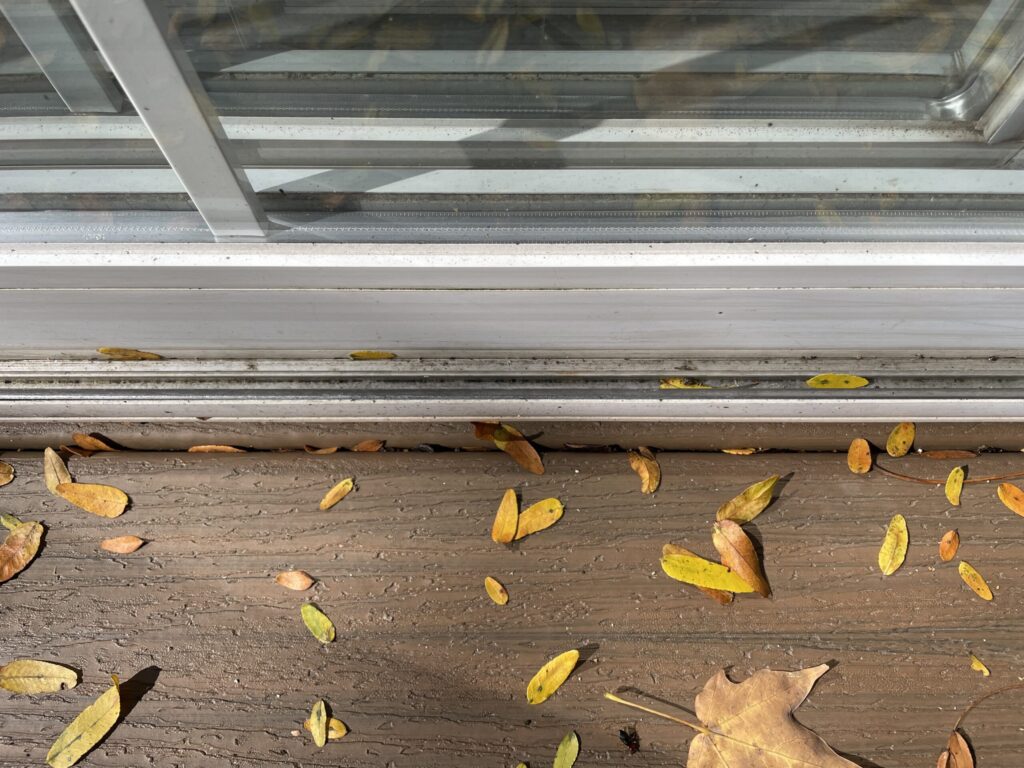
From there it was smoother sailing. I lined up the running wheels on the bottom track, pushed the door frame down and used a screwdriver to push the upper track wheels into place.
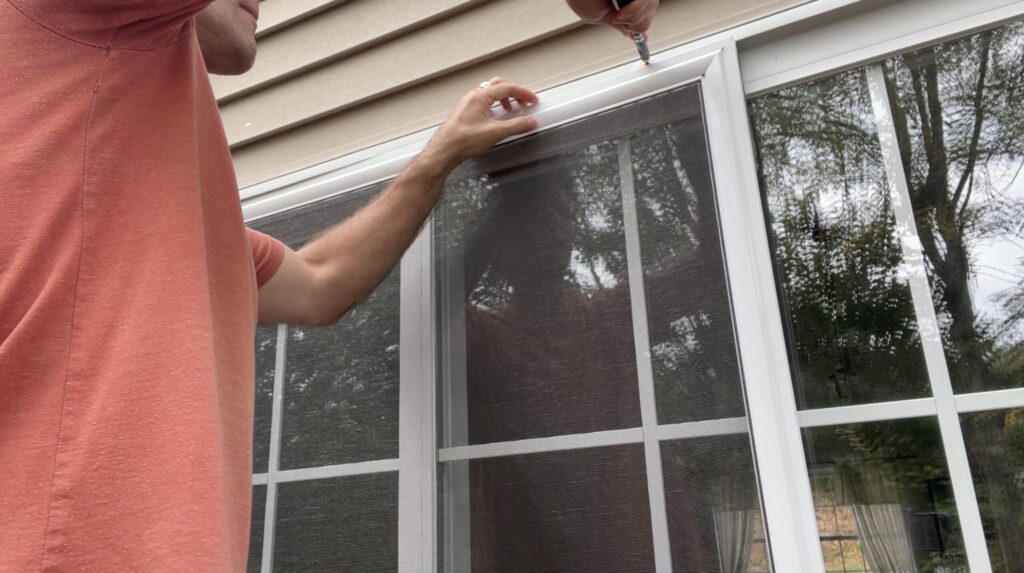
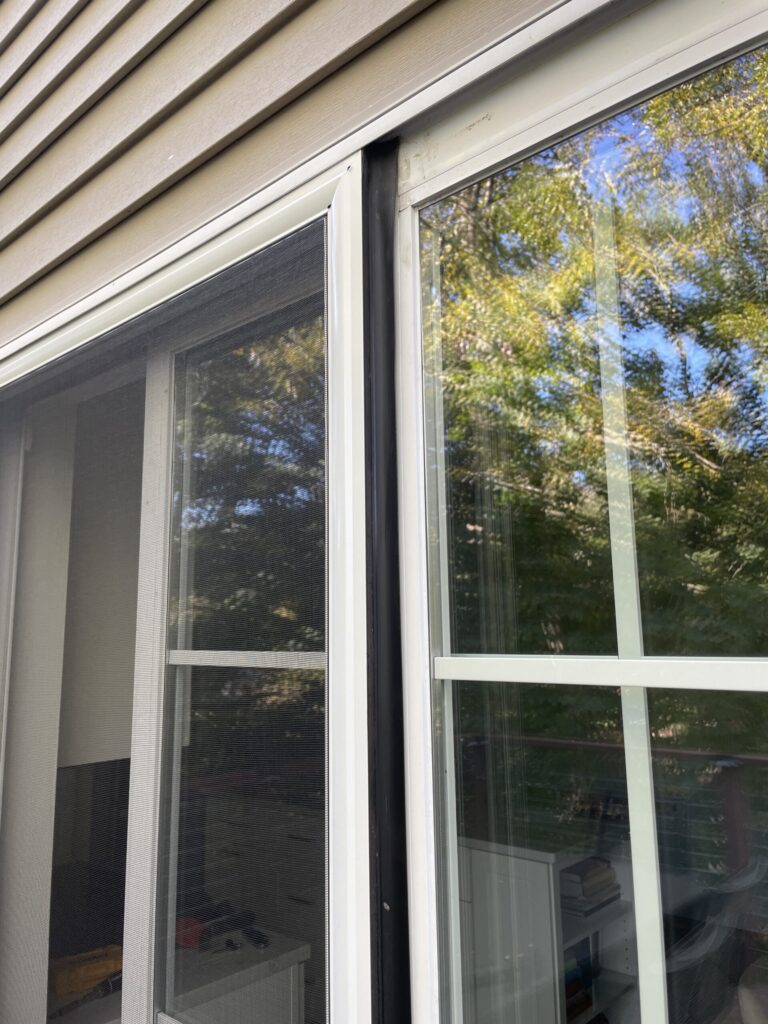
I pulled the rubber strip fastened onto the end of the old door and attached it to the new door. Everything was working smoothly.
Final thoughts
I really can’t tell you how much of a difference the new screen door has me for us. The change was immediate. It’s one of those little changes that can make a HUGE difference in your life. I only wish I’d taken care of this earlier, like when I remodeled the deck. It certainly would have saved us money.
The new screen door also included parts so you could lock the door from the inside.
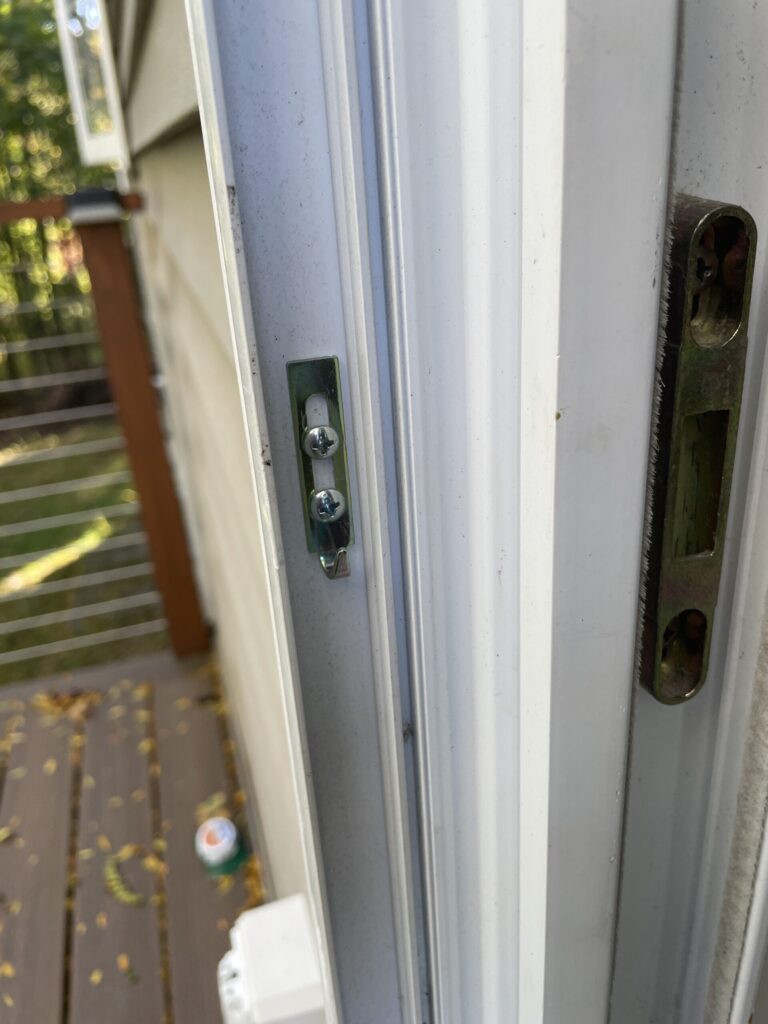
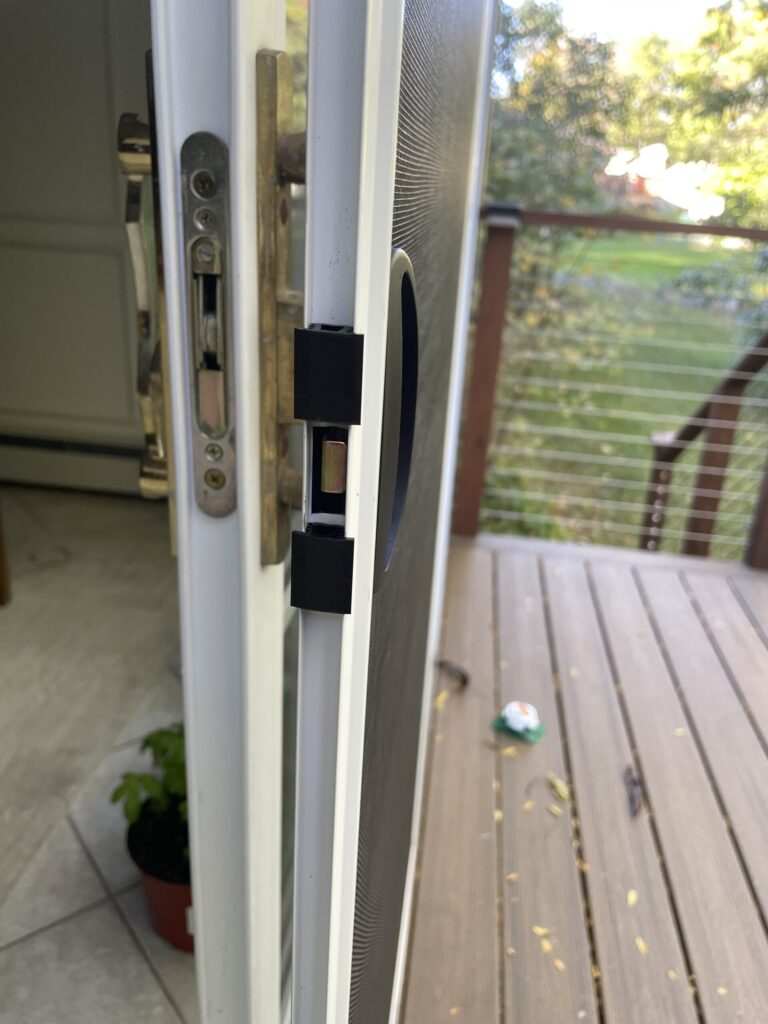
So, I installed the locking mechanism and for the first time we had a screen door without any holes in it that we could lock (although I wouldn’t reply on it for extended times away). Still, a double win!
Check out my YouTube video for this project.
Below is the cost of the screen door. We saved around $100-150 doing this DIY style. If you missed it, be sure to check out how I remodeled our back deck.
Materials and Cost$:
Screen Door-$98.00
Recent Posts
How to Replace Your Screen Door
Do you have a screen door that is torn and is letting lots of bugs in or just isn’t operating…
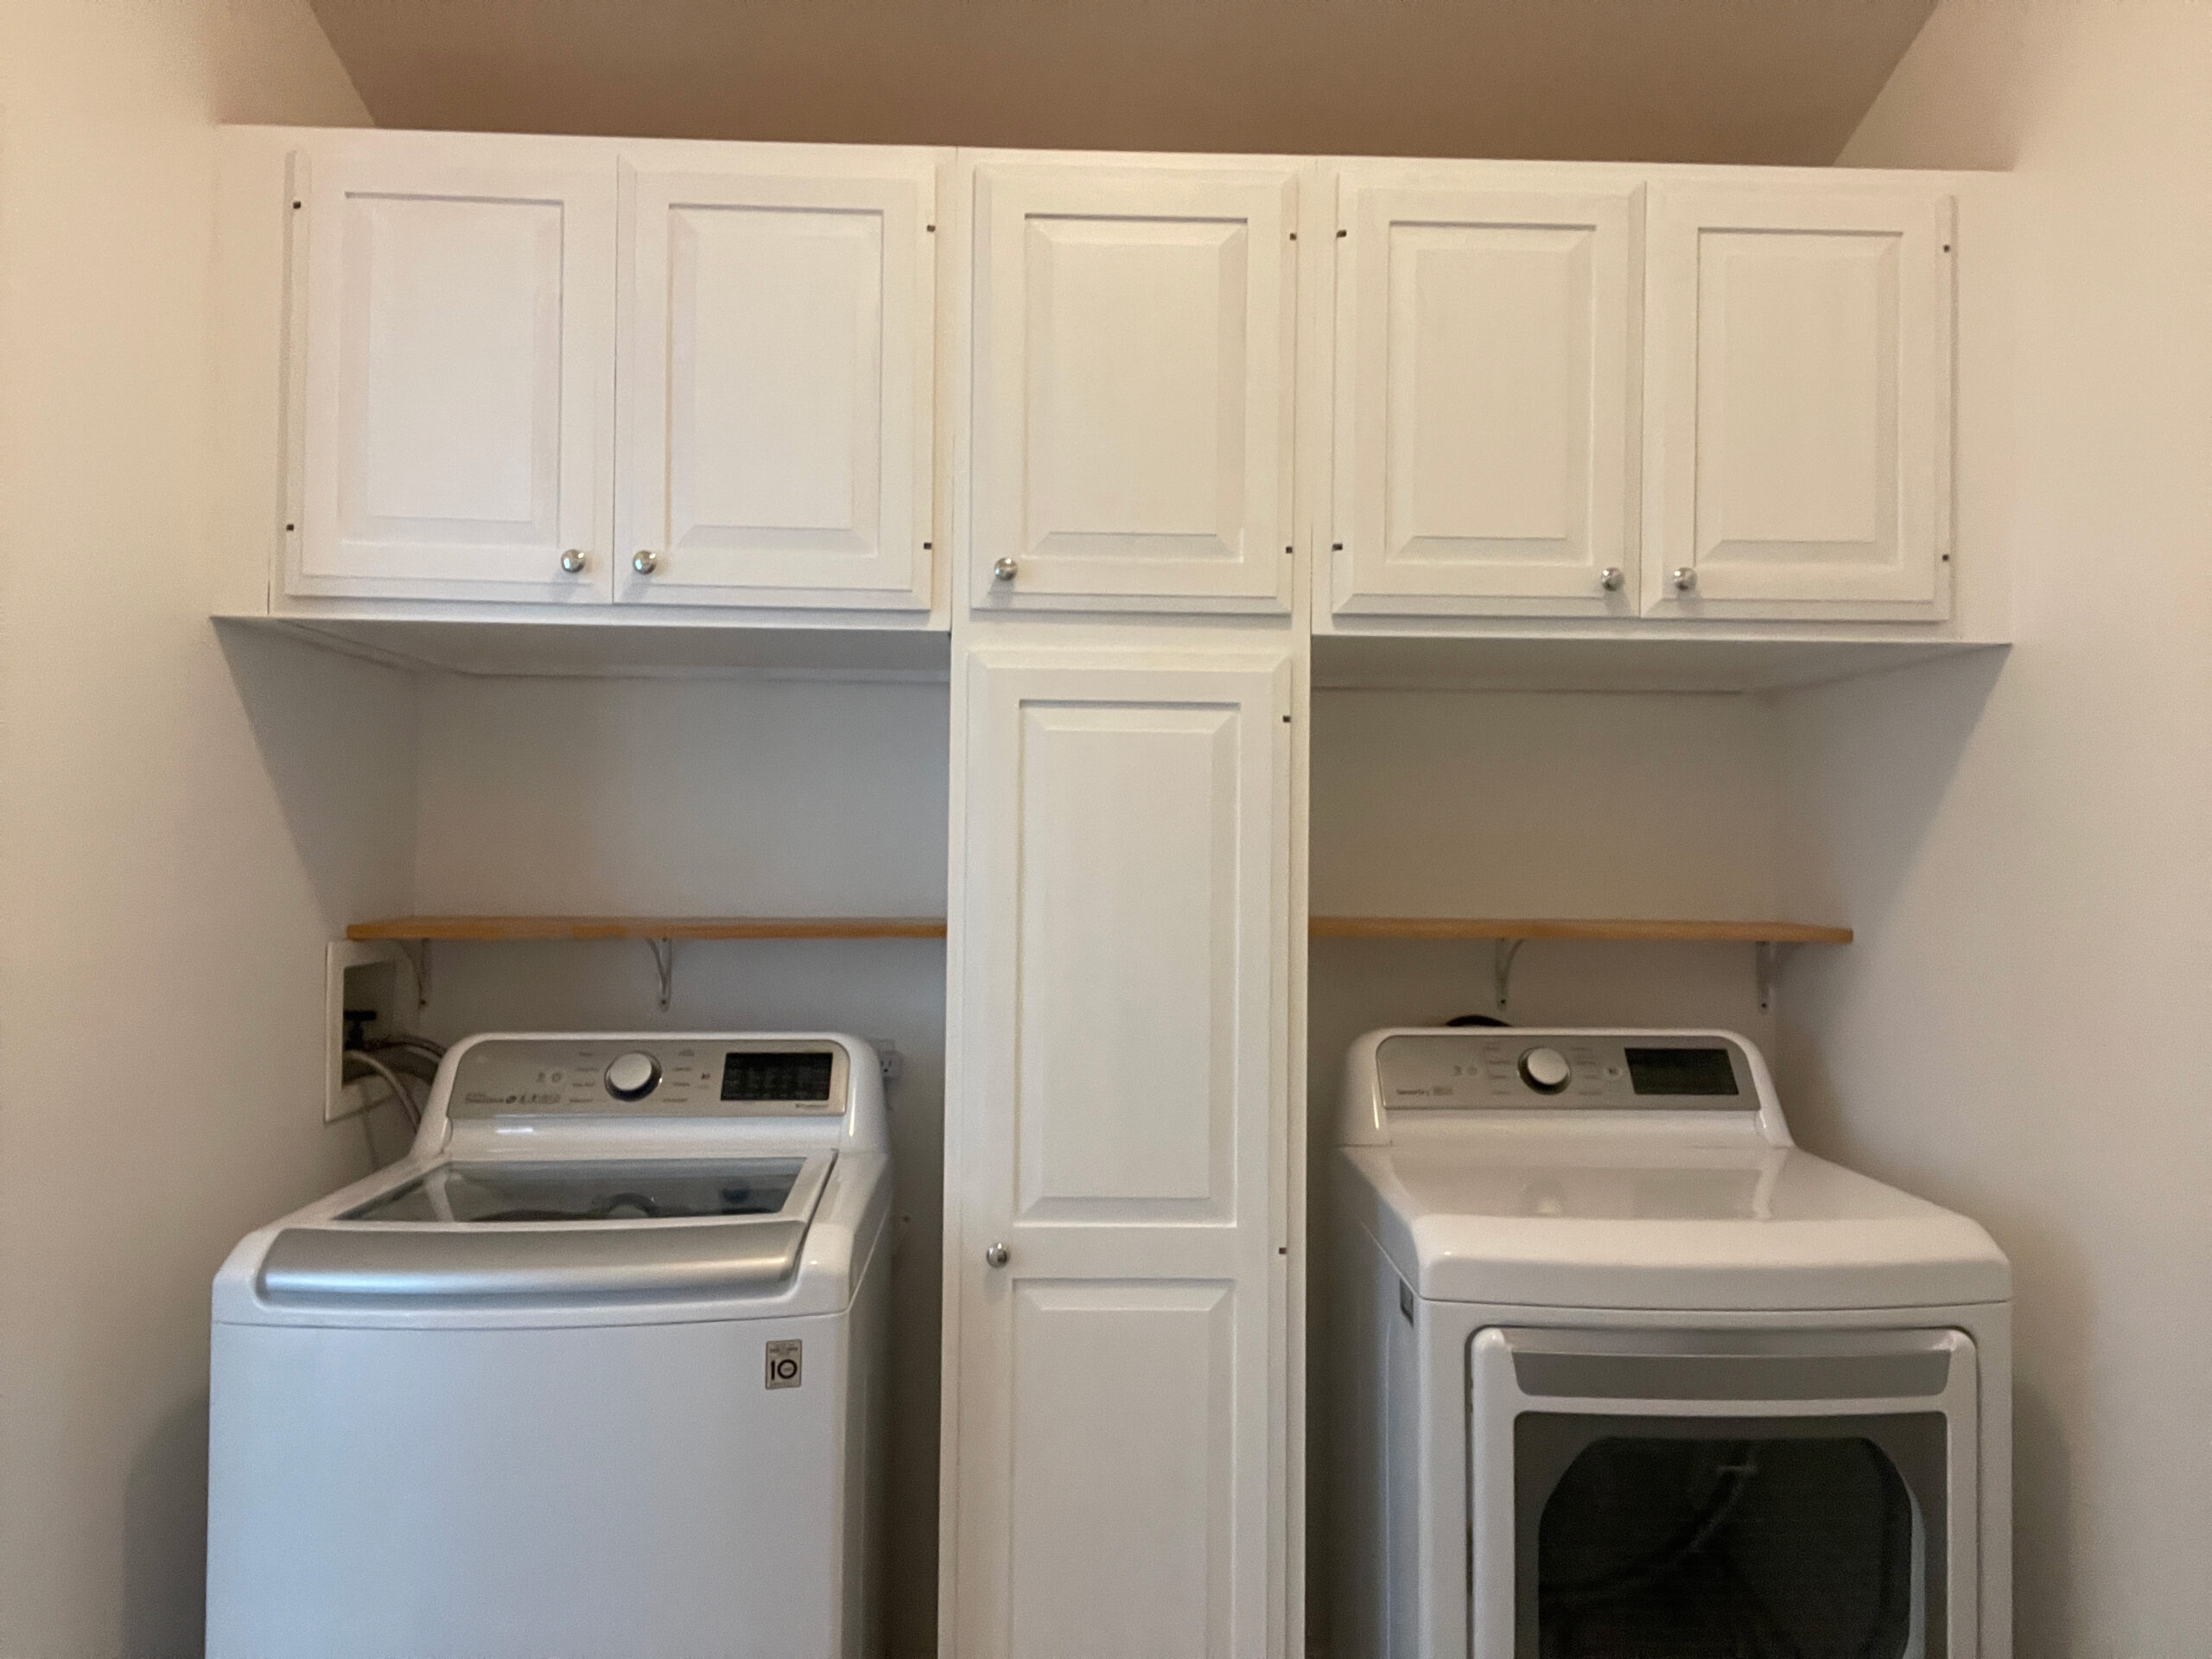
The Laundry / Mud / Pantry Room Refresh
For many homes the mud room is the initial entry point from the garage. Our house is no different. It’s…

Must Have DIY Landscaping Tools
Do you need to replace any of your landscaping tools? Fall is fast approaching and it marks the second time of…
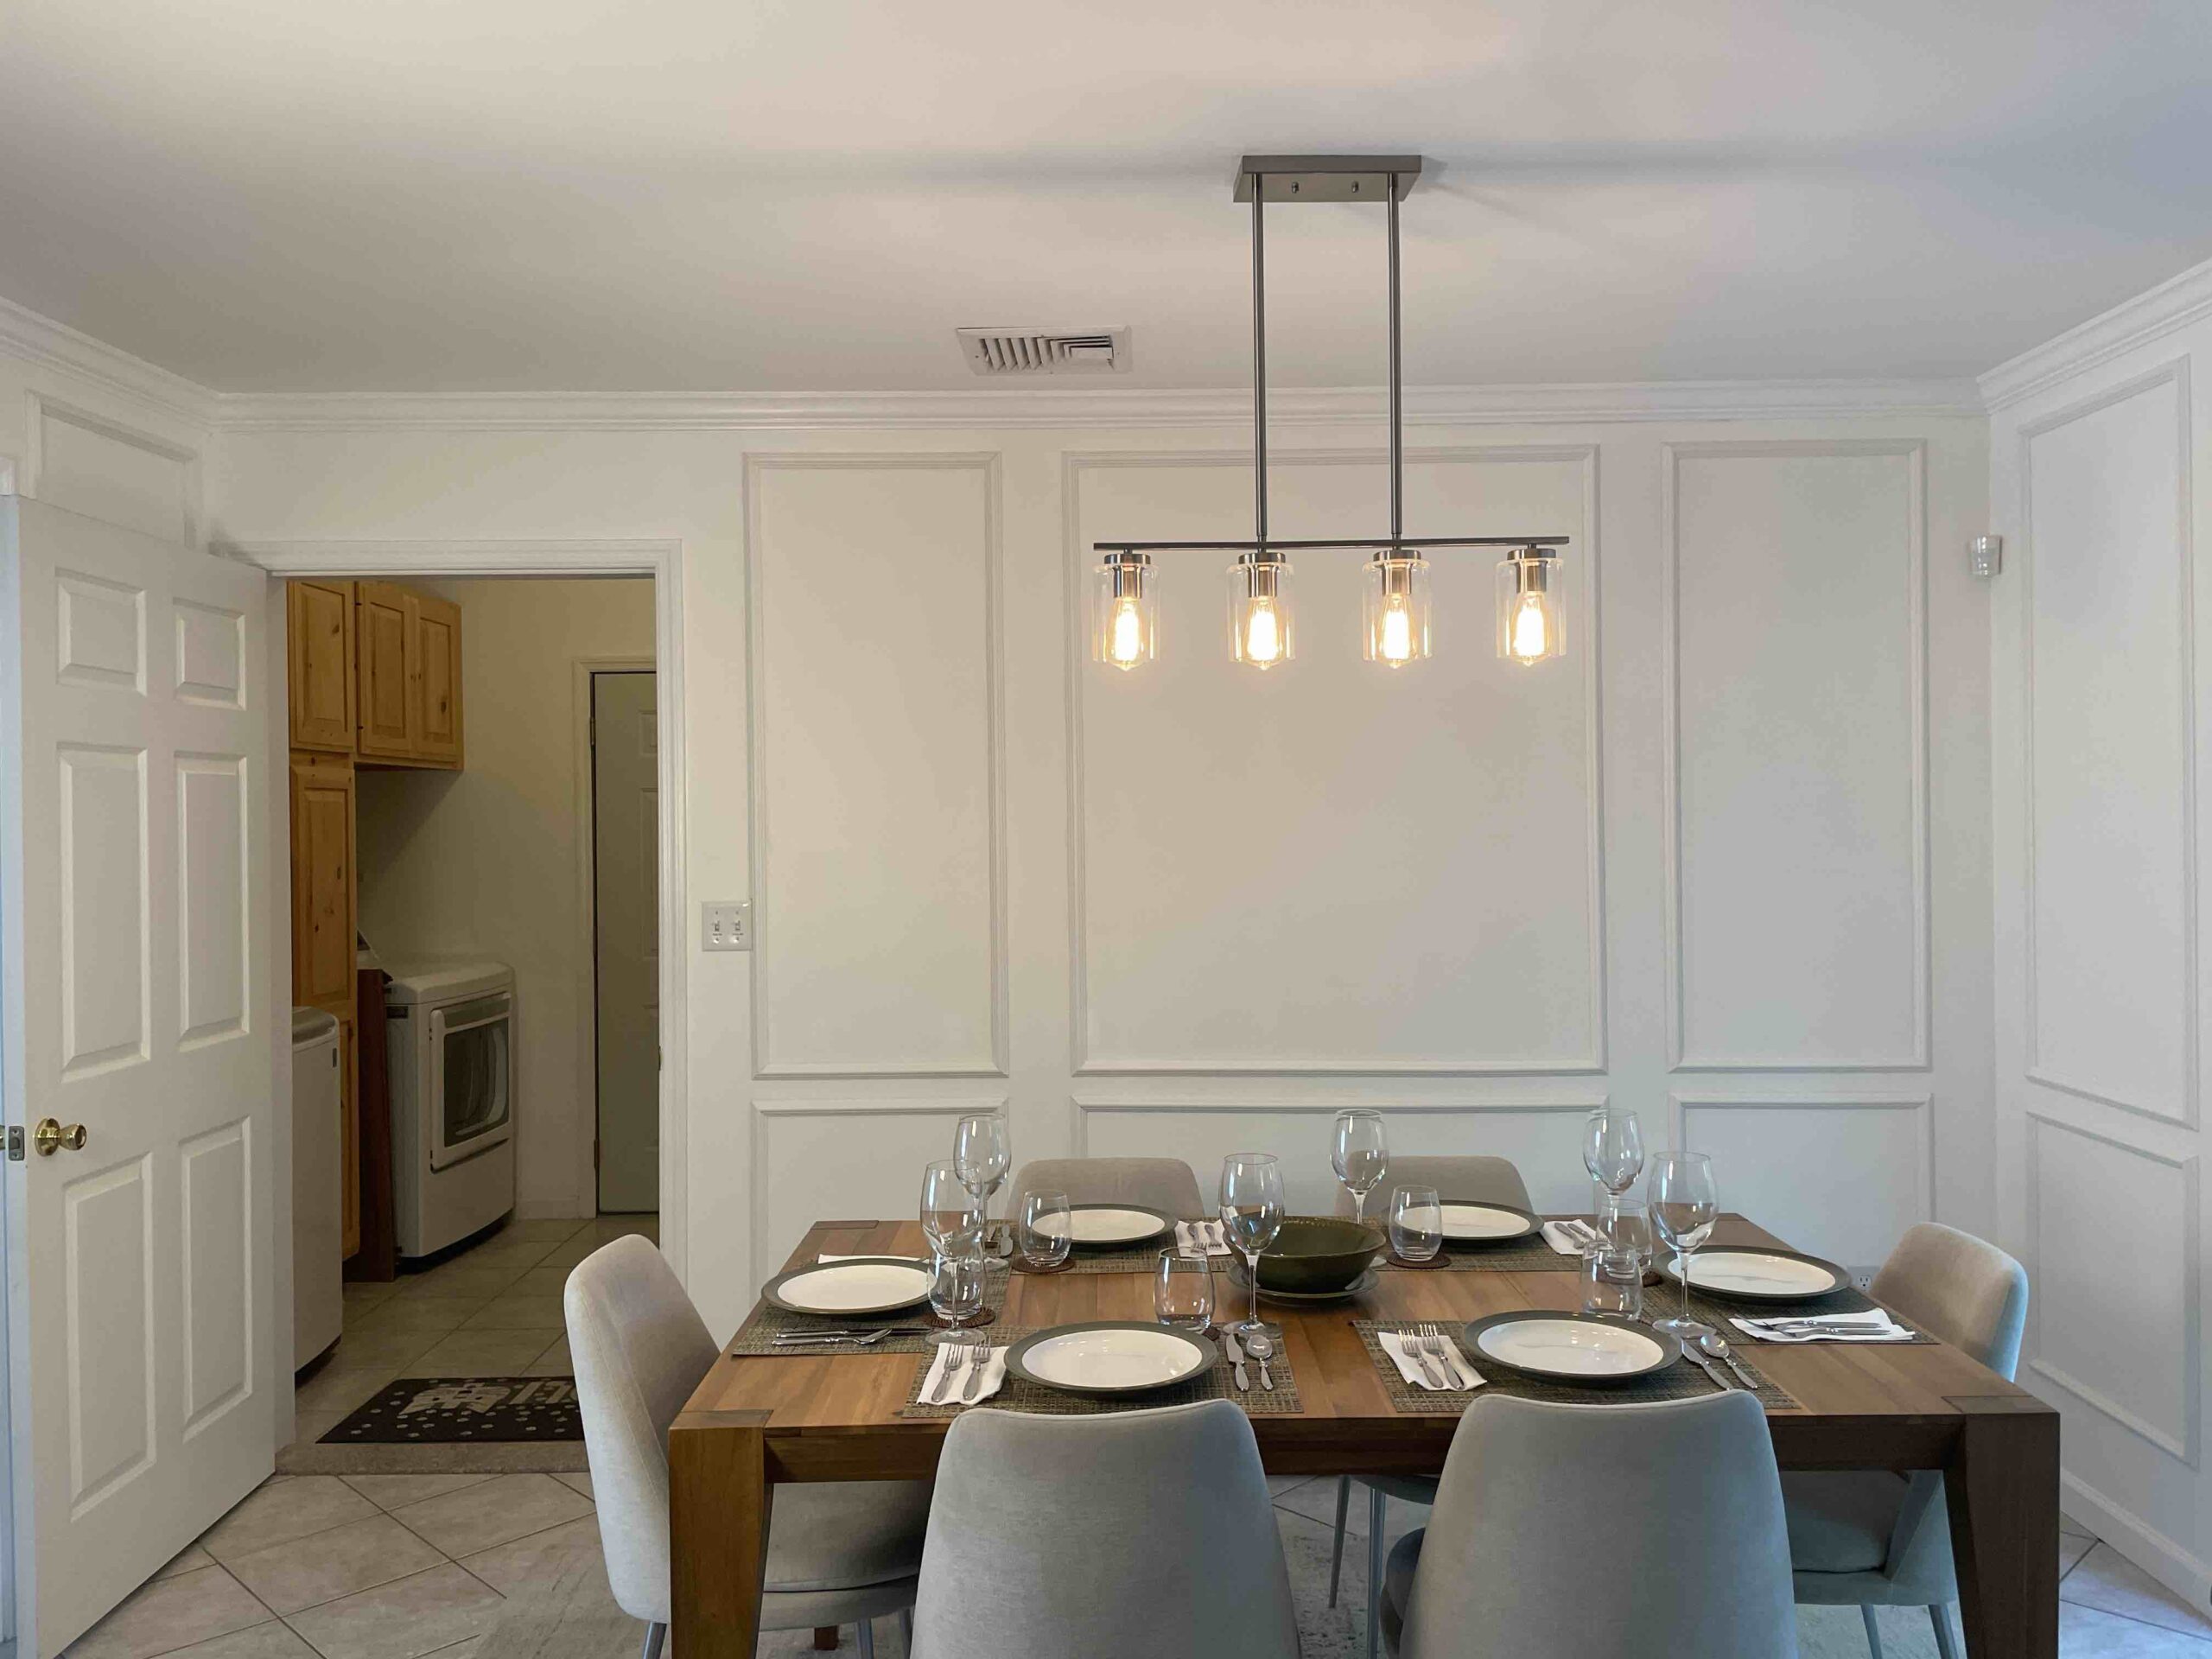
How To Add Texture And Depth With Wainscoting
Wainscoting is a great way to add texture, depth and character to any room. It also protects your drywall from…
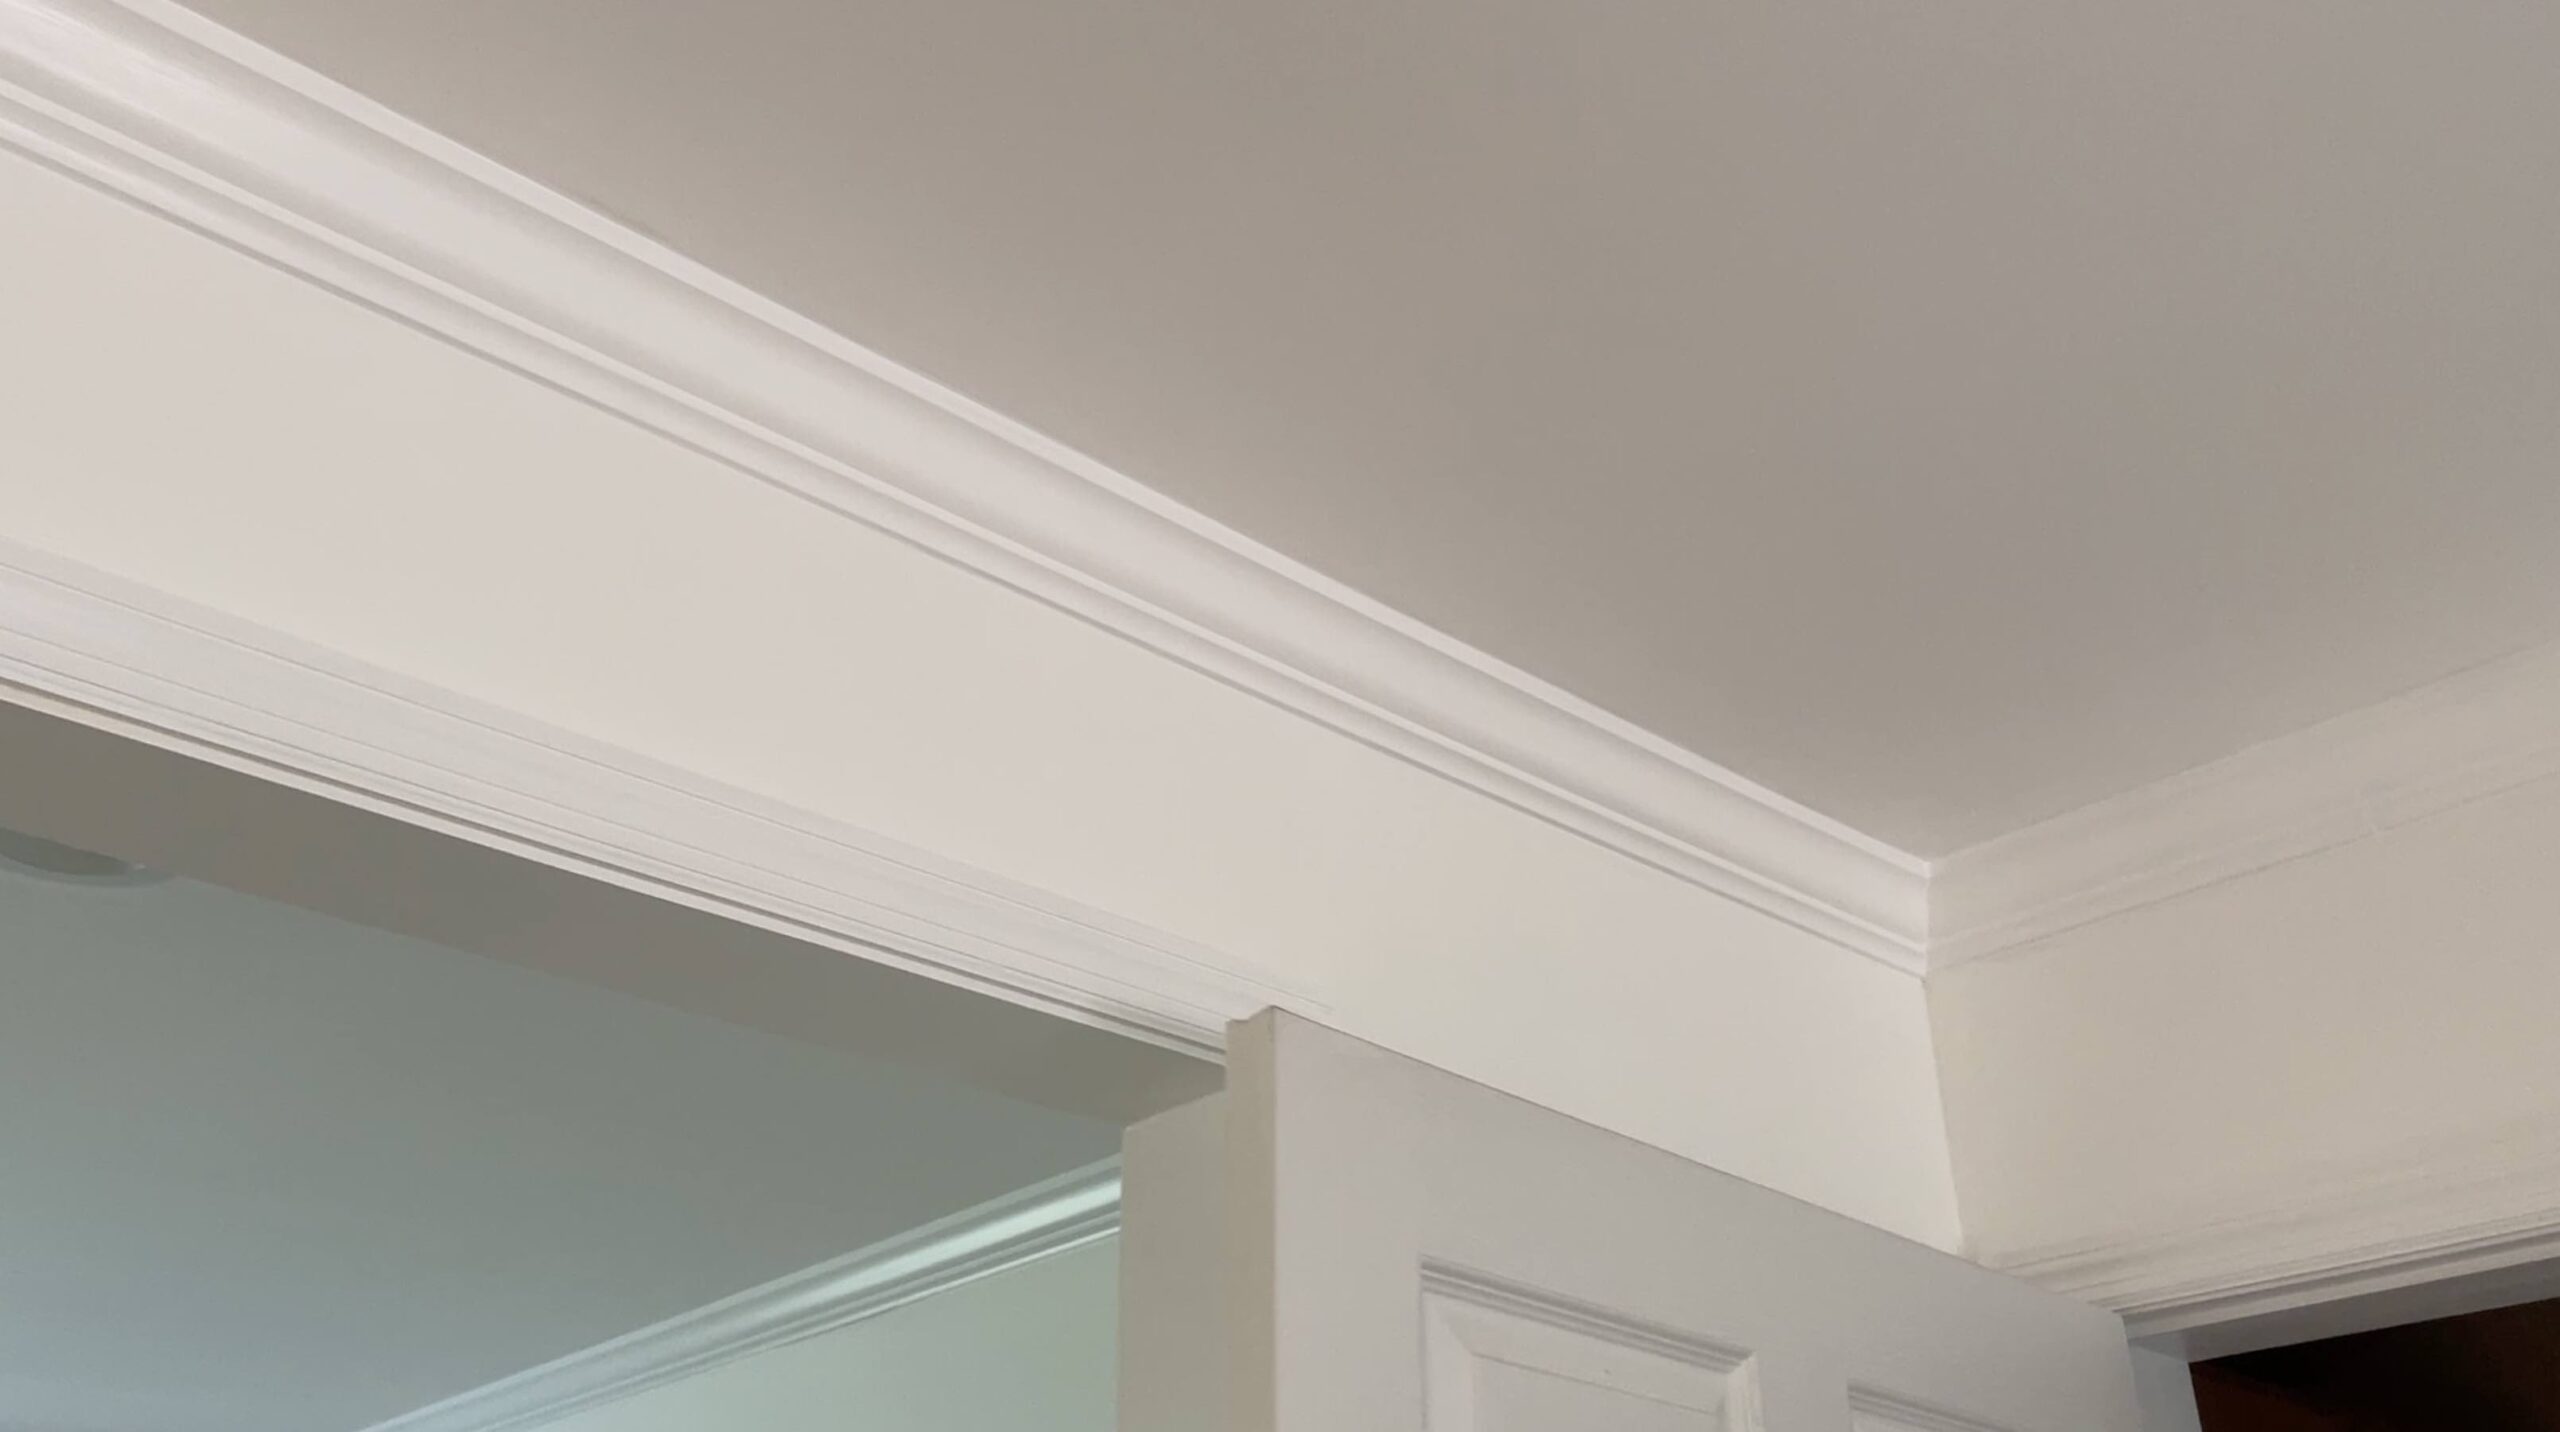
How To Add New Crown Molding For An Elevated Finish
When we first walked through our new home, the only room that had crown molding installed was the living room….
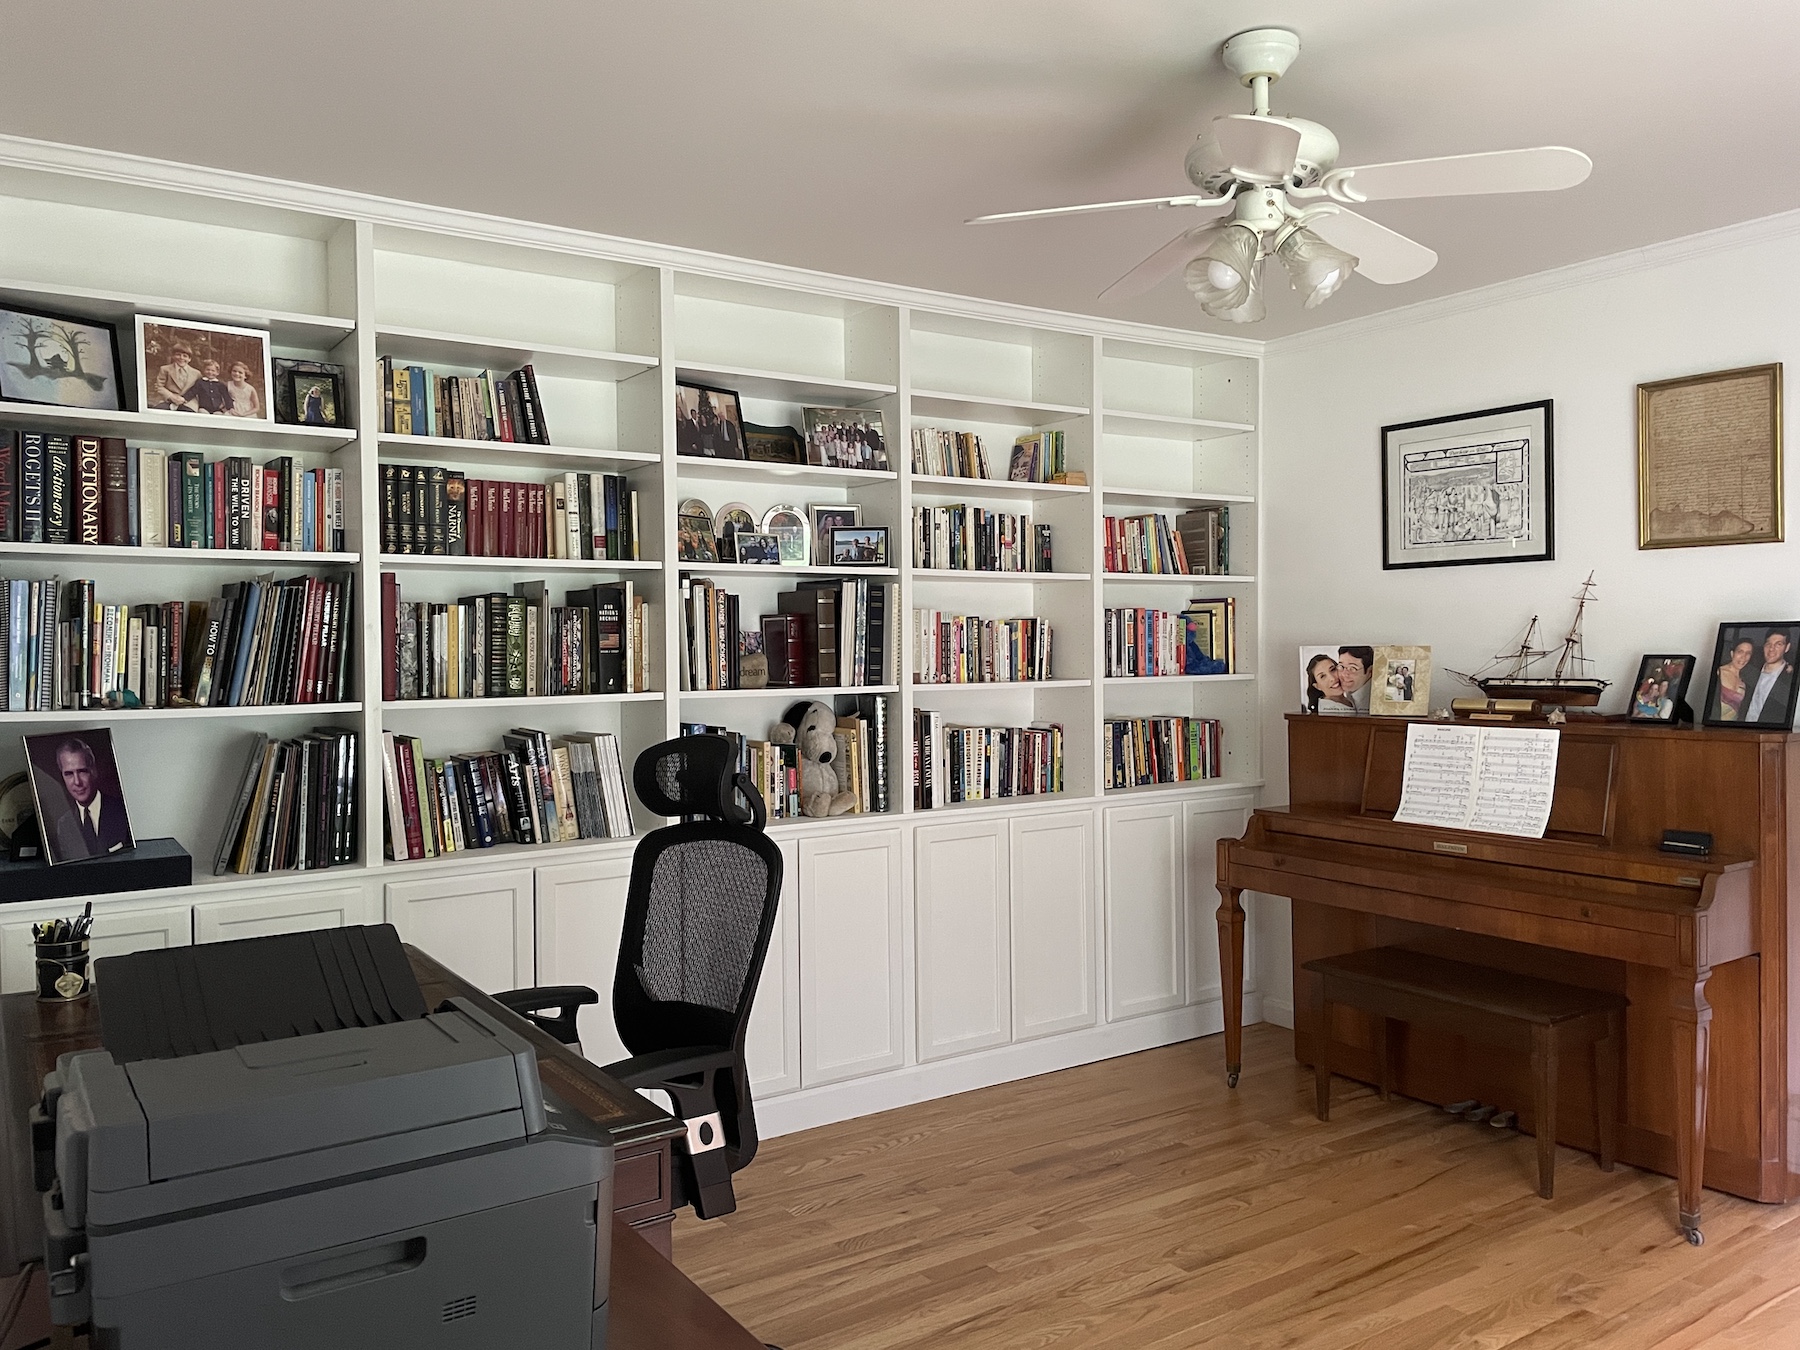
New DIY Home Office Makeover: The Reveal (Pt.4)
I first started our home office makeover in April and it’s time for the reveal! Similar to our experience with our new walk-in…
Leave a Reply