
In This Post:
As we toured our new 2003 Mid–Hudson Valley home, the cathedral ceilings in the upstairs bedrooms felt open and inviting. However the single closet space in the primary bedroom wasn’t sufficient for the two of us.
Much of our clothes are still in suitcases and boxes. We need more space to hang clothes, shelving for sweaters and shoes and more storage space for seasonal wardrobe changes.


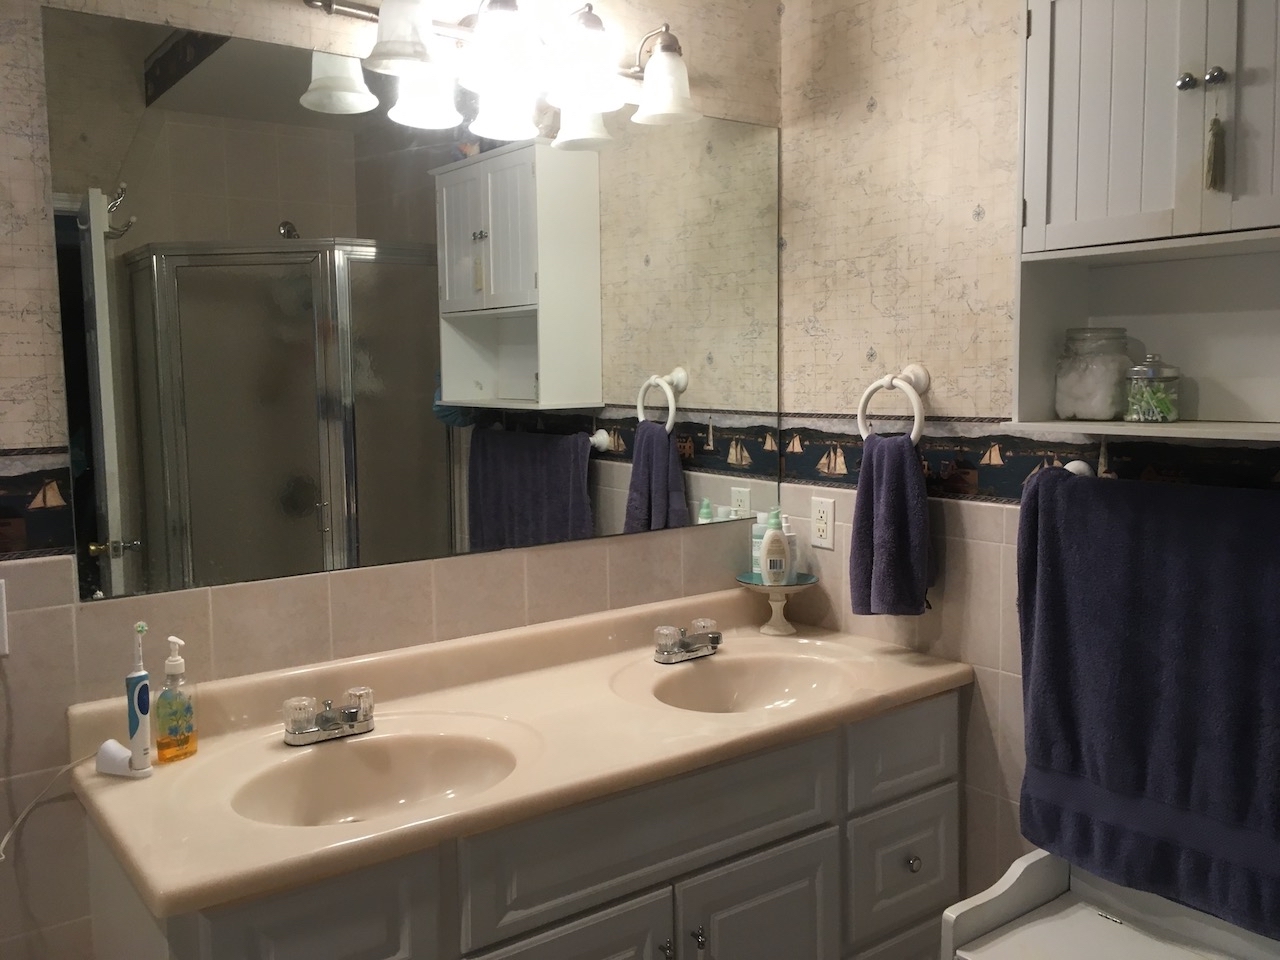
Additionally, the bathroom ensuite, with its 1990’s style jacuzzi tub and shower, begged for a facelift and redesign.


Lastly, while there is a window overlooking the creek in the upstairs guest bedroom, the matching window in the main bedroom was buried in the bathroom and not accessible.


This didn’t make sense to us. We wanted to hear the creek from our bedroom and experience the same morning light that pours into the guest bedroom. It was time for a primary bathroom and closet makeover.
A new design plan
I sketched out a new plan for the bathroom, turning the Jacuzzi into a spacious walk-in shower. The layout required closing off the current hallway between the closet and bathroom and creating a new doorway where the shower was, providing immediate access to the window. It also tripled the size of the closet space.

The bathroom demolition
The remodel required plumbing and electrical work. Similar to our kitchen remodel, we needed to hire out. To save money, I did the demo myself, with the help of my neighbor. Demoing the bathroom was particularly challenging and labor intensive. I started by removing the shower. That was the easy part.
Then there was the tile on each wall and the floor. I didn’t have access to a jack hammer. Using a milled face steel head steel drywall specialty hammer, it took hours to chip through the tile and reinforced sheet rock, then find the studs and remove the walls in sections. After that my neighbor and I worked on chipping away the floor and the tile surrounding the jacuzzi tub.


Once the jacuzzi tub frame was exposed, I used my reciprocating saw to cut the tub into multiple pieces for disposal. There were so many pipes and tubes incorporated into the design and in hard to reach places too!


Once the jacuzzi frame was removed, I worked on opening the bedroom wall for the new bathroom doorway.

The last step was removing the toilet and vanity. While the toilet needs to be replaced, we’re salvaging the double vanity.


The bathroom was an empty shell. I put blue tape on the floor so we could visualize the new layout. It was going to be so much more spacious than the previous layout.
With the bathroom demo’d, I worked on dismantling the closet doorway.

Similar to the bathroom, the closet required electrical wires to be rerouted, which our contractor will take care of. The demo process was officially complete. All told it took 6 weekends to complete.

We can’t wait to finish the primary bathroom and closet makeover! Stay tuned…


